5
6.4 SLIDESHOW SETUP
SLIDESHOW MODE:
Set the slideshow to start
automatically.
FOLDER REPEAT:
Set all files (picture, music or movie) in the
folder to show only once or continuously (loop).
INTERVAL TIME:
Set the time each photo is shown to 1, 3, 5,
10, 30 or 60 seconds.
TRANSITION (EFFECT):
Set the transition effect and auto slide
with sequential or random playback.
TIME MESSAGE:
Set the time message is shown on the screen constantly or not.
AUTO START:
Enable/ disable auto playing media files on the memory card when the device is
turned on.
6.5 PREFERENCE
TV TYPE:
Choose the TV TYPE.
-
MULTI . SYSTEM:
Set the TV type automatically.
-
NTSC:
Set the TV type to NTSC.
-
PAL:
Set the TV type to PAL.
SCREEN TYPE:
Set the screen type to 16:9 or 4:3.
OSD LANG:
Select the OSD language (ENGLISH, FRENCH, GERMAN, ITALIAN, JAPANESE,
PORTUGUESE, SPANISH and NEDERLANDS).
OSD MESSAGE:
Turn the OSD message function on/ off.
RESET:
Reset all settings to the original (factory) settings.
FIRMWARE:
New F/W can upgraded from the memory card.
-
EDITION:
Show the F/W versions.
-
UPDATE:
Used to update the F/W.
6
7. NETWORK INSTALLATION
7.1 LOGIN P070-9 FOR THE FIRST TIME
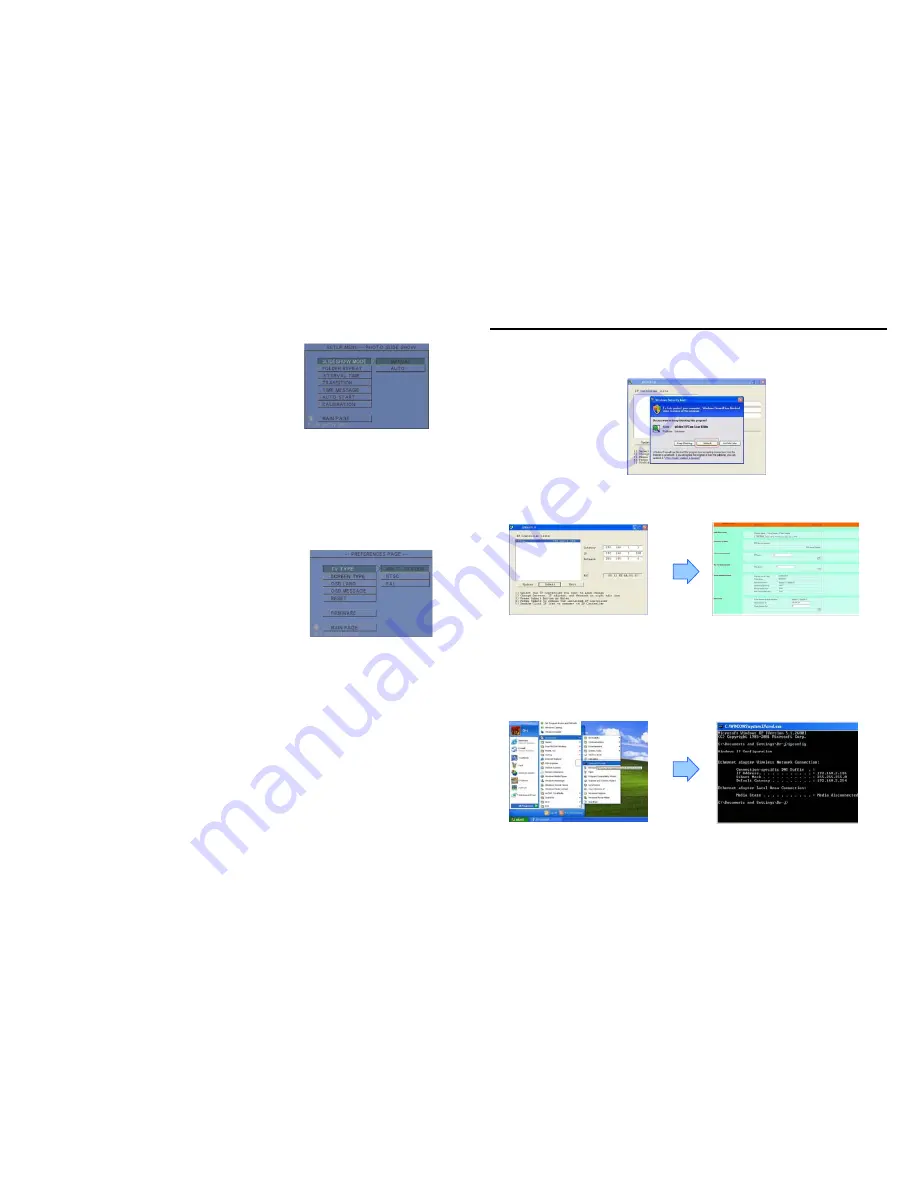
Step 1:
Execute the “ipEdit.exe” in the CD, and select the “Unblock” (Windows XP SP2 only).
Step 2:
“IP BOX……192.168.1.100” has been listed in the left side. Double click “192.168.1.100” to
login the P070-9.
If you can not connect to the address: 192.168.1.100, follow the steps below to get the network
information.
Step 3:
Click “Start”
→
“All Programs”
→
“Accessories”
→
“Command Prompt”.
The MS-DOS window will appear. Type “ipconfig” and then press “ENTER” to get the network
information.


