


33
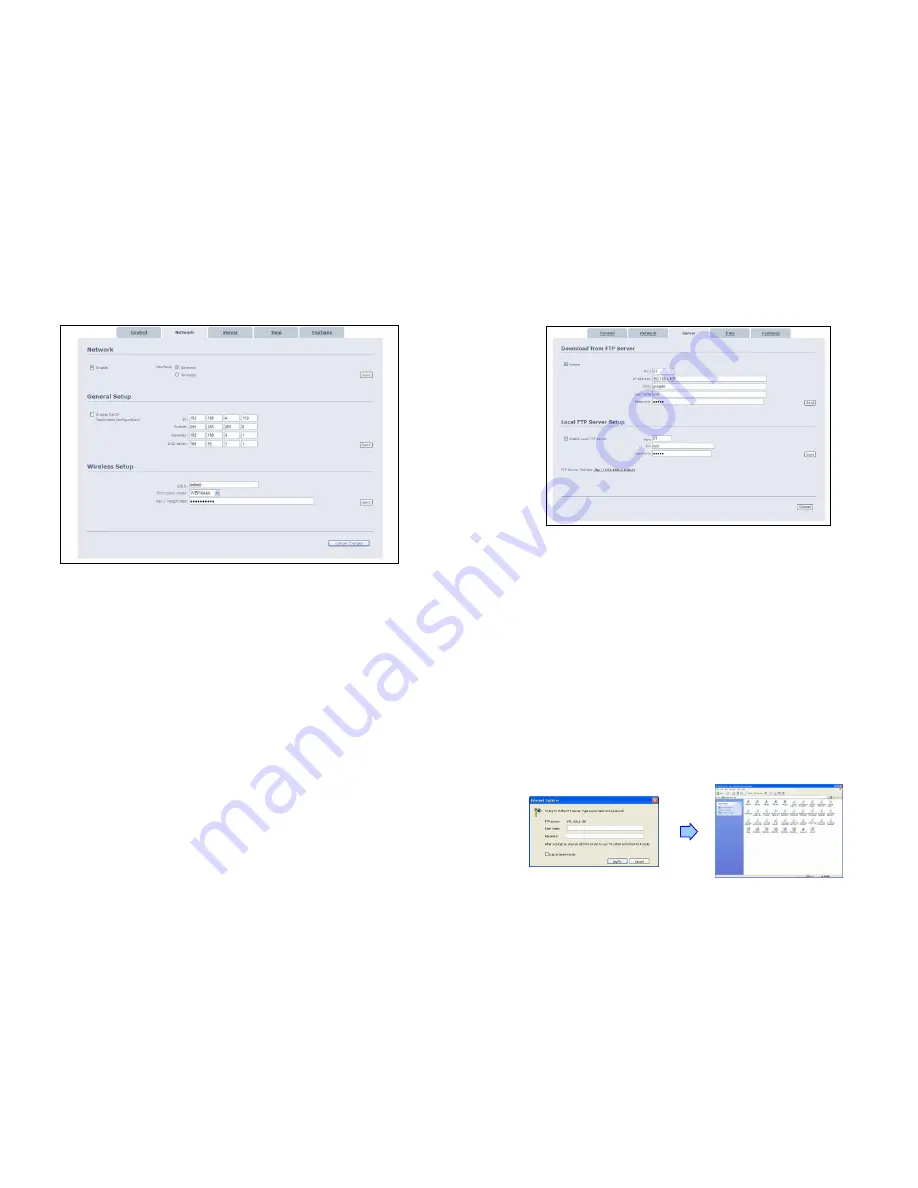
9.2 NETWORK
Network
-
Enable:
Enable or disable the network function.
-
Interface:
Select your network connection Ethernet (wired) or Wireless.
General Setup
-
Enable
DHCP:
Enable or disable the DHCP function.
-
IP/ Subnet/ Gateway/ DNS server:
Enter the
fixed IP address, Subnet, Gateway and DNS
for the B1080PX-4.
Wireless Setup (only for B1080PW)
-
SSID:
Enter the SSID.
-
Encryption
mode:
Select an encryption mode.
-
Key/
Passphrase:
The key you enter here must match the password of the device exactly.
34
9.3 SERVER
Download from FTP Server
-
Enable:
Enable or disable the FTP auto download function.
-
Port:
The default port for FTP is 21. In most cases you should not change this number. If
the FTP site uses a port other than 21, you should enter the correct port.
-
IP
address:
Enter the domain name or IP address of the remote FTP server.
-
Path:
Enter the folder path that you want to share.
-
User
name:
Enter the user name of the remote FTP server.
-
Password:
Enter the password of the remote FTP server.
Local FTP Server Setup
-
Enable:
Turn on/ off the B1080PX-4 server.
-
Port:
Enter the port of the B1080PX-4
-
ID:
Enter the user name of the B1080PX-4 (
default ID: root
).
-
Password:
Enter the password of the B1080PX-4 (
default password: admin
).
FTP Server Address:
Click on the address to directly connect to the B1080PX-4 server. Enter the
user name and password (Default User Name:
root
, Default Password:
admin
) to log on. After
logging on all the media files on the CF card will be listed. You can download and upload the media
files between CF card and your PC.


