


EYE-LCD-6000-QHD-LD
28
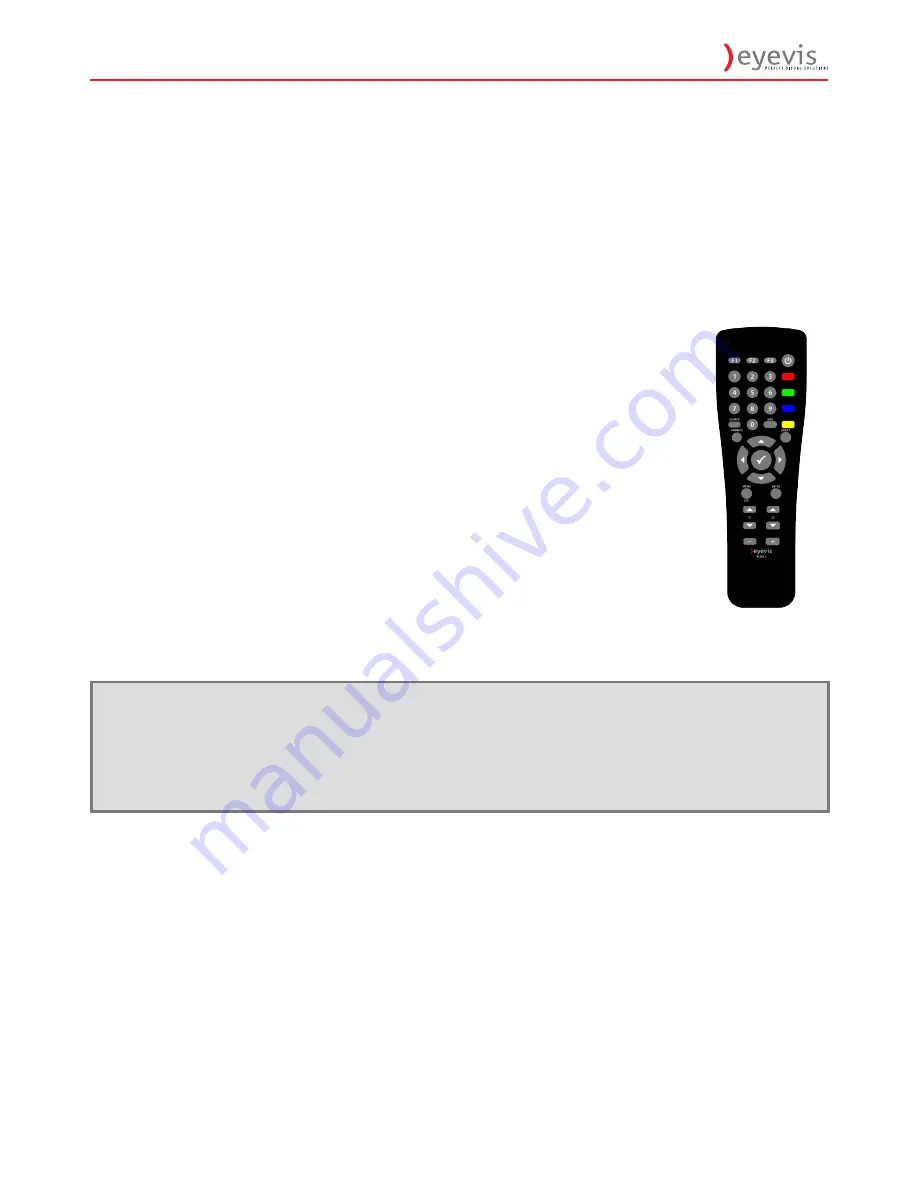
6.3 The Remote Control
)
The menu functions of the OSD menu can be accessed with the eyevis Remote-Control (RC), see picture
below.
(
To use the RC aim at the displays-IR-Receiver)
Opening the On-Screen-Display
)
Press the MENU/EXIT-Button to open the OSD Menu on the screen.
Navigating in the OSD-Menu
)
Use the arrow buttons (
►/▼/◄/▲)
to navigate through the menu.
)
Press the checkmark button (
) to select a menu item (yellow highlighted).
)
Press MENU/EXIT to abort the current operation and return to the previous menu.
)
For numerical values you can either use the up/down arrow (
▼/▲
) to increase or
decrease values or insert the values directly on the number block. If using the arrow
buttons for entering numerical values, holding the keys pressed will toggle larger
steps.
6.3.1 Special Keys and Key Sequences
)
You can use the POWER button to activate Standby Mode. This retains the currently
used settings. To reload the settings stored to the EEPROM either power off the device
physically or use the reset key sequence described below.
)
You can reboot the display and read back saved settings at any time: press the
sequence BLUE-RED-YELLOW (
) to trigger a reset on the currently selected
display.
Note:
Illustrated values may differ from your displayed OSD menu settings, depending on the firmware
version and connected signal sources.
Do not forget to select “Save” in the Main menu if you want to save your changes for future
startups.


