Assigning display IDs
To be able to control a combination of displays with a single interface (control
software or with one remote control) each display has to be assigned a unique
ID. This can be achieved by using automatic ID assignment. Automatic ID
assignment follows the topology of the RS232 cabling of the displays and
increments the ID by one on each device.
►
For the automatic assignment of IDs setup the RS232 daisy chain and
connect the first device in the RS232 daisy chain with the control
computer. Also plug in the IR-receiver for the remote control.
)
NOTE:
It is mandatory the device connected to the control PC is assigned ID 1. Reset
the display IDs if necessary
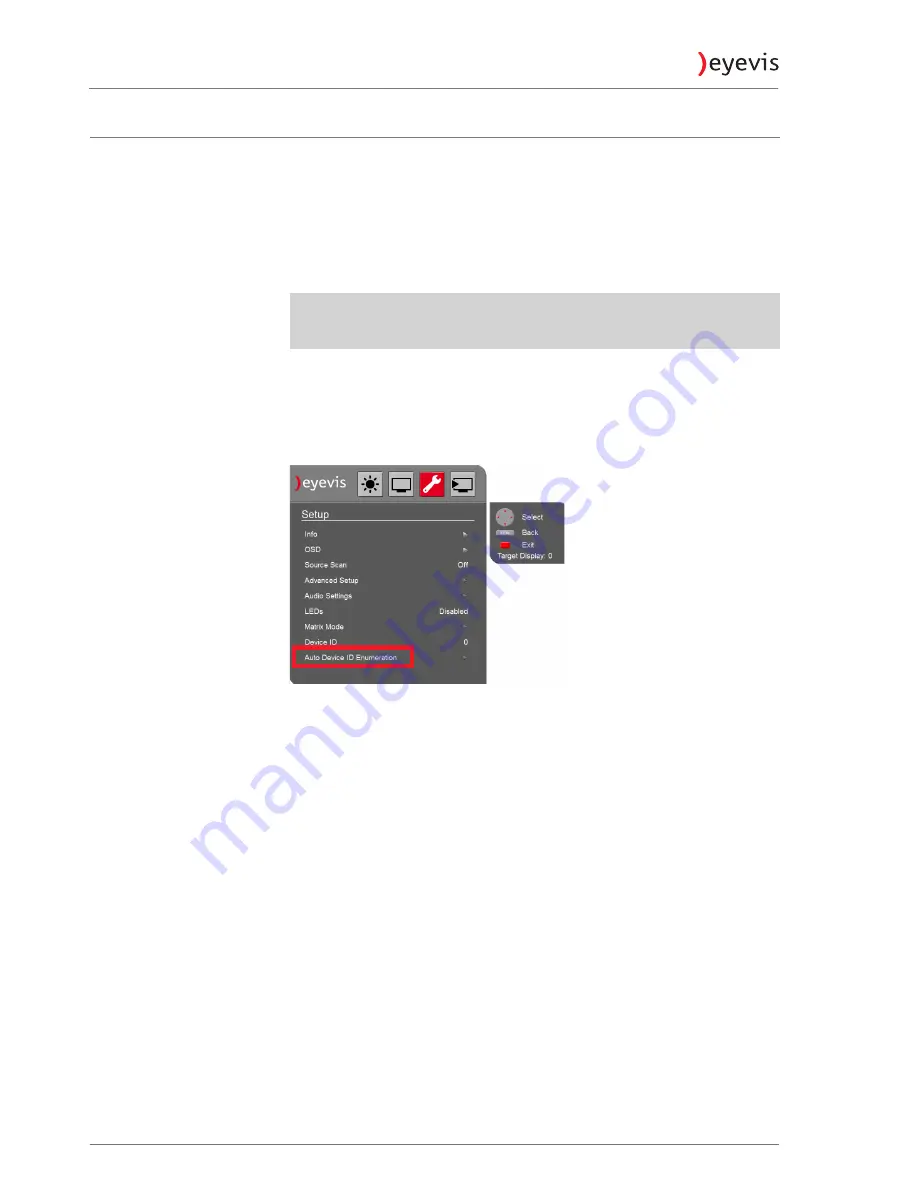
Trigger automatic adjustments of IDs using the OSD
1.
Open the Setup Menu in the OSD
2.
Choose “Auto Device ID Enumeration”
You can test the assignment using the remote control and pressing the button
Address
. Each device will display its assigned ID.
Trigger automatic adjustment of IDs with eyeDeviceSetup
1.
Open the eyeDeviceSetup software and open the serial connection in the
“Preference” tab.
2.
Select Display 1 in the display selection area.
3.
Press “Read current” to read parameters from the device.
4.
In the Tab “User” in the section “ID Settings” press the button of the field
“Auto Display ID”.
5.
You can test the assignment using the remote control and pressing the
button “Address”. Each device will display its assigned ID.
Trigger automatic adjustment of IDs using a terminal program
1.
Open a terminal program and setup to 115200 Baud 8N1.
2.
Send SET(0;Auto Display ID;1).
3.
You can test the assignment using the remote control and pressing the
button “Address”.
ª
Each device will display its assigned ID.
EYE-LCD-5500-XSN-LD-FX
34
User Manual
Содержание EYE-LCD-5500-XSN-LD-F
Страница 76: ...Dimensions EYE LCD 5500 XSN LD FX 76 User Manual...
Страница 85: ...Notes...


