Appendix, cont’d
USP 405 • Appendix
A-10
1
3
J23
J23
1 2 3
7.
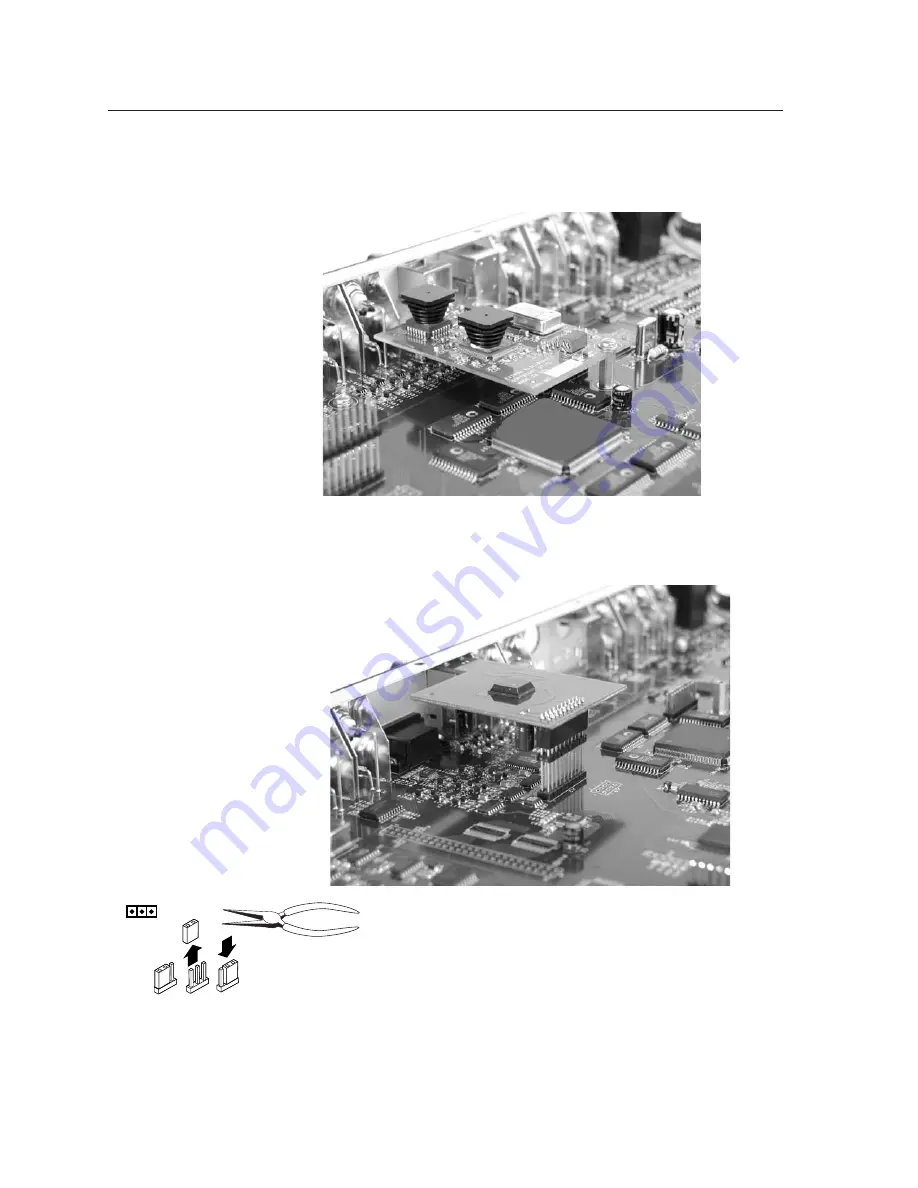
For the SDI input card installation, insert the card’s installation screw
through the SDI card’s mounting hole and gently tighten it into the
standoff. See the picture below.
Installed SDI input card
For the SDI output card installation, the card should be positioned in place
as shown below.
Installed SDI output card
8.
Install the SDI connector’s hex nut and keep the SDI card from twisting as
the nut is tightened.
9.
For the SDI input card installation, move the jumper on J23 (see the
illustration on page A-7) from pins 1 and 2 (no SDI input card present) to
pins 2 and 3 (SDI input card present).
10.
Replace the top cover on the USP, and fasten it with the screws that were
removed in step 3.
11.
Rack or furniture mount the USP 405, and reconnect the AC power cord.
im Vertrieb von
CAMBOARD Electronics
www.camboard.de
Tel. 07131 911201
Fax 07131 911203


