background image

HDV600-en-GB_V3.0   1/18 

Viewing a Stored Photo or Video in the Display 

1. 

Press the ▲ button to access the pictures or videos in memory. Each button press will 
step through the files with the file number appearing on the screen  (i.e. IMG00005) 

2. 

Pictures will appear with the 

 photo icon on the display. 

3. 

Videos will appear with the 

 film icon on the display. 

4. 

To play a video, select a video file and press the 

 button. The 

 play icon will appear 

during playback. Press the 

 button again to pause playback. The 

 pause icon will 

appear. 


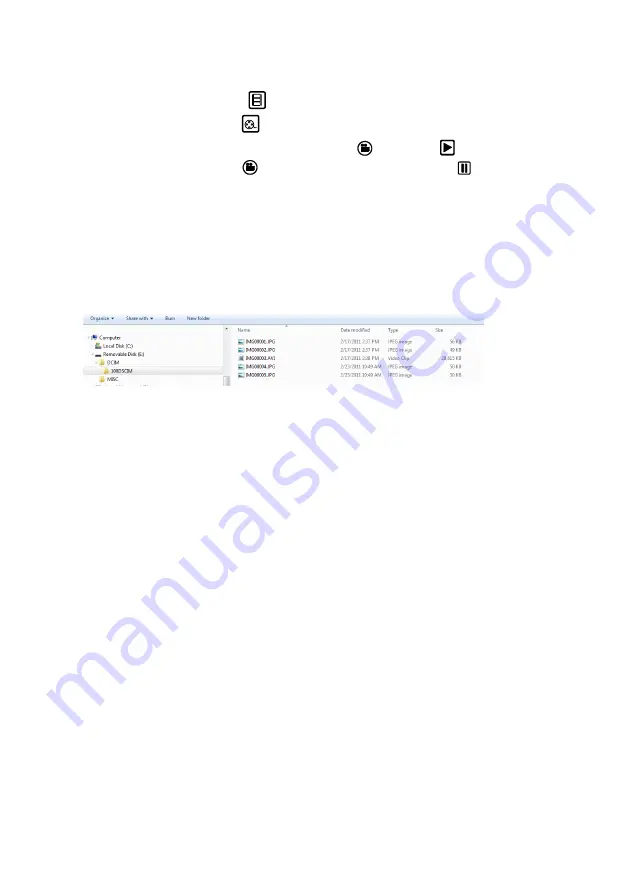
Viewing an Image or Video on a PC 

There are two methods to transfer stored files to a pc. 

1. 

Remove the SD card from the monitor and insert it into the SD reader in the pc. 

2. 

Connect the monitor to the pc with a USB cable. 

Images are saved in *.JPG format and videos saved in *.AVI format 


Deleting stored Images or Videos 

1. 

Pr

ess the ▲ button to access the pictures or videos in memory. 

2. 

When the file to be deleted appears, press the OK button and the DELETE YES/NO box 
will appear. 

3. 

Press the 

▲ button to highlight YES and then press the OK button to delete the file. 

4. 

Press the ESC button to exit at any time without deleteing the file. 


Video Output 

1. 

Turn the monitor on and select “PAL” or “NTSC”, to match the video monitor to be used, 
under the VIDEO OUTPUT selection in the MENU screen and press OK.  

2. 

Insert the video cable into the VIDEO OUT socket on the bottom of the monitor. Connect the 
other end of the cable into the VIDEO IN jack of a TV or other monitor.  

3. 

The unit will output a high quality video image. 


Video Profiles Menu 

The HDV600 monitor has 2 factory default profiles (Default1 and Default2) and one User profile 
for Brightness, Contrast, Hue, and Saturation camera settings.  To access the Factory Default 
menu, follow this procedure. 

1. 

Press the OK button and using the arrow button navigate to Video Format.  Press OK 

2. 

Highlight NTSC and press the Still camera button. 

3. 

Use the down arrow to select Default1 or Default2.  The user can also adjust each video 
parameter manually for the best picture. 

4. 

Press the ESC button 2 times to return to the image view mode. 

Содержание HDV600

Страница 1: ...User Manual High Definition VideoScope Model HDV600 Additional User Manual Translations available at www extech com...

Страница 2: ...d fully tested and with proper use will provide years of reliable service Models and Descriptions HDV600 VideoScope Monitor only HDV610 VideoScope w 1m flexible cable 5 5mm diameter HDV620 VideoScope...

Страница 3: ...output jack 15 Reset button 16 AC adaptor connector Articulating Probe 1 Articulation knob 2 Articulation tension knob 3 Articulating camera 4 Light intensity buttons 5 Power button 6 AC Adaptor and e...

Страница 4: ...tom SD slot 2 Press the Power button to turn the monitor on The battery icon will briefly appear indicating the battery condition 3 Press OK to open the setup MENU 4 Press the or button to scroll thro...

Страница 5: ...m intensity Taking a Picture Press the button to take and store a picture into memory The icon will appear on the display when a picture is taken Recording a Video Press the button to start recording...

Страница 6: ...n 3 Press and hold the Power button for 4 seconds to turn the transmitter on The camera video will be transmitted to the monitor display 4 Insert the probe into the area to be inspected 5 Turn the pro...

Страница 7: ...n the monitor on then select WIRELESS under the INPUT SOURCE selection in the MENU screen 4 Press and hold the Power button for 4 seconds to turn the transmitter on The camera video will be transmitte...

Страница 8: ...ss the OK button and the DELETE YES NO box will appear 3 Press the button to highlight YES and then press the OK button to delete the file 4 Press the ESC button to exit at any time without deleteing...

Страница 9: ...only for the lithium battery included with the meter The meter should be returned to one of our repair facilities for replacement Non approved lithium battery could cause damage to the instrument or h...

Страница 10: ...rear Accepts standard tripod screw Battery 3 7V rechargeable Li Polymer Power adaptor 100 to 240V input 5VDC output Operating Storage Temperature 10 to 60 C 14 to 140 F 40 to 80 C 40 to 176 F Operatin...

Страница 11: ...Articulating Semi Rigid 6mm 2m 640x480 2 to 6cm HDV 4CAM 1FM Macro lens Flexible 4mm 1m 320x240 2 to 6cm HDV 5CAM 1FM Macro lens Flexible 5 5mm 1m 640x480 2 to 6cm HDV 5CAM 3F Long depth of field Flex...

Отзывы: