background image

P/N: 1064921

November, 2013

4/8

7.

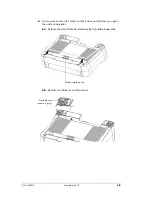
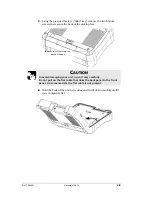
Using the provided hex key (“Allen” key), remove the two bottom 
screws that secure the back of the unit in place.

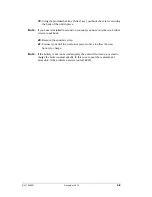
8.

Hold the back of the unit by its sides and fold it down carefully until it 
rests completely flat.

C

AUTION

To avoid damaging your unit, open it very carefully. 
Do not pull on the flat cable that links the back panel to the front 
panel. On some models, the flat cable is not present.

Bottom screws securing the 

back of the unit

Содержание MaxTester series

Страница 1: ...and DISCONNECT IT FROM THE AC POWER Be careful not to drop metal objects such as screws inside the unit These could cause a short circuit leading to a fire or an explosion CAUTION Electrostatic disch...

Страница 2: ...r ankle strap and ensure that the end of its wire is grounded properly 4 Position the unit so that its front panel rests on a flat surface such as a table 5 Using the provided hex key Allen key remove...

Страница 3: ...sary remove the stand so that it does not fall when you open the unit s casing later 6a Release the stand from its retaining clip by pulling it upwards 6b Remove the blockers and the stand Stand s ret...

Страница 4: ...in place 8 Hold the back of the unit by its sides and fold it down carefully until it rests completely flat CAUTION To avoid damaging your unit open it very carefully Do not pull on the flat cable tha...

Страница 5: ...he unit by pulling on its connector Note To simplify the illustration the battery cable does not appear in full between its connector and the battery itself CAUTION Be careful not to touch any compone...

Страница 6: ...d on the lower part of the battery casing as shown below 14 Connect the battery cable to the unit by pushing its connector in place IMPORTANT Wait at least 30 seconds before connecting the new battery...

Страница 7: ...ers with the side of the anchor eyelets and then slide the blockers towards the eyelets until they stop There should be no gap between the blockers and the eyelets 18b Using the provided hex key Allen...

Страница 8: ...our unit you have only the two bottom screws to put back 20 Remove the antistatic strap 21 Connect your unit to an external power source to allow the new battery to charge Note If the battery is not c...

Отзывы: