3. Operating Principles
3.1 How Smart Glider Works
The Smart Glider uses digital electronic gyroscopes and acceleration sensors to control balance
and motion intelligently, depending on the user’s center of gravity. The device also uses an
intelligent control system to drive the brushless motors that are located within the wheels.
The I-glide has a built-in inertia dynamic stabilization system that can help assist with balance
when moving forward and backwards, but not while turning.
TIP -To increase your stability, you must shift your weight in order to overcome the centrifugal
force during turns, especially when entering a turn at higher speeds.
3.2 PLEASE READ THE FOLLOWING INSTRUCTIONS CAREFULLY
Step 1: Getting Started - Take your Smart Glider out of the box and place it flat on the floor.
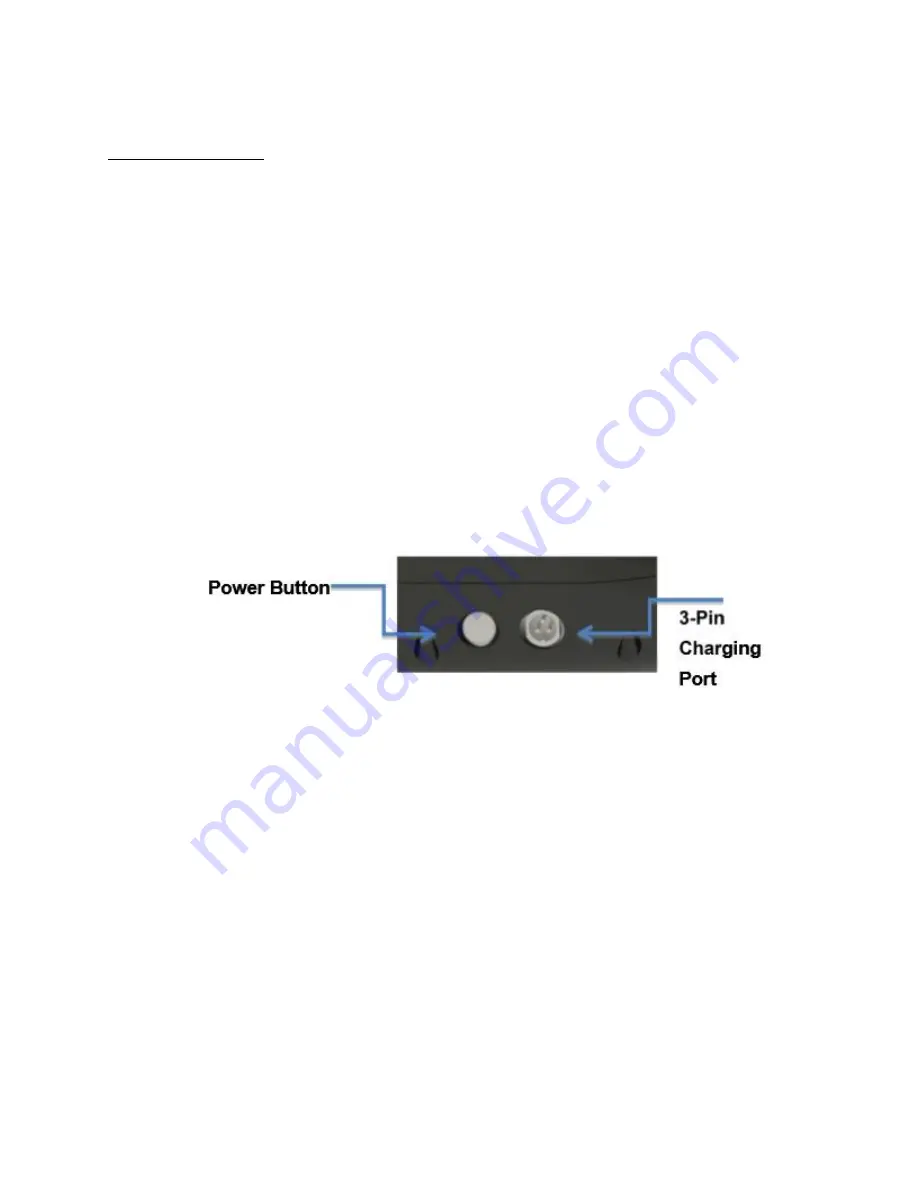
Press the silver power button, located on your Smart Glider, next to the 3-pin charging port. You
will hear an alert. (if you have a Bluetooth enabled device you will hear a second alert).
Bluetooth enabled devices must be connected via your cell phone or any other Bluetooth
capable device.
Step 2: Checking the Display Board - located in the center of your Smart Glider. The Smart Glider
should power on and beep indicating it is on. The Battery indicator light should be lit, indicating
there is power to the device.
a.
Battery Indicator: The Green LED light indicates the Smart Glider is charged. When
the I-glide is running out of power it will start to warn the rider with a constant
beeping sound and the battery indicator light will turn red. Battery Life is also
indicated upon the App of the Hoverboard
b.
Running Indicator: When the operator triggers the rubber foot mats, the Running
Indicator LED will light up, which means that the system enters the running state;
when the system has an error during operation, the running LED light will turn red
and you will hear the system alert you with a beep.


