8
7.
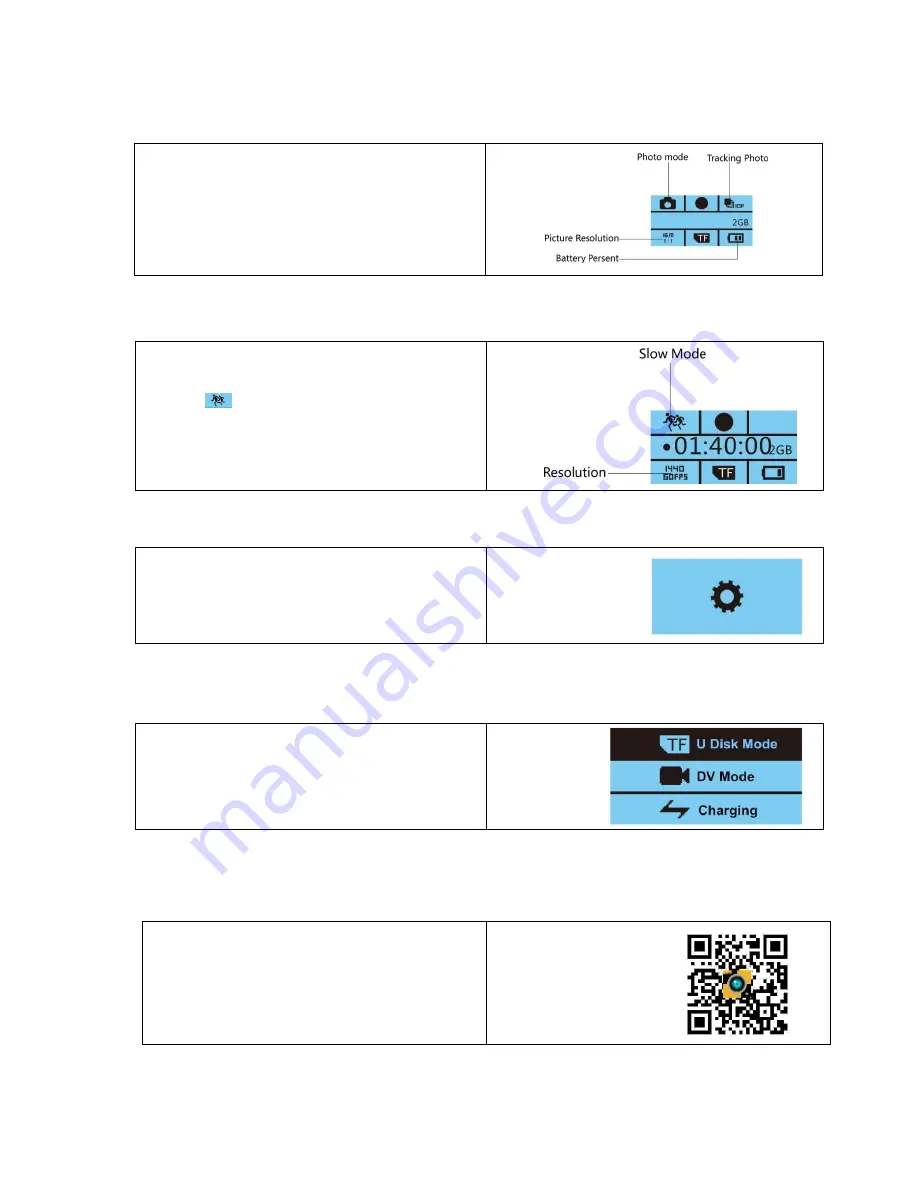
Photo interface
:
8
Slow photography:
After the camera enters in slow photography, press the
“OK” key to start recording.The resolution will be at
1440p/60fps, and the upper left corner of the screen
will show
.
At the playback, the photography is shown at slow
motion.
Shortly Press “Down” key to enter into Slow
photography settings.
9.
Setting:
Press OK key to enter Setting to select record video,
take photos, language and so on.
10.
Connect PC cameras
:
Select”U disk mode” to manage TF card data.
Select”DV mode“to use PC camera function.
Select”charging” to panoramic DV charging.
HDMI Out
:
When camera is on, use HDMI line (Optional) to connect the HD DV (HDTV), for playback the
video by the TV.
WIFI light(Blue)
When turn on the WIFI ,there is a blue light.
When the WIFI is connected , the blue light will be
flashing ;
When turn off the WIFI,the blue light will off;
Taking photos by clicking “OK” button..
You can enter the photo setting by Clicking “Down”
button.
Содержание iSMART 360
Страница 2: ...2 iSMART 360 USER MANUAL...
Страница 3: ...3 YS09 Package Accessories...
Страница 4: ...4 YS09 Accessories Using Guide...
Страница 5: ...5 YS09 Accessories Using Guide...
Страница 13: ...13 iSMART 360 MANUALO DI USO...
Страница 14: ...14 YS09 Pacco ed Accessori...
Страница 23: ...23 iSMART 360 BETRIEBSANLEITUNG...
Страница 24: ...24 YS09 Paket und Zubeh r...
Страница 34: ...34 iSMART 360 HASZN LATI UTASIT S...
Страница 35: ...35 YS09 Csomag s Kell kek...
Страница 44: ...44 iSMART 360 MANUAL DE UTILIZARE...
Страница 45: ...45 YS09 Pachet i Accesorii...


