EVISTR VOICE RECORDER
http://blog.evistr.com
Page - 12 - of -14 -
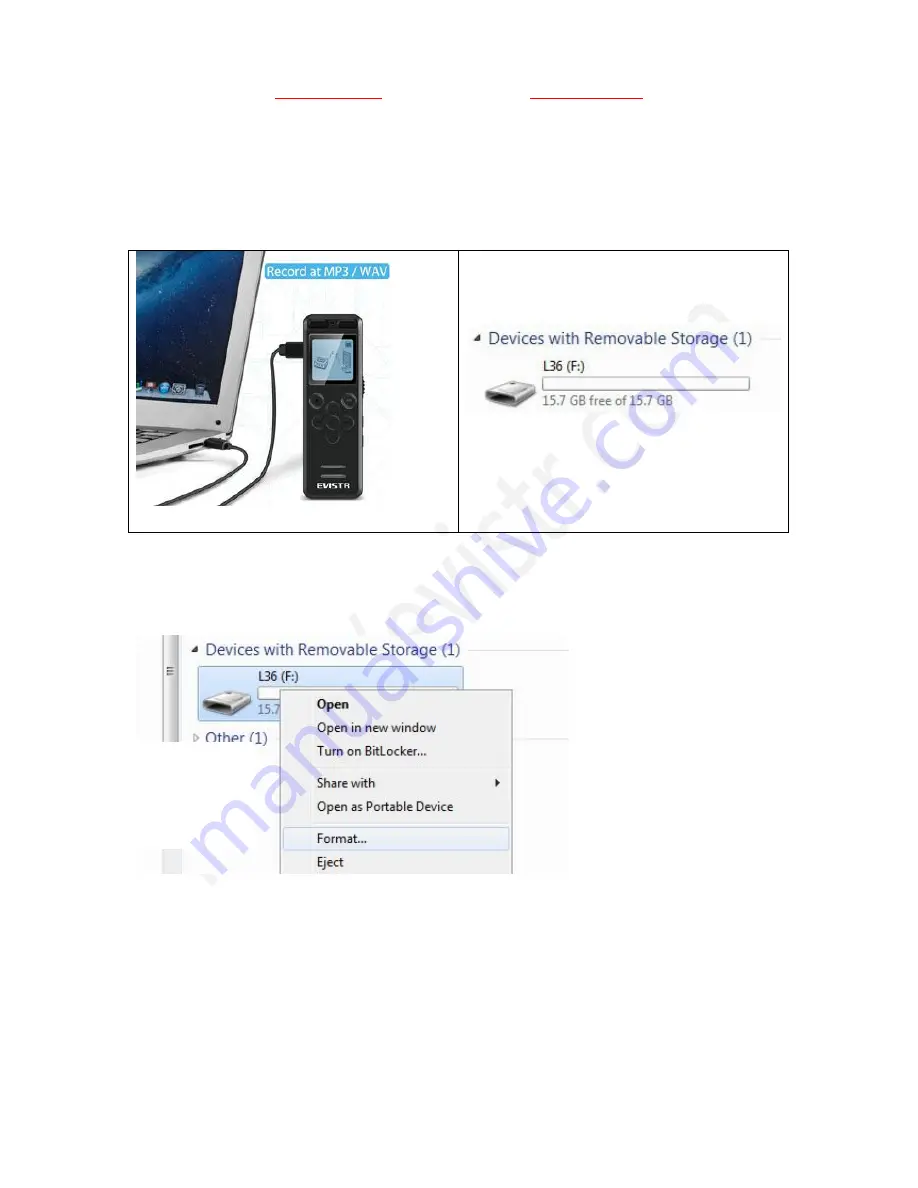
successfully connected, we will see the connection icon, see as following picture
After we successfully connected to computer, we could delete the files in the recorder, copy file from
the recorder out to our computer disk, copy file into our voice recorder, it just like a normal flash
drive
1) Successfully connected to our computer
2) We will see EVISTR L36 on our computer
15) Format EVISTR L36 Drive on Computer Directly
After we successfully connected to our computer, we click the mouse right button, and format it
Notice:
Once we format the disk, all data on the device will be erased utterly, and cannot be restored, so we
need to
16) System Time & Date Setting
Turn on your voice recorder
Press M (menu), find & select " SET"
Press PLAY, enter SET, find & select "Date and time"


