EVGA Z390 FTW (123-CS-E397)
- 110 -
The final Device
section covers the
microphone. This tab
includes both a
recording and a
playback section.
Both features have
similar balance options
as the other sections,
but differ slightly in the
Volume slider function.
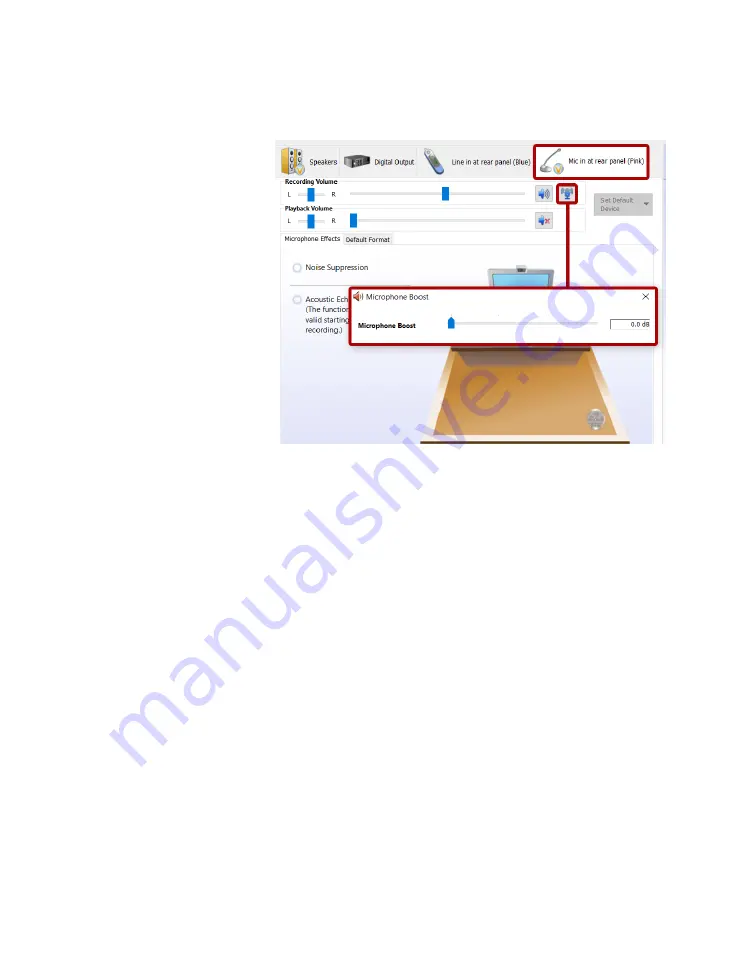
The Recording Volume
slider pertains to audio
recorded by your
microphone. Raising
the volume allows the
audio to be recorded at a higher volume; in other words, if the microphone is used to
speak to another person, and the person has a hard time hearing you, raising the volume
will make it easier to hear you. Conversely, if you are too loud, lowering the volume
slider will produce a quieter audio. Muting this setting will mute all audio recorded by
your microphone.
The Playback Volume pertains to a function that allows the Realtek controller to play
back any audio the microphone picks up. This is a useful feature to assist with hearing
your own speaking volume or audio content playing in the background. By default, this
setting is muted. If you encounter an issue where you constantly hear yourself talk, and
you’re sure it’s coming from the computer, check first to see if this setting is enabled.
The Microphone Boost button is next to the upper Mute button. The boost assists by
increasing the gain of what your microphone picks up while recording. If your
microphone is not consistently picking up your voice when speaking, try adjusting the
boost higher in small increments, as a little boost can go a long way.
To increase the boost, click the “Microphone Boost” button. When the slider window
pops up, adjust the slider bar to the right, then close the popup by clicking the “X” and
retest. Whenever you test a different microphone, reset the Boost to 0, test again, and
adjust as necessary. You should keep in mind, however, that some mics naturally record
louder than others, and too much gain can ruin a recording. Likewise, if you use your
microphone for VOIP applications, too much boost can be painfully loud for
whomever is on the other side.


