GB - 24
6. Turn the bolt in (clockwise) one full turn.
7. Tighten the jam nut.
8. Repeat the maximum speed test and
adjust as necessary.
9. Lower seat and secure with hex bolts.
SERVICING THE BATTERY
NOTE: Unit comes equipped with a
maintenance-free battery that requires no
regular maintenance except cleaning the
terminals.
Battery Removal and Installation
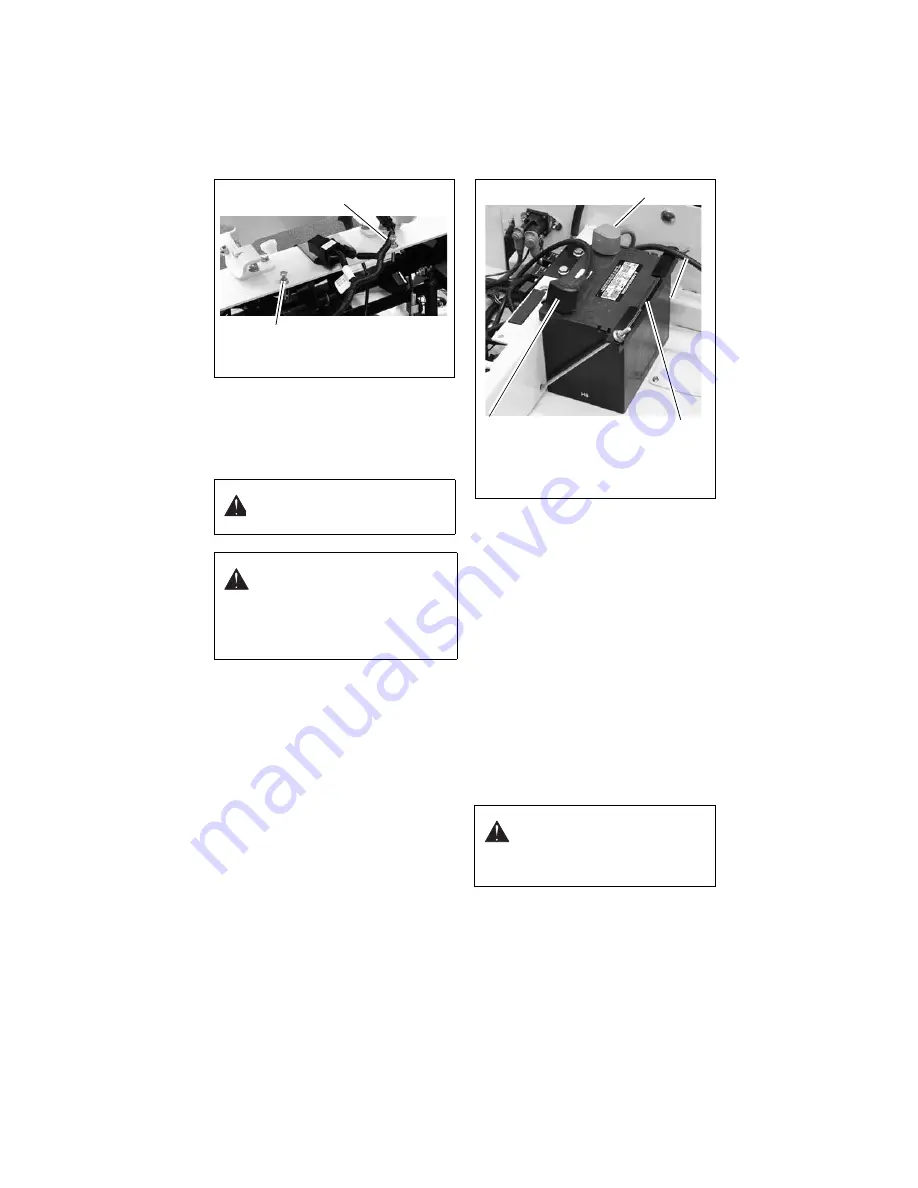
Removal (Figure 25)
1. Stop engine and allow hot parts to cool.
2. Engage the parking brake.
3. Move both steering levers to the neutral
lock position.
4. Remove two M10 hex bolts retaining
rear of seat plate and rotate seat
forward. Retain hardware.
5. Slide protective terminal covers away
from battery terminals.
6. Disconnect negative (–) cable first, then
positive (+) cable.
7. Loosen battery hold-down bracket and
remove battery from unit.
Installation (Figure 25)
1. Install battery on unit with battery hold-
down bracket.
2. Connect positive (+) cable first, then
negative (–) cable.
3. Coat terminals with dielectric grease or
petroleum jelly.
4. Return seat plate to operating position
and attach with hardware removed
earlier.
Cleaning the Battery
1. Disconnect negative (–) cable first, then
positive (+) cable.
2. Clean battery cable ends and terminals
with wire brush. Rinse with a weak
baking soda solution.
3. Connect positive (+) cable first, then
negative (–) cable.
4. Coat terminals with dielectric grease or
petroleum jelly.
Charging the Battery
Follow First Aid directions for contact with
battery fluid.
•
External Contact: Flush with water.
WARNING: AVOID INJURY. Read
and understand the entire Safety
section before proceeding.
WARNING: Battery posts,
terminals and related accessories
contain lead and lead compounds,
chemicals known to the State of
California to cause cancer and
reproductive harm. Wash hands
after handling.
Figure 24
Adjust right bolt if unit
drifts to the left.
Adjust left bolt if unit
drifts to the right.
WARNING: FROZEN
BATTERIES CAN EXPLODE and
result in death or serious injury.
DO NOT charge a frozen battery.
Let battery thaw before charging.
Figure 25
1. Positive (+) Terminal Cover
2. Negative (–) Terminal Cover
3. Battery Hold-Down Bracket
Содержание Fury EFRKW1948S
Страница 39: ......


