background image


Note: 

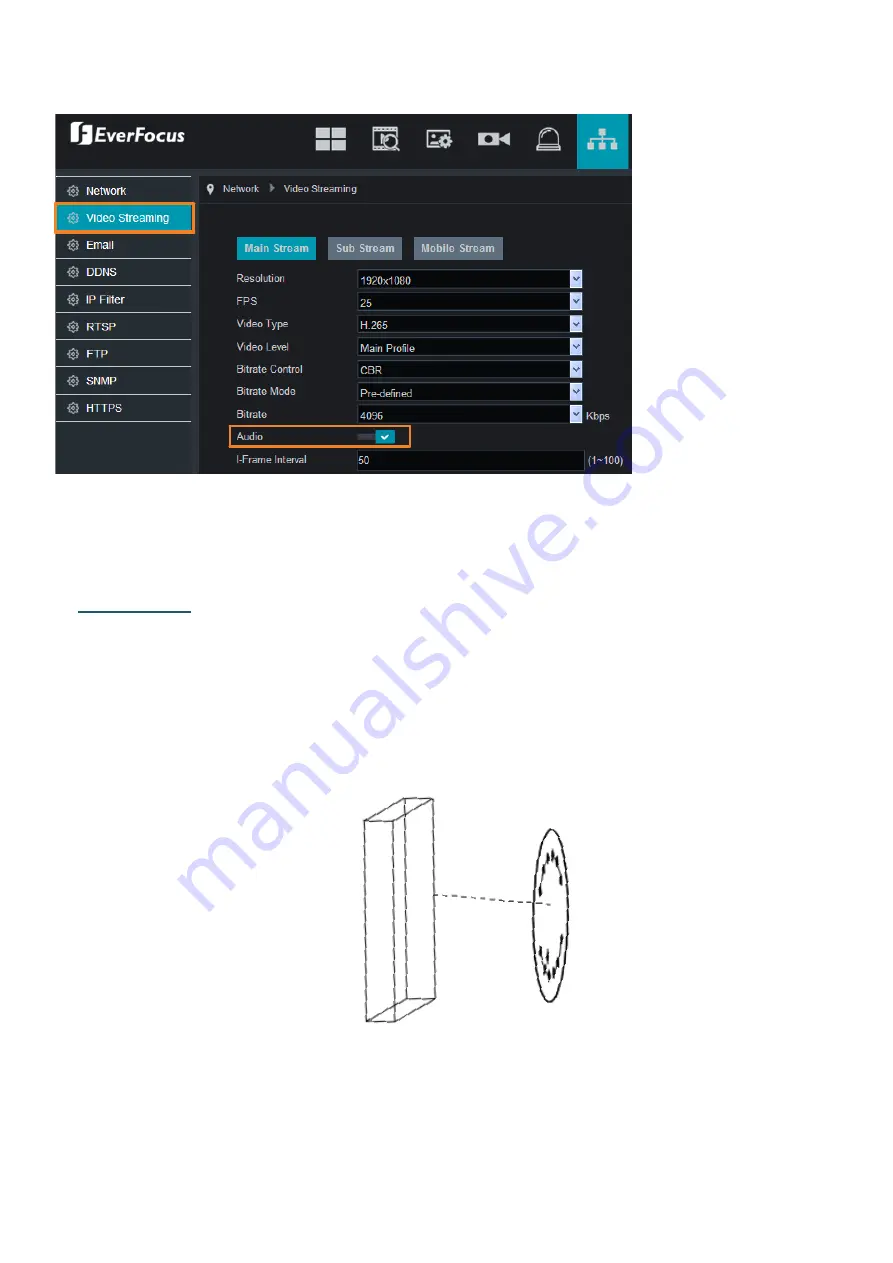
To activate Audio function, the

 Audio

 function must be enabled please refer to 

5.5.2 

Video Streaming


3.


Installation 

1.


Before screwing the camera to the wall, stick the supplied 

Mounting Sticker

 on the wall / 

ceiling to mark the position for installation. Drill four holes on the wall / ceiling according 
to the supplied sticker and push the supplied four 

Screw Anchors

 into the four holes on 

the wall / ceiling. Drill another hole in the middle of the Sticker if you wish to run the 
wires into the wall / ceiling. 

 Wall / Ceiling


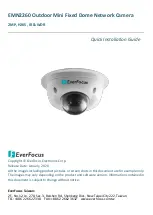
Содержание EMN2260

Страница 1: ...luding product pictures or screen shots in this document are for example only The images may vary depending on the product and software version Information contained in this document is subject to change without notice EverFocus Taiwan 2F No 12 Ln 270 Sec 3 Beishen Rd Shenkeng Dist New Taipei City 222 Taiwan TEL 886 2 2662 2338 FAX 886 2 2662 3632 www everfocus com tw ...

Страница 2: ...cts lights 2 IR LEDs IR LEDs for infrared illumination in night vision applications 3 Lens Camera Lens 4 Micro SD Card Slot Insert a micro SD card Please go to the product page on EverFocus website to see the latest Storage Compatibility List http www everfocus com tw Dimensions ...

Страница 3: ...1 Software CD x 1 Note 1 Equipment configurations and supplied accessories vary by country Please consult your local EverFocus office or agents for more information Please also keep the shipping carton for possible future use 2 Contact the shipper if any items appear to have been damaged in the shipping process Optional Accessory You can go to the product page on EverFocus website to check the rel...

Страница 4: ...all stick the supplied Mounting Sticker on the wall ceiling to mark the position for installation Drill four holes on the wall ceiling according to the supplied sticker and push the supplied four Screw Anchors into the four holes on the wall ceiling Drill another hole in the middle of the Sticker if you wish to run the wires into the wall ceiling Wall Ceiling ...

Страница 5: ... Ceiling b The other way is to cut the side of the mounting plate and fix the wire on it the placement can be arbitrarily placed on the top bottom left and right according to the installation situation 4 Connect the camera to power You can either connect the camera to a 12VDC power source or to a PoE switch using the PoE cable 5 Connect the camera to the network using the supplied Cable Gland Kit ...

Страница 6: ...N PoE Cable c Tightly screw the Cable Gland and Screw Cap to the Rugged RJ 45 Connector Cable Screw Cap Cable Gland d Crimp the RJ 45 connector onto the RJ 45 network cable Note that the wires should be placed into the RJ 45 connector based on the following order from left to right Orange with white stripe Orange Green with white stripe Blue Blue with white stripe Green Brown with white stripe Bro...

Страница 7: ...t the pan tilt rotate angles of the lens 10 Before screwing back the camera cover remove the 2 old desiccant bags from the inside of Camera Cover and replace them with the supplied Desiccant Bag Screw the camera cover back to the camera Remove the 2 desiccant bags Note Please screw back the Camera Cover immediately in case of reducing the absorption capacity of the desiccant bag inside the camera ...

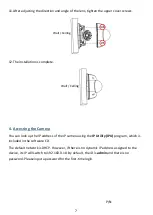
Страница 8: ...he Camera You can look up the IP address of the IP camera using the IP Utility IPU program which is included in the software CD The default network is DHCP However if there is no dynamic IP address assigned to the device its IP will switch to 192 168 0 10 By default the ID is admin and there is no password Please input a password for the first time login P N ...

Отзывы: