


3
Optional Accessory
You can go to the product page on EverFocus’ website to check the related
optional accessories.
2.
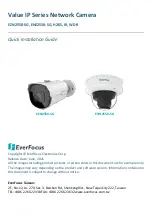
Cables
The cables of the EZN & EHN Series provide connections for network, power,
audio input / output, and alarm input / output.
Alarm Input / Output
LAN / PoE Cable
12VDC Power Input
Audio Output
Audio Input
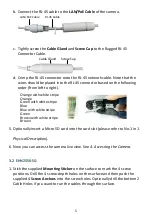
Alarm IO PIN Assignment
1
2
3
4
Alarm In
GND
COM
Alarm Out
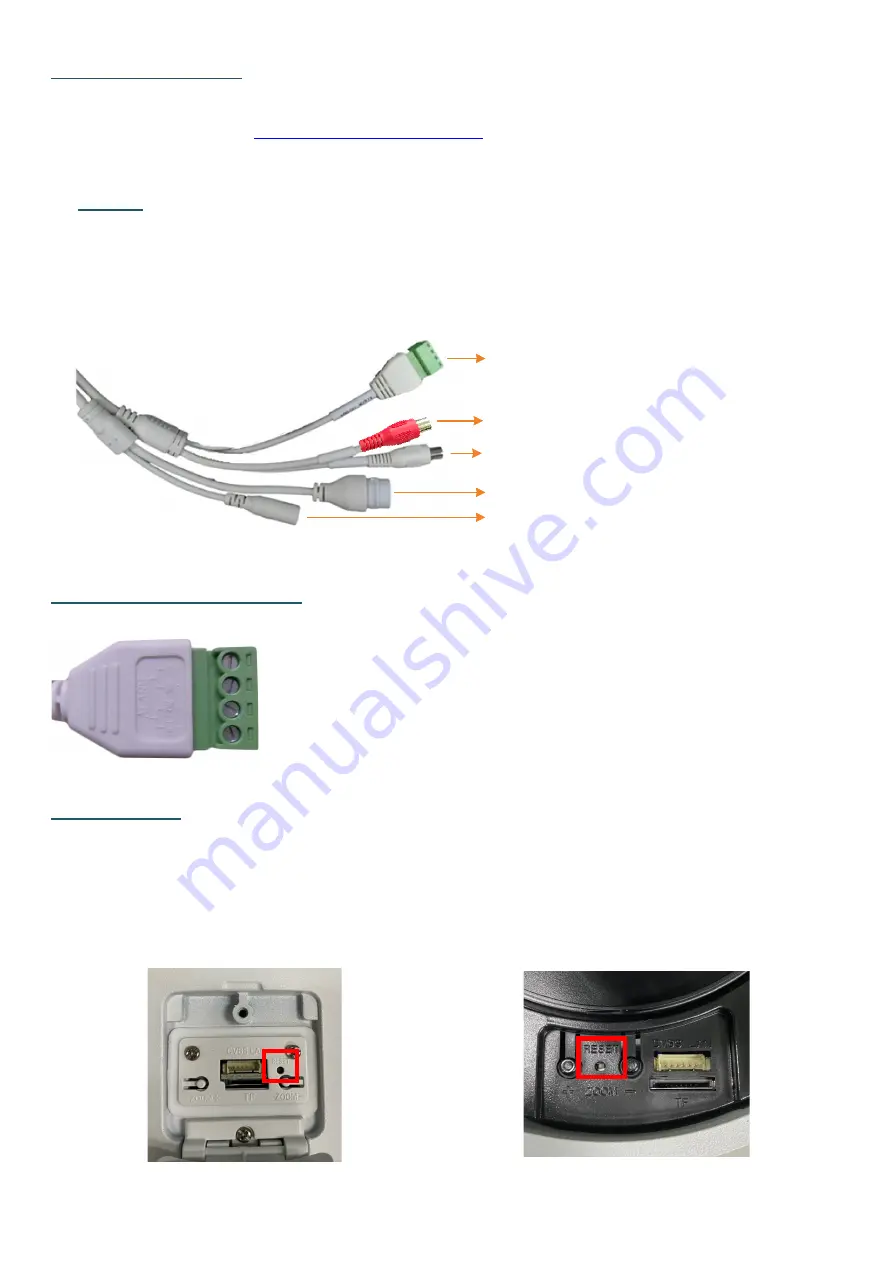
Reset Button
The
Reset Button
can be used to restore the camera to factory default. When
the camera is powered up, press the
Reset Button
about 10 seconds to reboot
the camera.
EZN2550-SG
EHN2550-SG


