background image

7

Getting Started (Cont.)

Base assembly

1. Set the base on a table or workbench.
2. Unscrew the metal washer and base locking lever and remove it from the 

bottom of the stand post.

3. Insert the stand post into the base, put the metal washer onto the black 

weight.

4. Insert the threaded end of the locking lever into the hole of the washer and 

through the base into the bottom of the stand post. Turn the locking lever 

clockwise to secure and tighten the base to the fan body.

Fan head assembly

1. Remove and discard the plastic sleeve on the motor shaft. Position the back 

grille against the front of the motor housing through the motor shaft. Ensure 

that the handle at the back of grille is facing up and that all guiding pegs on 

the motor housing are lined up with cut-outs on the back grille.

2. Secure the back grille into place with the nut. Fasten the nut firmly onto the 

motor housing by tightening it in a clockwise direction.

3. Install the fan blade onto the motor shaft with the cut-outs fitted.
4. Place the blade cap on the motor shaft after the blade.
5. Fasten the parts into place by tightening the blade cap in anticlockwise 

direction.

6. Check the correct rotation of the blade.
7. Attach the front grille to back grille and fasten the grilles with the clamping 

ring. The clamping ring has two grooves, one for the rear and one for the 

front grille. Hold the front grille in position and guide the ring around the rear 

grille, clipping the rear grille into the appropriate set of grooves in the ring. 

When the grilles are properly positioned in their respective grooves, tighten 

the screw securely using a screwdriver.

8. Your new desk fan is now ready for use.

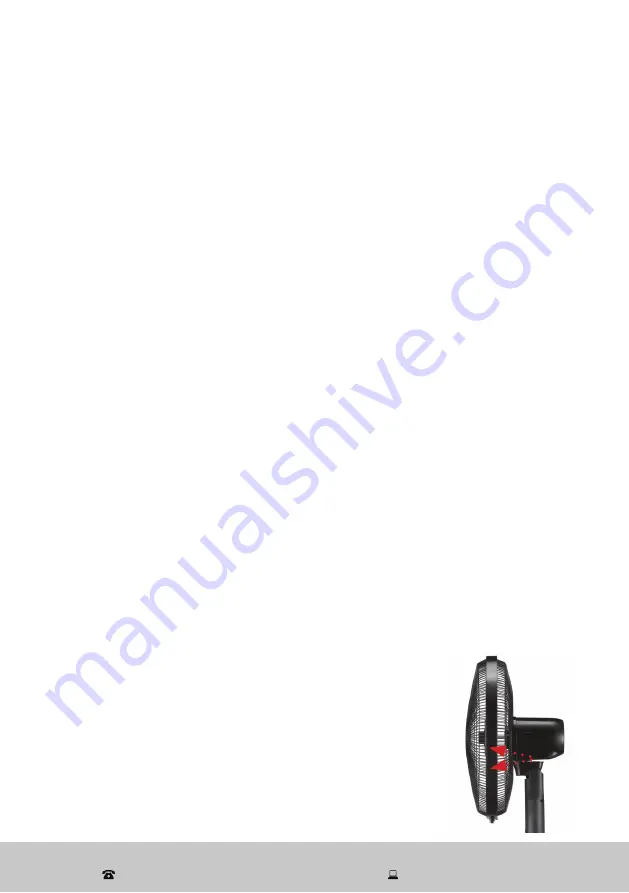
Fan head tilt adjustment

The fan head may be tilted slightly upwards or downwards 

if required. To adjust the tilt angle, grip the motor housing 

and carefully tilt the fan head slightly up or down.

CAUTION: 

Do not tilt the fan head more than it is 

intended to go, which could cause damage. 

After Sales Support

 (AU) 1300 886 649  (NZ) 0800 836 761  |       [email protected]

Содержание DF40RC-CH

Страница 1: ...Model Number DF40RC CH INSTRUCTION MANUAL 40cm Desk Fan with Remote Control AFTER SALES SUPPORT AU 1300 886 649 NZ 0800 836 761 ...

Страница 2: ...2 Contents Important Safety Instructions 3 Product Overview 5 Getting Started 6 Instructions 8 Other Useful Information 9 After Sales Support AU 1300 886 649 NZ 0800 836 761 info tempo org ...

Страница 3: ...te the fan if the supply cord plug or hous ing is damaged or after it malfunctions or has been dropped or damaged in any manner If damaged contact our after sales support centre for advice Do not open or try to repair the fan yourself risk of electric shock Protect the power cord Do not operate the fan with the cord coiled up always fully unwind Do not twist or kink the cord or let it touch heated...

Страница 4: ...ng and storing Location Place the fan on a dry flat stable surface to avoid overturning Keep the top clear Do not place anything on top of fan Proper assembly Do not operate the fan until fully assembled on the base the fan must stand upright for operation Do not use the appliance without the protective grilles rear and front guards WARNING DO NOT use the fan in the following areas near an open fl...

Страница 5: ...se locking lever underneath 8 Remote control 9 Clamping ring 5 1 2 6 9 8 NOTE Due to continued product improvement images and illustrations in this manual may vary slightly from the product purchased All images in this manual are for reference purposes only Parts are not necessarily pictured to scale 3 7 4 After Sales Support AU 1300 886 649 NZ 0800 836 761 info tempo org ...

Страница 6: ... cord Unwind the cord to its full length Inspect the power supply cord and plug and all other parts of the appliance for visual dam age Do not use the appliance if anything appears to be damaged or not working properly In case of damage contact our after sales support centre Read instructions Make sure you have read and understood all instructions and warnings in this manual Refer to the illustrat...

Страница 7: ... clockwise direction 3 Install the fan blade onto the motor shaft with the cut outs fitted 4 Place the blade cap on the motor shaft after the blade 5 Fasten the parts into place by tightening the blade cap in anticlockwise direction 6 Check the correct rotation of the blade 7 Attach the front grille to back grille and fasten the grilles with the clamping ring The clamping ring has two grooves one ...

Страница 8: ...power at the outlet The fan will enter standby mode Press the POWER button to power on The fan will start operation in default mode medium speed Press the button again to set the fan to standby Press the SPEED button to select the fan speed from low medium and high Press the SWING button to start oscillation for widespread air distribution Press the button once more to stop oscillation To set the ...

Страница 9: ...he fan in a safe dry location protected from dust We recommend using the original carton for storage If you are storing the appliance fully assembled place a large plastic bag or piece of material over the top of the cleaned appliance for dust protection Service repair The appliance requires no maintenance and contains no user serviceable parts Do not attempt to take the motor housing apart Do not...

Страница 10: ...00 764 766 NZ Dispose of used batteries immediately This product has been designed so that the coin button cell battery is not accessible to young children as the battery compartment cover is secured with a screw or mechanical fastener Always ensure that the compartment is secured before use Battery replacement The remote control is powered by a 3V lithium button cell CR2025 When the battery needs...

Страница 11: ...rd Do not throw this appliance out with your household rubbish Electrical and electronic products contain substances which can have a detrimental effect on the environment and human health if disposed of inappropriately Observe any local regulations regarding the disposal of electrical consumer goods and dispose of it appropriately for recycling Contact your local authorities for advice on recycli...

Страница 12: ... make sure to contact our After Sales Support Centre on AU 1300 886 649 or NZ 0800 836 761 for advice Distributed by Tempo Aust Pty Ltd ABN 70 106 100 252 PO BOX 6056 Frenchs Forest Australia NSW 2086 Customer Helpline AU 1300 886 649 NZ 0800 836 761 Email info tempo org For an electronic version of this manual please contact our after sales support centre IM Version No V1 0 Issue May 2020 After S...

Отзывы: