


Modules
7 - 68 Bluetooth Module
7
3rd Party Bluetooth & WLAN Combo Module Configuration
Setup your Bluetooth Device so the Computer Can Find it
1.
Turn your Bluetooth device (e.g. PDA, mobile phone etc.) on.
2.
Make the device discoverable (to do this check your device documentation).
To Turn the Bluetooth Module On
1.
Press the
Fn + F12
key combination to power on the Bluetooth module.
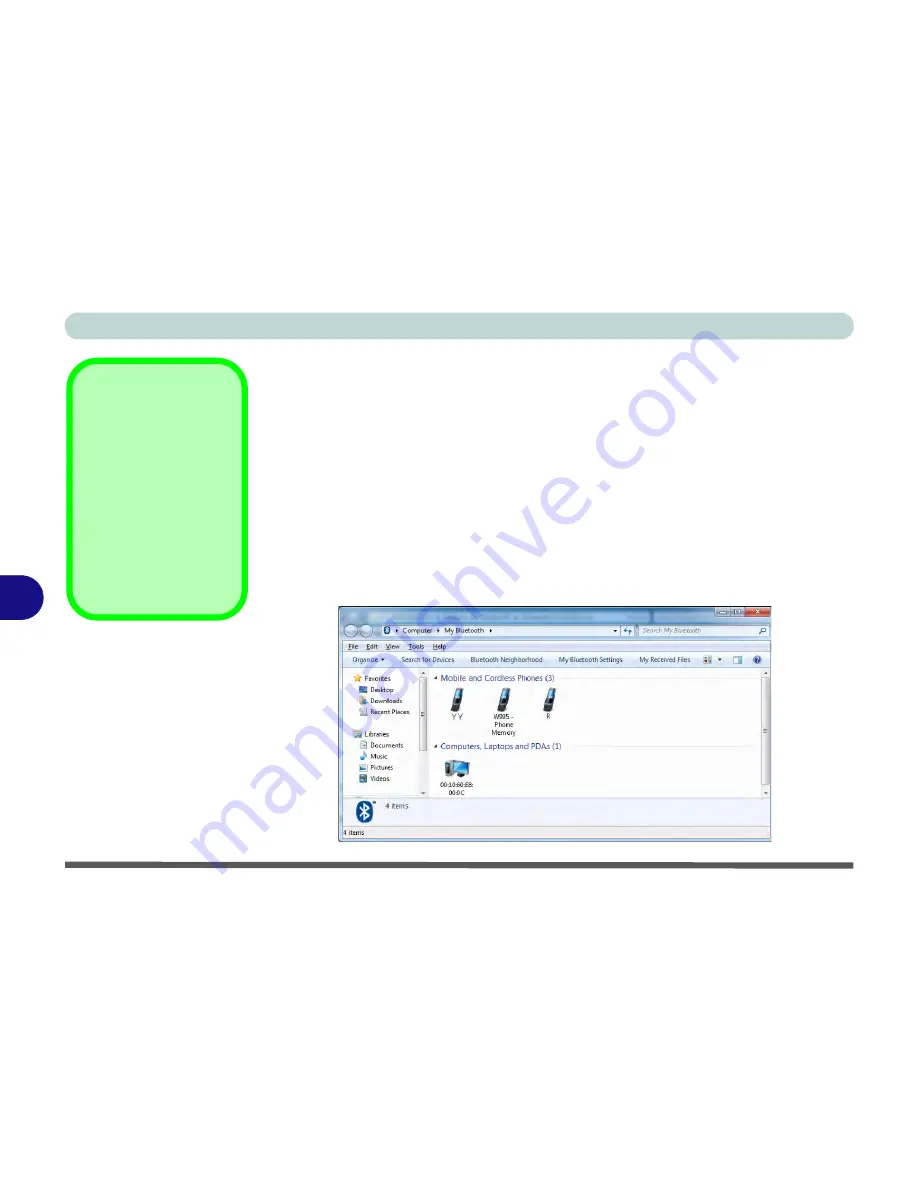
To Add a Bluetooth Device
1.
Double-click the
My
Bluetooth
application on the desktop (or access it from the
Programs/All Programs
menu).
2.
Double-click the device you want to pair with the computer (if no devices appear
press
F5
or click the
Refresh
button to search for devices).
Bluetooth Module &
Resuming From Sleep
Mode
The Bluetooth module’s de-
fault state will be off after re-
suming from the
Sleep
power-saving state. Use the
key combination (
Fn + F12
)
to power on the Bluetooth
module after the computer
resumes from Sleep.
Figure 7 - 44
My Bluetooth
Devices
Содержание Notebook V12.2.00
Страница 1: ...V12 2 00...
Страница 2: ......
Страница 52: ...Quick Start Guide 1 28 1...
Страница 68: ...Storage Devices Mouse Audio 2 16 2...
Страница 96: ...Drivers Utilities 4 10 4...
Страница 112: ...BIOS Utilities 5 16 5...
Страница 132: ...Upgrading The Computer 6 20 6...
Страница 150: ...Modules 7 18 PC Camera Module 7 Figure 7 7 Audio Setup for PC Camera Right click...
Страница 252: ...Interface Ports Jacks A 6 A...
Страница 282: ...Video Driver Controls C 24 C...


