7
T
ELEMETRY AND
S
ETTINGS
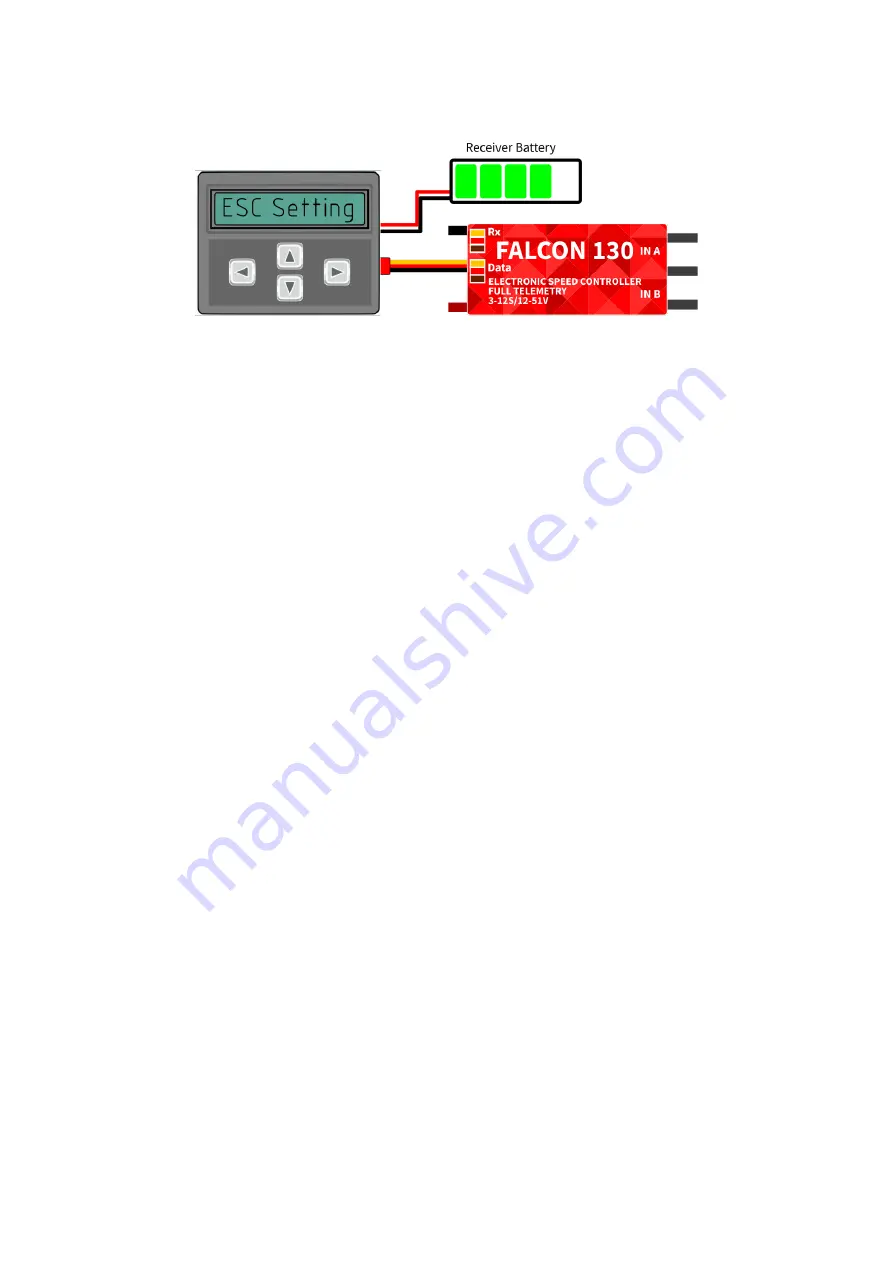
Plug the red data cable into the sensor slot of the JETIBOX / SMART-BOX (or corresponding receiver). Power it
up with a battery (4.5 - 8.4V). Now you can safely configure the controller using the arrows on the terminal.
The FALCON ESC is compatible with JETIBOX programming. The JETIBOX menu is divided into five sections:
•
Actual values
–
displays the latest telemetry values together with minimums and maximums.
o
Available telemetry: Voltage, current, capacity, RPM, power (percent), temperature.
o
If the motor chip ID is connected, also motor identification and temperature are shown.
o
Reset Min/Max - press left+right buttons together to reset all minimums and maximums.
•
Common settings
–
basic settings of the controller
o
Controller mode
–
basic controller mode (normal or fast).
o
Startup beep
–
choose a melody played after the controller initialization.
o
Standby beep
–
you can activate short repeated beeps as an indication of a powered motor
drive.
o
Motor endpoints, motor start, motor full
–
settings related to throttle input signal decoding.
o
Capacity reset
–
you can choose at which moment the capacity and consumed energy are reset.
▪
Power on
–
the capacity is cleared after initialization. However, the capacity from the
previous run is shown initially, until you start the motor.
▪
Voltage change
–
the capacity is cleared after you connect a battery with similar (or
greater) voltage compared to the maximum battery voltage from the previous run. This
means that each time you connect a fully charged battery of the same chemistry and
number of cells, the capacity will be cleared.
▪
Manual
–
the capacity/energy is never cleared and you must perform the reset
manually.
o
Language
–
you can choose the language of the JETIBOX screen.
•
Motor settings
–
settings related to motor parameters.
o
Direction, acceleration, timing, startup power, motor type, gear ratio, motor poles
–
see
the Motor Settings chapter.
o
Brake related settings
–
see the Brake configuration chapter.
o
Prop position, positioning PWM, position hold time
–
see the chapter Propeller positioning.
o
Motor Enabled (0/1)
–
motor operation can be enabled or disabled based on the logical state
of the specific input “IN
B
.2”
(connector pinout from left to right: 1 = Hall sensor input, 2 =
Motor enable input, 3 = 3.3V, 4 = Ground).
o
Freewheeling
–
enables freewheeling/active braking motor operation.
•
Protection
–
ESC and battery protection settings.
o
Low battery
–
behavior when the battery is discharged. Either set to slowly reduce the motor
power, or shut down the motor immediately. The minimum safe voltage is based on number of
cells (cell count) and voltage per cell.
o
Limit current
–
enable this feature to prevent high current peaks and system overload.
o
Limit power at 100°C
–
you can edit the maximum allowed PWM after the controller
temperature exceeds 100°C. The model must be operable, but the temperature must not
increase anymore.
•
Service
–
In this menu you can view the device version and reset it to the default factory configuration.
Содержание FALCON-120
Страница 12: ...12...


