background image

Order Information

10. Order Information

Type

Properties

Order No.

CAN-PN

PROFINET IO / CAN Gateway, 
CAN 2.0A/B (11/29-Bit CAN-ID), GSD file

C.2920.02

Accessories

Order No.

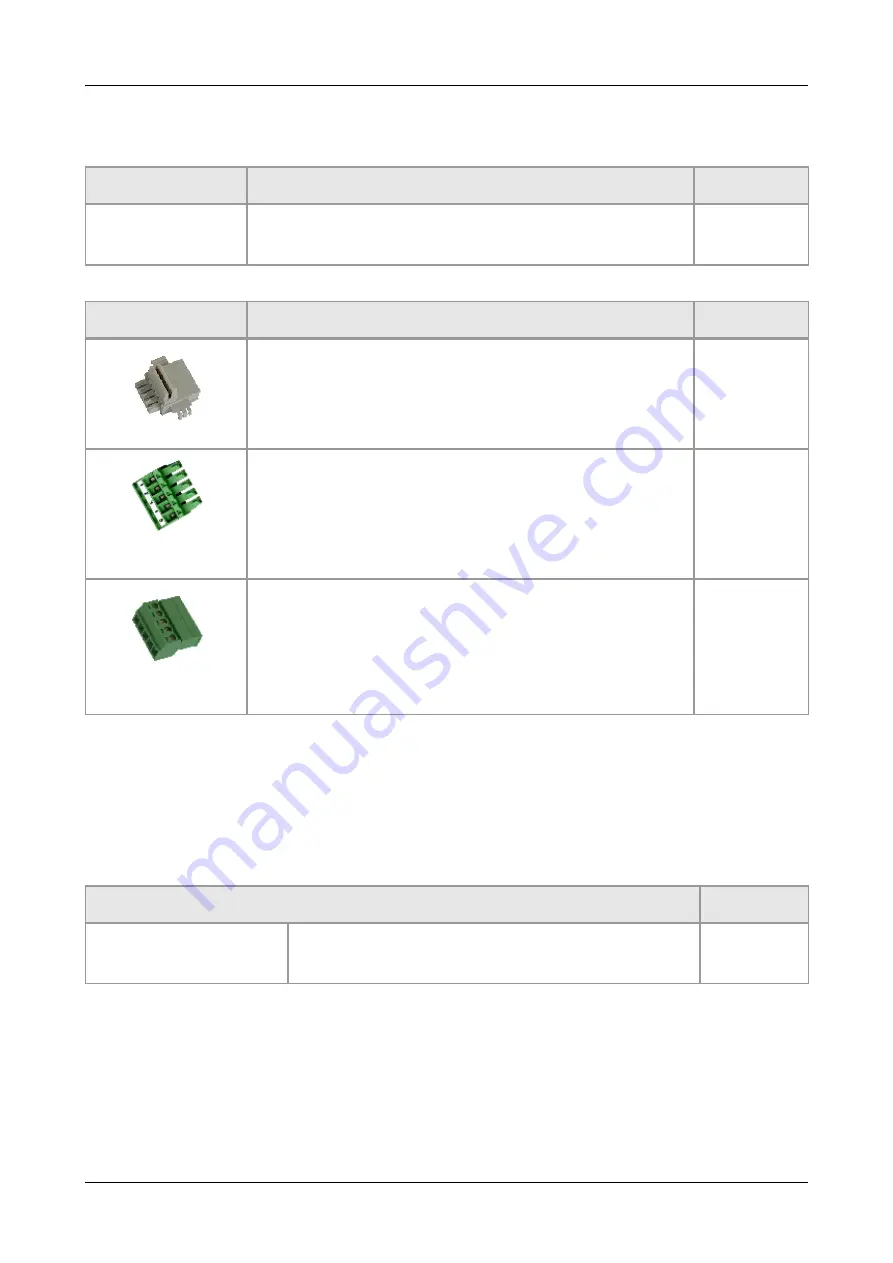
CAN-CBX-TBUS

Mounting-rail bus connector of the CBX-InRailBus for CAN-
CBX modules

C.3000.01

CAN-CBX-TBUS-

Connector

Terminal plug of the CBX-InRailBus for the connection of 
the +24V power supply voltage and the CAN interface 
Female type

C.3000.02

CAN-CBX-TBUS-

Connection adapter

Terninal plug of the CBX-InRailBus for the connection of the
+24V power supply voltage and the CAN-Interface 
Male type

C.3000.03

Table 9:

 Order information

PDF Manuals

Manuals are available in English and usually in German as well. For availability of English manuals
see table below.
Please download the manuals as PDF documents from our esd website

 www.esd.eu

 for free.


Manuals

Order No.

CAN-PN-ME

CAN-PN Manual in English
(Hardware and Software Manual)

C.2920.21

Table 10:

 Available manuals

Printed Manuals

If you need a printout of the manual additionally, please contact our sales team: 

[email protected]

 for

a quotation. Printed manuals may be ordered for a fee.

Page 38 of 38

Hardware Manual • Doc. No.: C.2920.21 / Rev. 1.4

CAN-PN

Содержание C.2920.02

Страница 1: ...y Hardware Manual to Product C 2920 02 CAN PN Hardware Manual Doc No C 2920 21 Rev 1 4 Page 1 of 38 esd electronics gmbh Vahrenwalder Str 207 30165 Hannover Germany http www esd eu Phone 49 0 511 3 72...

Страница 2: ...this document in any form whole or in part are subject to esd electronics s written approval 2020 esd electronics gmbh Hannover esd electronics gmbh Vahrenwalder Str 207 30165 Hannover Germany Phone 4...

Страница 3: ...iring notes and trouble shooting guide revised 9 EC declaration of conformity and PNO certificate updated 1 2 Editorial revision 2014 01 02 Safety notes revised 6 7 CAN wiring notes and trouble shooti...

Страница 4: ...warning relating to property damage DANGER Danger statements indicate a hazardous situation which if not avoided will result in death or serious injury WARNING Warning statements indicate a hazardous...

Страница 5: ...unnecessary thermal radiation Ensure an ambient temperature as specified in the technical data Qualified Personnel This documentation is directed exclusively towards personnel qualified in control and...

Страница 6: ...otection Typographical Conventions Throughout this manual the following typographical conventions are used to distinguish technical terms Convention Example File and path names dev null or stdio h Fun...

Страница 7: ...ial Environment Single Twisted Pair Cable 22 6 2 1 General Rules 22 6 2 2 Cabling 23 6 2 3 Branching 23 6 2 4 Termination 23 6 3 Heavy Industrial Environment Double Twisted Pair Cable 24 6 3 1 General...

Страница 8: ...4 8 3 2 Connection of the Power Supply Voltage 34 8 3 3 Connection of CAN 35 8 4 Removal of the CAN CBX Module from InRailBus 35 9 Declaration of Conformity and PNO Certificate 36 10 Order Information...

Страница 9: ...ce allows a maximum data transfer rate of 1 Mbit s The 100BASE TX PROFINET IO interface is compatible to IEEE802 3 and runs with 100 Mbit s The PROFINET IO as well as the CAN interface are electricall...

Страница 10: ...state See also from page 16 for signal assignments of the connectors For conductor connection and conductor cross section see page 18 NOTICE Read chapter Starting Up on page 13 before you start with...

Страница 11: ...nager for identification of the unit E red PROFINET IO link status off valid PROFINET IO connection exists LED1B on no valid PROFINET IO connection P green Firmware booted off firmware not yet booted...

Страница 12: ...on Link green off no PROFINET IO or Ethernet connection on PROFINET IO or Ethernet connection exists Activity yellow off no PROFINET IO connection blinking configuration on PROFINET IO connection acti...

Страница 13: ...tart with the installation Ensure the absence of voltage before starting any electrical work 1 Mount the CAN PN module and connect power supply voltage CAN bus and PROFINET IO 10 2 Please note that th...

Страница 14: ...IO interface PORT1 PORT2 X4 2x RJ 45 socket with integrated transformer and LEDs CAN bus interface and power supply voltage via InRailBus X5 5 pin ME MAX TBUS connector accessories Temperature range...

Страница 15: ...ailBus X5 Table 5 Data of the CAN interface 4 4 PROFINET IO Interface Number of interfaces 2 PROFINET IO PORT1 PORT2 Connection RJ 45 BASE TX 100 Mbit s compatible to IEEE 802 3 electrical isolation v...

Страница 16: ...Position Pin Assignment Imprint of the housing 24V M P Imprint of the connector none none Pin no 1 2 3 4 Signal Do not connect Do not connect M24 GND P24 24 V Please refer to the connecting diagram p...

Страница 17: ...ustration of device connector Aufdruck Signal Pin G CAN_GND 1 L CAN_L 2 Sh Shield 3 H CAN_H 4 5 Signal Description CAN_L CAN_H CAN signals CAN_GND reference potential of the local CAN physical layer S...

Страница 18: ...ection method spring cage connection spring cage connection Stripping length 10 mm 9 mm Conductor cross section solid min max 0 2 mm 2 5 mm 0 14 mm 1 5 mm Conductor cross section stranded min max 0 2...

Страница 19: ...r and LEDs yellow green Connector View Pin Assignment The pin assignment is designed compatible to IEEE 802 3 for 100BASE TX RJ45 socket NOTICE Cables of category CAT5 or higher have to be used to gra...

Страница 20: ...gs have to be entered in the Terminal Program used e g Tera Term or PuTTY When Updates are installed the default settings are automatically transferred by the update program 5 6 2 Connector Assignment...

Страница 21: ...the original ISO 11898 They have made system level tradeoffs for data rate cable length and parasitic loading of the bus However for CAN network design margin must be given for signal loss across the...

Страница 22: ...l CAN_GND has to be connected to the functional earth FE at exactly one point 4 A CAN net must not branch exception short cable stubs and has to be terminated with the characteristic impedance of the...

Страница 23: ...equipped at the CAN interface at the end of the bus is connected this one has to be used for termination instead of an external CAN termination plug 9 pin DSUB termination connectors with integrated...

Страница 24: ...s and has to be terminated with the characteristic impedance of the line generally 120 10 at both ends between the signals CAN_L and CAN_H and not to CAN_GND 5 Keep cable stubs as short as possible l...

Страница 25: ...connector can be used in which the shield potential is looped through e g the DSUB9 connector from ERNI ERBIC CAN BUS MAX order no 154039 If a mixed application of single twisted and double twisted c...

Страница 26: ...ss section depending on the cable length are described in the CiA recommendation CiA 303 1 see CiA 303 CANopen Recommendation Part 1 Cabling and connector pin assignment Version 1 8 0 Table 2 Bit Rate...

Страница 27: ...rmany www concab de e g BUS PVC C 1x 2x 0 22 mm Order No 93 022 016 UL appr BUS Schleppflex PUR C 1x 2x 0 25 mm Order No 94 025 016 UL appr 6 6 2 Cable for heavy industrial Environment Applications Fo...

Страница 28: ...es resistance of the CAN data pair conductors and the attached terminating resistors To test it please 1 Turn off all power supplies of the attached CAN nodes 2 Measure the DC resistance between CAN_H...

Страница 29: ...t data if there is a short circuit between CAN_GND and CAN_L but generally the error rate will increase strongly Make sure that there is no short circuit between CAN_GND and CAN_L 7 4 CAN_H CAN_L Volt...

Страница 30: ...work see figure below 2 Measure the DC resistance between CAN_H and CAN_GND see figure below 3 Measure the DC resistance between CAN_L and CAN_GND see figure below The measured resistance has to be ab...

Страница 31: ...Connector View Pin Assignment Pin Signal 5 M24 GND 4 P24 24 V 3 CAN_GND 2 CAN_L 1 CAN_H S FE PE_GND Signal Description CAN_L CAN_H CAN signals CAN_GND reference potential of the local CAN Physical lay...

Страница 32: ...lease proceed as follows Figure 12 Mounting rail with bus connector 1 Position the InRailBus connector on the mounting rail and snap it onto the mounting rail using slight pressure Plug the bus connec...

Страница 33: ...y the DIN rail bus connector 4 When mounting the CAN CBX module the metal foot catch snaps on the bottom edge of the mounting rail Now the module is mounted on the mounting rail and connected to the I...

Страница 34: ...cket on the right of the mounting rail bus connector of the InRailBus as described in Figure 15 Then connect the CAN interface and the power supply voltage via the terminal plug 8 3 2 Connection of th...

Страница 35: ...use this would cause incorrect branching A bus termination must be connected to the CAN connector of the CAN CBX module at the end of the CBX InRailBus see Fig 17 if the CAN bus ends there 8 4 Removal...

Страница 36: ...Declaration of Conformity and PNO Certificate 9 Declaration of Conformity and PNO Certificate Page 36 of 38 Hardware Manual Doc No C 2920 21 Rev 1 4 CAN PN...

Страница 37: ...Declaration of Conformity and PNO Certificate CAN PN Hardware Manual Doc No C 2920 21 Rev 1 4 Page 37 of 38...

Страница 38: ...or the connection of the 24V power supply voltage and the CAN Interface Male type C 3000 03 Table 9 Order information PDF Manuals Manuals are available in English and usually in German as well For ava...

Отзывы: