background image

6

  1.  Be sure the Plasma Console frame (chassis) is con-

nected to the ground system of the input power.

  2.  Connect the work piece to a good electrical ground.

  3.  Connect the work cable to the work piece. A poor 

or missing connection can expose you or others 

to a fatal shock.

  4.  Use well-maintained equipment. Replace worn or 

damaged cables.

    5.  Keep everything dry, including clothing, work 

area, cables, torch/electrode holder, and Plasma 

Console.

  6.  Make sure that all parts of your body are insulated 

from work and from ground.

  7.  Do not stand directly on metal or the earth while 

working in tight quarters or a damp area; stand 

on dry boards or an insulating platform and wear 

rubber-soled shoes.

  8.  Put on dry, hole-free gloves before turning on the 

power.

  9.  Turn off the power before removing your gloves.

 10.  Refer to ANSI/ASC Standard Z49.1 (listed on 

next page) for specific grounding recommenda-

tions. Do not mistake the work lead for a ground 

cable.

electric anD magnetic fielDs — may be danger-

ous. electric current flowing through any conductor 

causes localized electric and magnetic fields (emf). 

Welding and cutting current creates emf around 

welding cables and welding machines. therefore:

1. Welders having pacemakers should 

consult  their physician before weld-

ing. EMF may interfere with some 

pacemakers.

2.  Exposure to EMF may have other health effects 

which are unknown.

3. Welders should use the following procedures to 

minimize exposure to EMF:

  A. Route the electrode and work cables together. 

Secure them with tape when possible.

  B. Never coil the torch or work cable around your 

body.

  C. Do not place your body between the torch and 

work cables. Route cables on the same side of 

your body.

  D.  Connect the work cable to the work piece as close 

as possible to the area being welded.

  E.  Keep welding Plasma Console and cables as far 

away from your body as possible.

fumes anD gases -- fumes and 

gases, can cause discomfort or harm, 

particularly in confined spaces. Do 

not breathe fumes and gases. shield-

ing gases can cause asphyxiation. 

therefore:

1.  Always provide adequate ventilation in the work area 

by natural or mechanical means. Do not weld, cut, or 

gouge on materials such as galvanized steel, stain-

less steel, copper, zinc, lead, beryllium, or cadmium 

unless positive mechanical ventilation is provided. 

Do not breathe fumes from these materials.

2.  Do not operate near degreasing and spraying opera-

tions. The heat or arc rays can react with chlorinated 

hydrocarbon  vapors to form phosgene, a highly 

toxic gas, and other irritant gases.

3. If you develop momentary eye, nose, or throat ir-

ritation while operating, this is an indication that 

ventilation is not adequate. Stop work and take 

necessary steps to improve ventilation in the work 

area. Do not continue to operate if physical discom-

fort persists.

4.  Refer to ANSI/ASC Standard Z49.1 (see listing below) 

for specific ventilation recommendations.

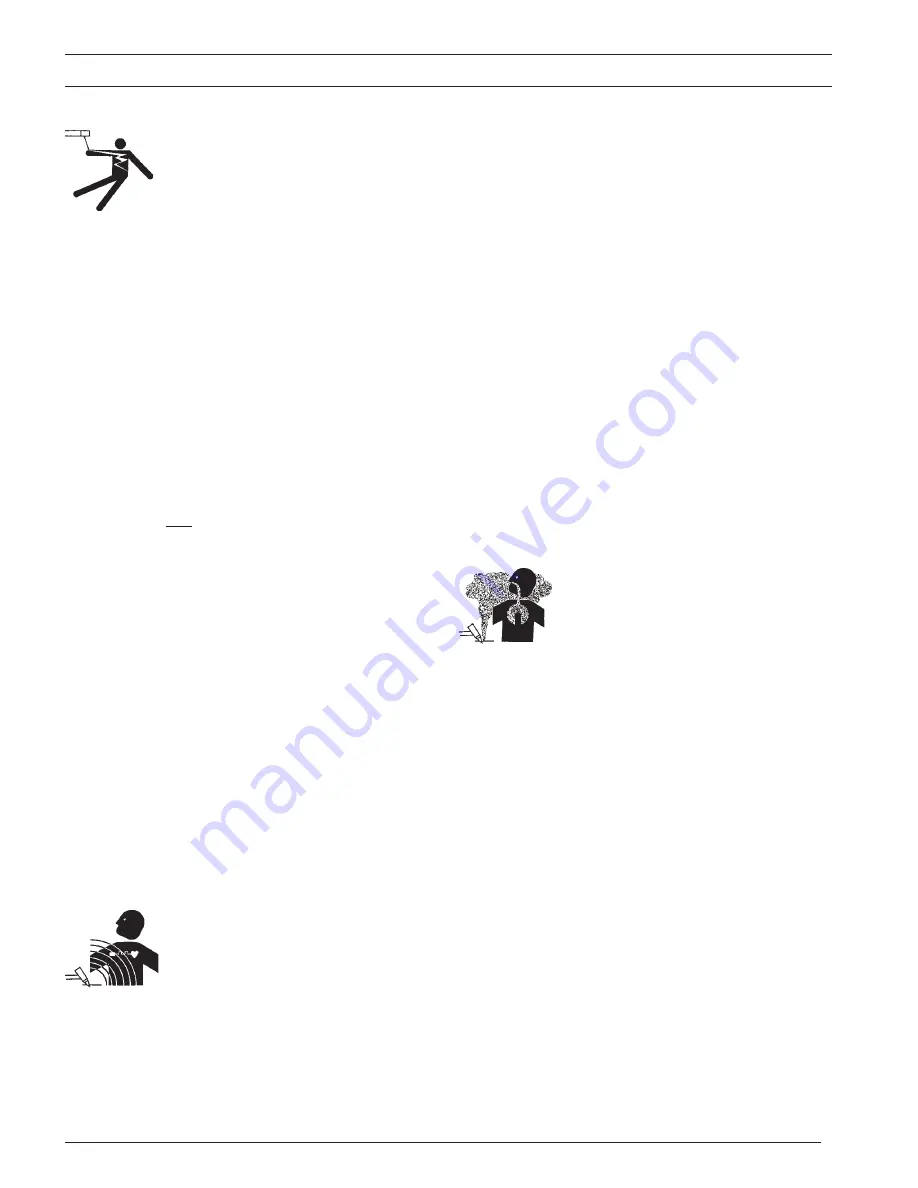
electrical shock -- contact with 

live electrical parts and ground can 

cause severe injury or death. Do not 

use ac welding current in damp areas, 

if movement is confined, or if there is 

danger of falling.

section 1 

safetY

Содержание Heliarc 281iAC/DC

Страница 1: ...HELIARC AC DC 281i 283i 353i Operating Manual 0558012079 10 2014 0558012079 07 22 2013 Preliminary Operating Manual HELIARC AC DC 281i 283i 353i...

Страница 2: ...from improper use faulty maintenance damage improper repair or alteration by anyone other than the manufacturer or a ser vice facility designated by the manufacturer Be sure this information reaches t...

Страница 3: ...3 TABLE OF CONTENTS SECTION TITLE PAGE SECTION 1 SAFETY 4 SECTION 2 INTRODUCTION 9 SECTION 3 INSTALLATION 11 SECTION 4 ASSEMBLY 13 SECTION 5 OPERATION 19 SECTION 6 MAINTENANCE 45 SECTION 7 WARRANTY 47...

Страница 4: ...recautions are guidelines when working with cutting machines and associated equipment More explicit precautions are found within the instruction literature For specific safety and industry related inf...

Страница 5: ...bekeptbuttoned andopenpocketseliminatedfrom the front of clothing 5 Protectotherpersonnelfromarcraysandhotsparks withasuitablenon flammablepartitionorcurtains 6 Usegogglesoversafetyglasseswhenchippin...

Страница 6: ...exposure to EMF A Route the electrode and work cables together Secure them with tape when possible B Never coil the torch or work cable around your body C Do not place your body between the torch and...

Страница 7: ...alifiedpersonnelperformtheinstal lation troubleshooting and maintenance work Do not perform any electrical work unless you are qualified to perform such work 2 Before performing any maintenance work i...

Страница 8: ...ent damage 15 CAUTION If equipment is placed on a surface that slopes more than 15 toppling over may occur Personal injury and or significant damage to equipment is possible CAUTION To avoid personal...

Страница 9: ...e with other AC TIG systems the HF is switched off once the arc is established This fact means that the possibility of electrical interference from the equipment is greatly reduced The AC DC 281i can...

Страница 10: ...10 90 10 90 10 90 DCpulsemodefrequency 0 4 300Hz 0 4 300Hz 0 4 300Hz ACpulsemodefrequency 0 4 2Hz 0 4 2Hz 0 4 2Hz Pulseduty pulsetime backgroundtime 30 65 30 65 30 65 Backgroundcurrent ofmainA 10 90 1...

Страница 11: ...n if interference problems occur shielded cable or conduit should be considered The primary cabling and welding cables should be kept separate to other mains wiring and control signalling or communica...

Страница 12: ...green yellow earth conductor is securely connected to a good mains earth 4 Water Cooler Unit W C U 0558101703 If supplied install the W C U in the base of the trolley by sliding it part way into the t...

Страница 13: ...13 SECTION 4 ASSEMBLY SECTION 4 ASSEMBLY TROLLEY ASSEMBLY fig 4 1 15...

Страница 14: ...14 SECTION 4 ASSEMBLY TROLLEY ASSEMBLY fig 4 2 15b SECTION 4 ASSEMBLY...

Страница 15: ...15 SECTION 4 ASSEMBLY SECTION 4 ASSEMBLY POWER SOURCE TO TROLLEY ASSEMBLY fig 4 3 15c...

Страница 16: ...16 SECTION 4 ASSEMBLY POWER SOURCE TO TROLLEY ASSEMBLY fig 4 4 View From A 15d SECTION 4 ASSEMBLY...

Страница 17: ...rews M5x12 3 on the back panel see view A IMPORTANT OPERATION 1_Remove the plastic cap 5 2_Once the Cooler is instal fasten the safety screw M6x16 6 COOLING LIQUID FILL UP 1 Turn off Cooler and Power...

Страница 18: ...exiting from the side of the dins plug This must be connected to the red water return fitting on the W C U front panel Connect the other water in hose of the torch to the blue water out fitting of th...

Страница 19: ...n it will show the open circuit voltage 70V approx The R H dis play shows the preset main welding current A as adjustable by the Main Setting Control In addition the mains power indicator will be on a...

Страница 20: ...ft arc strike modes can be used but HF should be used for AC TIG to prevent contamination of the tungsten 3 2 Once the arc is established in either AC or DC TIG the HF is automatically turned off HF i...

Страница 21: ...ents in the range 30 65 5 3 In the standby mode press the Final Current Background key FC Before the display stops flashing set the required background current using the Main Setting Control Note that...

Страница 22: ...lay is in standby mode See Subsection 4 7 6 If required choose pulse mode when the display is in standby mode See Subsection 5 7 7 Position the electrode within 3 5mm of the work 7 8 Press the torch s...

Страница 23: ...C process and or Pulse Mode when the display is in standby mode See Subsections 4 5 8 7 Position the electrode 1 8 3mm 8 8 Release the switch and the arc will strike and the welding current will slope...

Страница 24: ...m from the work Press the torch switch to initiate the gas flow 10 5 On releasing the torch switch the arc will strikes assuming HF mode selected and the current will up slope to its peak main value M...

Страница 25: ...enhancements in Waveform Balance control Lanthanated or ceriated tungstens can be used for both DC and AC TIG modes due to their higher current capacity and offer improved performance by maintaining a...

Страница 26: ...normally occur when using a foot control can on occasion result in poor arc stability until the current is raised to a reasonable level and the tungsten is hot To prevent this the power source has an...

Страница 27: ...ance Pulse Duty Cycle Display AC Power Indicator Output ON Indicator Fault Over Temp Indicator Process Select AC Mode On Off Panel Remote Select AC Balance AC Frequency Main Adjustment Knob High Frequ...

Страница 28: ...and hold together Slope Down Time Final Current Pulse Background Current A Pre Post Flow Gas Time Pulse Mode On Off SMAW MMA Stick 2T Trigger Mode 4T Trigger Mode TIG Spot Mode Dual Schedule Store Pr...

Страница 29: ...ON 5 OPERATION 29 SECTION 5 OPERATION 1 2 3 4 5 6 7 8 9 10 11 12 13 14 15 16 17 18 19 20 21 22 23 24 5 Front Control Panel Description and Parameters con t Front Control Panel Heliarc 281i 283i and 35...

Страница 30: ...lso adjustable from 30 65 The values are set with the encoder Amper 14 9 Balance Encoder The encoder adjusts the balance of the AC from 10 90 of the set current The value is shown on the Display V 4 1...

Страница 31: ...GTAW Tig 2t Mode 24 SMAW Stick Mode On stick mode the Arc Force and Hot Start are adjustable By pressing the button select mode 19 enter in a sub menu to adjust Arc Force 0 50 and Hot Start 0 50 with...

Страница 32: ...HS AF Yes Yes NA NA NA NA NA Yes Yes TIG 2 Stroke Yes Yes Yes Yes NA Yes Yes Yes Yes Tig 4 Stroke Yes Yes Yes Yes Yes Yes Yes Yes Yes Tig Spot Yes Yes Yes NA NA Yes Yes Yes Yes Tig Dual Schedule Yes Y...

Страница 33: ...e Desired Mode is Selected Indicator illuminates ON Sequential Each time the Select Mode Button is pressed the Mode Indicator Sequences One Position Down until it Reaches Bottom Then it returns to the...

Страница 34: ...Mode Press and hold Select Mode Button until HS is displayed in the V Display Window Adjust main current control to set Hot Start 0 50 Percent of Current Setting Arc Force Once in Stick Mode Press and...

Страница 35: ...ch Quick Set Up Function Control Procedure Range Tig Two Stroke Mode Press Select Mode Button Repeatedly until the Tig Two Stroke Mode Indicator illuminates ON ON OFF Down Slope Time Press and Adjust...

Страница 36: ...oke Mode with Foot Control Quick Set Up Function Control Procedure Range Tig Two Stroke Mode Press Select Mode Button Repeatedly until the Tig Two Stroke Mode Indicator illuminates ON ON OFF Down Slop...

Страница 37: ...atedly until the Tig FourStroke Mode Indicator illuminates ON ON OFF Down Slope Time Press and Adjust to desired time 1 to 10 Seconds Final Current Level Press and Adjust to desired current level 2 3...

Страница 38: ...e Button Repeatedly until the Tig Spot Mode Indicator illuminates ON Sequence Spot Time Adjust Spot Time in the A Display Window 1 10 sec Spot Weld Current Level Set Spot Weld Current Level in Normal...

Страница 39: ...nge AC Mode ON Press to turn AC Mode ON ON OFF AC Frequency Adjust to desired Frequency 20 to 200 Hz AC Waveform Balance Adjust to desired Balance 10 to 90 Electrode Negative Penetration AC Mode OFF P...

Страница 40: ...edure Range Pulse Mode ON Press to turn Pulse Mode ON ON OFF Pulse Peak Current Adjust to desired Peak Current Level Min to Max of Machine Pulse Background Current Adjust to desired Background Current...

Страница 41: ...to toggle between Fre Frequency and dut Duty Frequency Duty Cycle Pulse Frequency Adjust to desired Pulse Frequency Pulses Sec AC Mode 4 to 2 Hz DC Mode 4 to 300 Hz Pulse Duty Cycle Adjust to desired...

Страница 42: ...ee Seconds Unit will Display Prg and Program Number Enter Exit Program Parameter Set Adjust to desired Program Number 1 through 60 Programs Store Program Press and Hold Three Seconds Unit Beeps Four T...

Страница 43: ...ly Press ON Press OFF ON OFF Down Slope Time Press and Adjust to desired time 1 to 10 Seconds Pre Post Press Once Gas Flow Time Press Twice Press and Adjust to desired time Pre flow 1 to 2 5 Sec Post...

Страница 44: ...in is changed the welding torch should be removed from the power source and blown clean with compressed air The wire end must not have sharp ed ges when inserted into the wire liner For detailed infor...

Страница 45: ...coolant To fill up the cooling unit with coolant do the following 1 Turn of the cooling unit and the power source 2 Disconnect the cooling unit connector from the power source 3 Remove the safety bolt...

Страница 46: ...t the discretion of the company replace the product or its defective parts Please see complete Warranty Statement in the ESAB Standard Terms and Conditions publication This guarantee excludes 1 Normal...

Страница 47: ...47 SECTION 7 warranty...

Страница 48: ...x 843 664 5557 Hours 7 30 AM to 3 30 PM EST Repair Estimates Repair Status F WELDING EQUIPMENT TRAINING Telephone 843 664 4428 Fax 843 679 5864 Hours 7 30 AM to 4 00 PM EST Training School Information...

Отзывы: