14
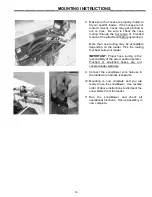
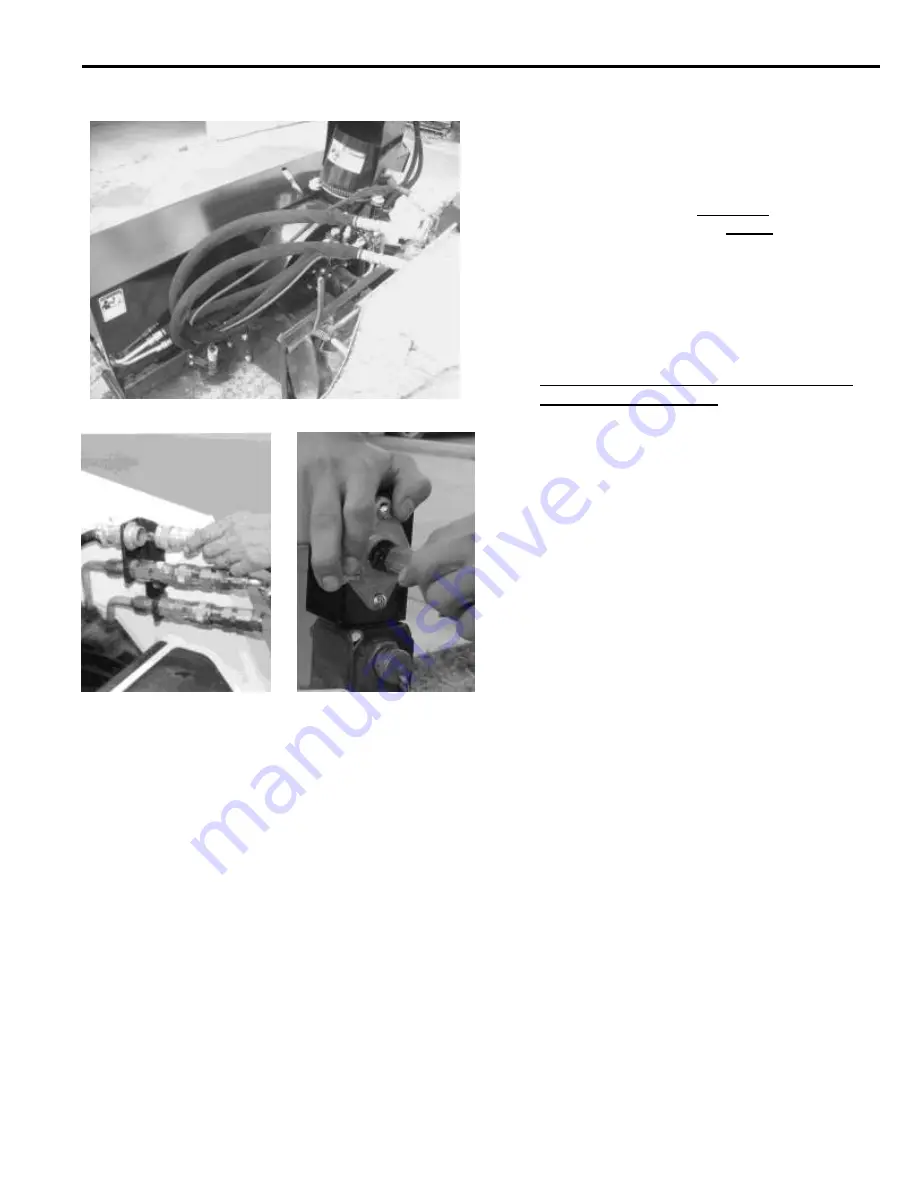
8. Make sure the hoses are properly routed to
fit your specific loader. If the hoses are not
routed correctly, hoses may get pinched or
rub on tires. Be sure to check the hose
routing through the full range of intended
motion of the attachment before operating it.
More than one routing may be acceptable
depending on the loader. Pick the routing
that best suits your loader.
IMPORTANT:
Proper hose routing is the
responsibility of the owner and/or operator.
Pinched or stretched hoses are not
covered under warranty.
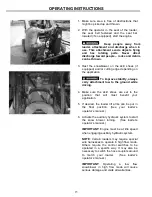
9. Connect the snowblower wire harness to
the loader wire harness receptacle.
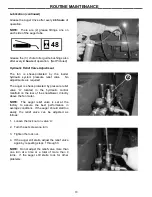
10. Mounting is now complete and you are
ready to use the snowblower. Use reverse
order of above instructions to dismount the
snow blower from the loader.
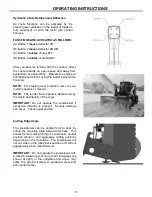
11. Run the snowblower and check all
operational functions. Set-up assembly is
now complete.
____________________MOUNTING INSTRUCTIONS________________
Содержание 2020 Series
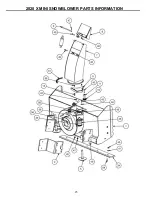
Страница 23: ...23 2020 X MINI SNOWBLOWER PARTS INFORMATION ...
Страница 29: ...29 2020 PARTS INFORMATION_______________ ...
Страница 31: ...31 2420 2420XL PARTS INFORMATION ...
Страница 36: ...36 HYDRAULIC PARTS INFORMATION ...
Страница 44: ...44 P N 350099 Date Printed 11 26 2018 Erskine Attachments LLC Printed in U S A ...


