background image


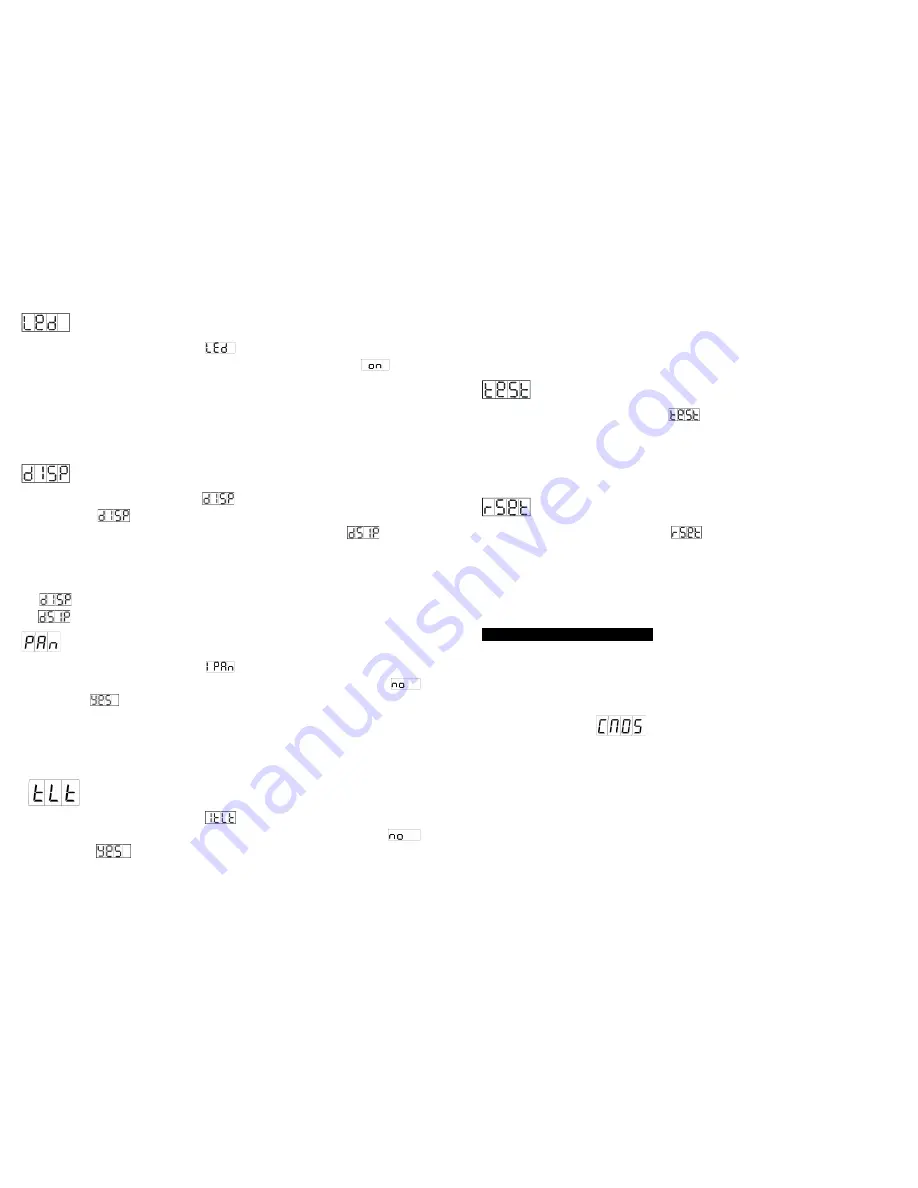
    Led Display 

Press the 

MENU

 button to select 

. Press the 

ENTER

 button and the 

display will blink. Use the 

DOWN

 and 

UP

 buttons to select the 

  (Led 

display on) or 

oFF

 (Led display off) mode. Once the mode has been 

selected, press the 

ENTER

 button to confirm. To go back to the functions 

without any changes press the

 MENU

 button again. Press and hold the 

MENU

 button for one second or wait for one minute to go back to the main 

menu. 

  Display Inversion 

Press the 

MENU

 button to select 

. Press the 

ENTER

 button to change 

to the mode   

  (display normal), It will be automatically saved after 8 

seconds. Press the 

ENTER

 button again to select the mode 

  (display 

inversion). To go back to the functions press the

 MENU

 button. Press and 

hold the 

MENU

 button for one second or wait for one minute to go back to 

the main menu. 


  Display normal mode is for floor standing the unit. 

  Display inversion mode is for hanging the unit from a ceiling. 

  Pan Inversion   

Press the 

MENU

 button to select 

. Press the 

ENTER

 button and the 

display  will  blink.  Use  the 

DOWN

  and 

UP

  buttons  to  select  the 


(normal)  or

    (pan  inversion)  mode.  Once  the  mode  has  been 

selected, press the 

ENTER

 button to confirm. To go back to the functions 

without any changes press the

  MENU

 button again. Press and hold the 

MENU

 button for one second or wait for one minute to go back to the main 

menu. 


  Tilt Inversion 

Press the 

MENU

 button to select 

. Press the 

ENTER

 button and the 

display  will  blink.  Use  the 

DOWN

  and 

UP

  buttons  to  select  the 


(normal)  or 

  (tilt  inversion)  mode.  Once  the  mode  has  been 

selected, press the 

ENTER

 button to confirm. To go back to the functions 

without any changes press the

  MENU

 button again. Press and hold the 

MENU

 button for one second or wait for one minute to go back to the main 

menu. 


    Auto-Test


Press the 

MENU

 button to select 

. Press the 

ENTER

 button and the 

unit  will  run  a  self-test  with  its  built-in  programs.  To  go  back  to  the 
functions without any changes press the

  MENU

 button again. Press and 

hold the 

MENU

 button for one second or wait for one minute to go back to 

the main menu. 

    Reset 

Press the 

MENU

 button to select 

. Press the 

ENTER

 button and all 

channels of the unit will return to their standard position. 


4. How To Control The Unit   


1. Master/slave built-in preprogram function 

2. Universal DMX controller 

There is no need to turn the unit off when you change the DMX address as 
new DMX address setting will be effected at once. Every time you turn the 

unit on, it will show “

 on the display and move all the motors to 

their ‘home’ position and you may hear some noises for about 20 seconds. 
After that the unit will be ready to receive DMX signal or run the built in 
programs. 


Содержание EQLED002

Страница 1: ...Equinox Fusion 75 Order code EQLED002 User Manual Contents 1 Safety Instructions 2 Features Specifications 3 How To Set The Unit 4 How To Control The Unit 5 Troubleshooting 6 Fixture Cleaning ...

Страница 2: ...ating problem stop using the unit immediately Never try to repair the unit by yourself Repairs carried out by unskilled people can lead to damage or malfunction Please contact the nearest authorized technical assistance center Always use the same type spare parts Do not touch any power cables during operation as the high voltage may cause an electric shock Warning To prevent or reduce the risk of ...

Страница 3: ...ing functions DOWN To go backward in the selected functions UP To go forward in the selected functions ENTER Confirms the selected functions Mains input Connection to the power supply DMX input output For DMX 512 linking Use a 3 pin XLR cables to link to the controller or to other units 3 2 Main Functions To select any of the given functions press the MODE button up to where the required function ...

Страница 4: ...cted press the ENTER button to confirm To go back to the functions without any changes press the MENU button again Press and hold the MENU button for one second or wait for one minute to go back to the main menu Show Mode Press the MENU button to select Press the ENTER button and the display will blink Use the DOWN and UP buttons to select the show 1 or show 2 or show 3 or show 4 mode Once the mod...

Страница 5: ...on again Press and hold the MENU button for one second or wait for one minute to go back to the main menu Tilt Inversion Press the MENU button to select Press the ENTER button and the display will blink Use the DOWN and UP buttons to select the normal or tilt inversion mode Once the mode has been selected press the ENTER button to confirm To go back to the functions without any changes press the M...

Страница 6: ...ut any changes press the MENU button again Press and hold the MENU button one second or wait for one minute to go back to the main menu Please refer to the below diagram to address your first 4 units Channel mode Unit 1 Address Unit 2 Address Unit 3 Address Unit 4 Address 12 channels 1 13 25 37 4 3 DMX 512 Configuration 3 pin XLR Pin 1 GND Pin 2 Negative signal Pin 3 Positive signal 1 ch Mode 4 ch...

Страница 7: ...that may occur during operation and some suggestions for easy troubleshooting A The unit does not work no light and the fan does not work 1 Check the connection of the power and the main fuse B Not responding to DMX controller 1 Check DMX cables to see if linked correctly 2 If the DMX address is showing but no response to the controller check the address settings and DMX polarity 3 Try another DMX...

Страница 8: ...www prolight co uk ...

Отзывы: