


1.
Turn of the printer by pressing the
P
button, and then unplug the power cord.
2.
Disconnect any connected cables.
3.
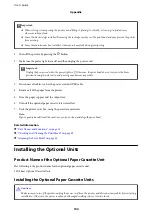
Remove the optional paper cassette unit from its box, and then remove any protective materials.
4.
Lower the printer onto the optional paper cassette unit.
5.
Reconnect the power cord and any other cables, and then plug in the printer.
6.
Turn on the printer by pressing the
P
button.
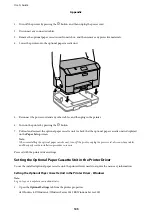
7.
Pull out and reinsert the optional paper cassette unit to check that the optional paper cassette unit is displayed
on the
Paper Setup
screen.
Note:
When uninstalling the optional paper cassette unit, turn of the printer, unplug the power cord, disconnect any cables,
and then perform the installation procedure in reverse.
Proceed with the printer driver settings.
Setting the Optional Paper Cassette Unit in the Printer Driver
To use the installed optional paper cassette unit, the printer driver needs to acquire the necessary information.
Setting the Optional Paper Cassette Unit in the Printer Driver - Windows
Note:
Log on to your computer as an administrator.
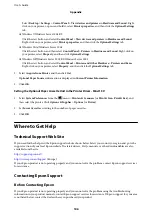
1.
Open the
Optional Settings
tab from the printer properties.
❏
Windows 8.1/Windows 8/Windows Server 2012 R2/Windows Server 2012
User's Guide
Appendix
105
Содержание WorkForce Pro WF-M5190DW
Страница 1: ...User s Guide NPD5220 00 EN ...


