201
6.
Select
Basic Settings
options as necessary.
7.
Select the
Advanced
tab and select options as necessary.
8.
Select
Presets
to save your scan settings.
Note:
Presets can be locked by an administrator. If you cannot access or change this setting,
contact your administrator for assistance.
9.
Press the
Save
icon.
Your product scans your original and saves the scanned file to a memory device.
Parent topic:
Starting a Scan Using the Product Control Panel
Scanning to the Cloud
You can use the control panel to send your scanned files to a destination that you have registered with
Epson Connect.
Note:
Make sure to set up your product using Epson Connect before using this feature.
1.
Place your original on the product for scanning.
Note:
To scan a double-sided or multi-page document, place all of the pages in the ADF.
2.
Press the
home button, if necessary.
3.
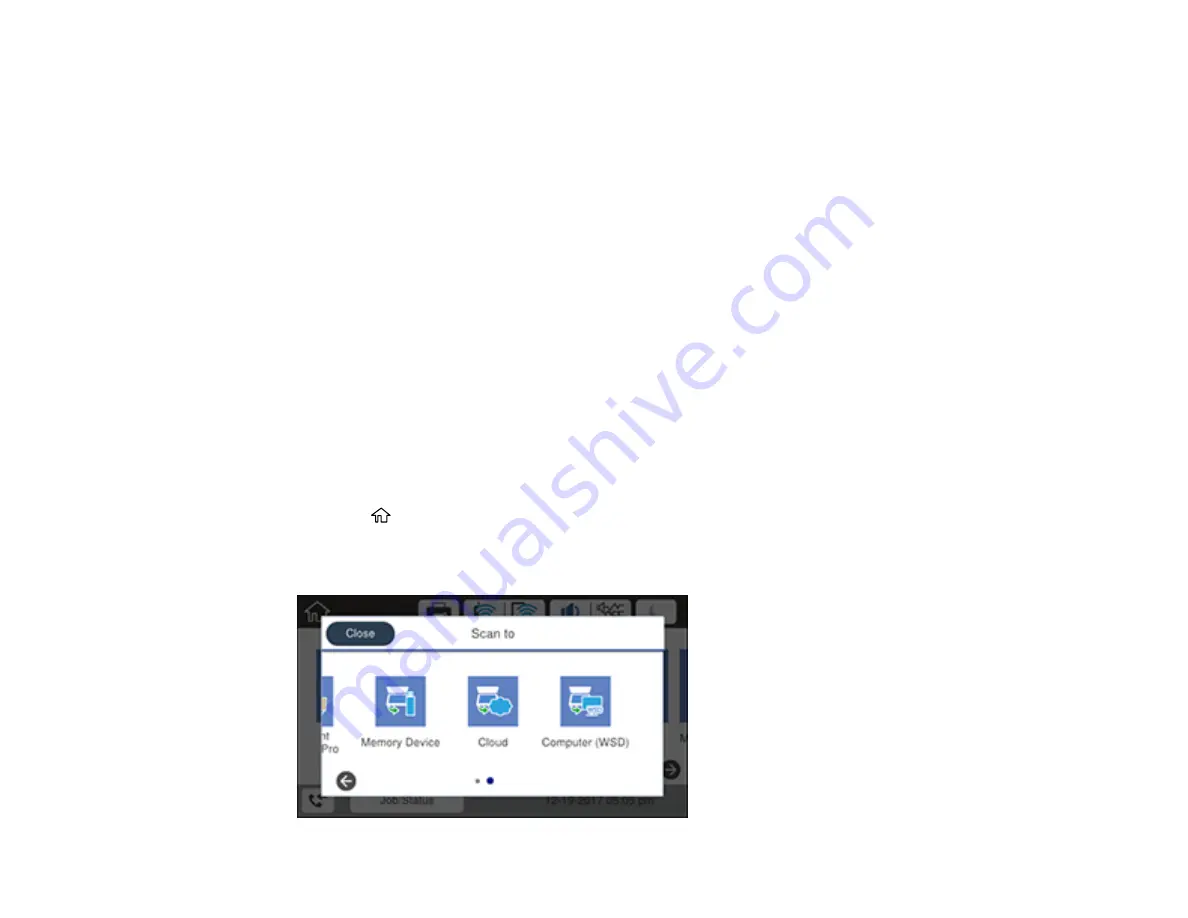
Select
Scan
.
You see a screen like this:
Содержание WorkForce Pro WF-C5710
Страница 1: ...WF C5710 WF C5790 User s Guide ...
Страница 2: ......
Страница 106: ...106 Scanning Faxing ...
Страница 117: ...117 You see this window 3 Select the double sided printing options you want to use 4 Click OK to return to the Main tab ...
Страница 140: ...140 10 Select the Layout tab 11 Select the orientation of your document as the Orientation setting ...
Страница 189: ...189 2 Select the Active tab 3 Select the job you want to cancel and select Cancel Parent topic Printing from a Computer ...
Страница 329: ...329 9 Uninstall the optional paper cassette if necessary ...
Страница 331: ...331 Related concepts Print Head Cleaning Print Head Alignment ...
Страница 401: ...401 Parent topic Technical Specifications ...


