


47
3.
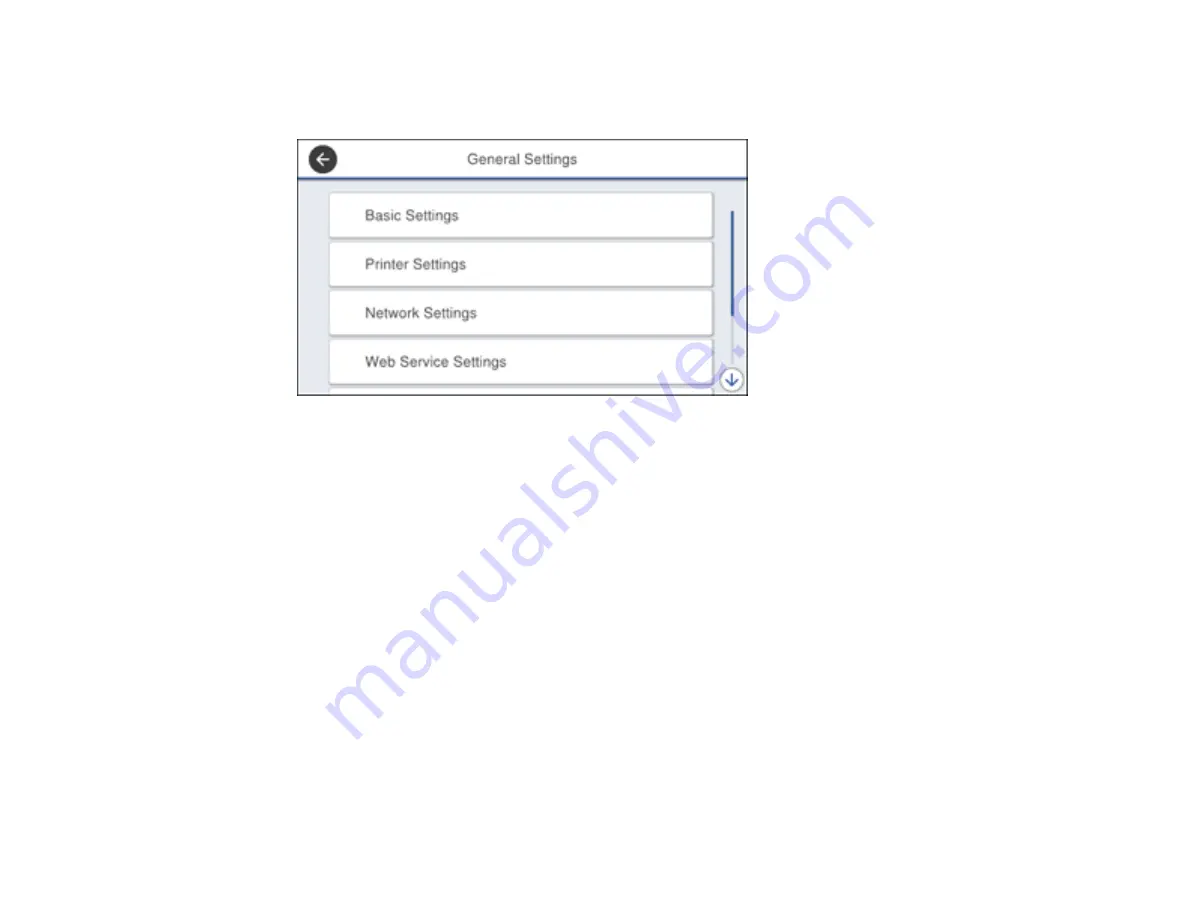
Select
General Settings
.
You see a screen like this:
4.
Scroll down and select
System Administration
.
5.
Select
Security Settings
.
6.
Select
Access Control
.
7.
Select
On
.
8.
Enable
Accept Unknown User Jobs
to allow users to print from generic drivers or use the WSD
scanning function.
Parent topic:
Related tasks
Setting a Password and Locking the Control Panel
Entering a User ID and Password for Printing
Entering a User ID and Password for Scanning
Changing LCD Screen Language
You can change the language used on the LCD screen.
Note:
This setting can be locked by an administrator. If you cannot access or change this setting,
contact your administrator for assistance.
Содержание WF-C869R
Страница 1: ...WF C869R User s Guide ...
Страница 2: ......
Страница 20: ...20 8 Attach the front cover to the stands 9 Remove the output tray from the product ...
Страница 25: ...25 5 Remove the output tray 6 Remove paper cassette 2 from the product ...
Страница 29: ...29 11 Insert a label into the holder indicating the paper size to be loaded in each of the paper cassettes ...
Страница 37: ...37 2 Select Settings 3 Select General Settings 4 Select Basic Settings 5 Select Date Time Settings ...
Страница 56: ...56 8 Optional cabinet 1 Rear paper feed edge guides 2 Paper support and extension ...
Страница 74: ...74 Parent topic Product Basics Related topics Wi Fi or Wired Networking ...
Страница 142: ...142 You see this window 3 Select the double sided printing options you want to use 4 Click OK to return to the Main tab ...
Страница 223: ...223 You see an Epson Scan 2 window like this ...
Страница 225: ...225 You see an Epson Scan 2 window like this ...
Страница 230: ...230 You see this window ...
Страница 246: ...246 DSL connection 1 Telephone wall jack 2 DSL filter 3 DSL modem ...
Страница 247: ...247 ISDN connection 1 ISDN wall jack 2 Terminal adapter or ISDN router ...
Страница 255: ...255 3 Select General Settings 4 Scroll down and select Fax Settings 5 Select Basic Settings 6 Select Rings to Answer ...
Страница 329: ...329 6 Pull out rear cover 2 D2 7 Remove the roller cover inside the printer ...
Страница 334: ...334 5 Open the rear cover E that matches with the paper cassette you removed ...
Страница 343: ...343 You see a window like this 4 Click Print ...
Страница 354: ...354 Parent topic Adjusting Print Quality Related topics Loading Paper ...
Страница 388: ...388 3 Carefully remove any jammed paper 4 Pull out rear cover 2 D2 ...
Страница 390: ...390 2 Open rear cover E on the optional paper cassette unit with the jammed paper ...
Страница 393: ...393 4 Carefully remove any jammed pages ...
Страница 394: ...394 5 Close the ADF cover then raise the document cover ...
Страница 395: ...395 6 Carefully remove any jammed pages 7 Lower the document cover ...


