170
Caution:
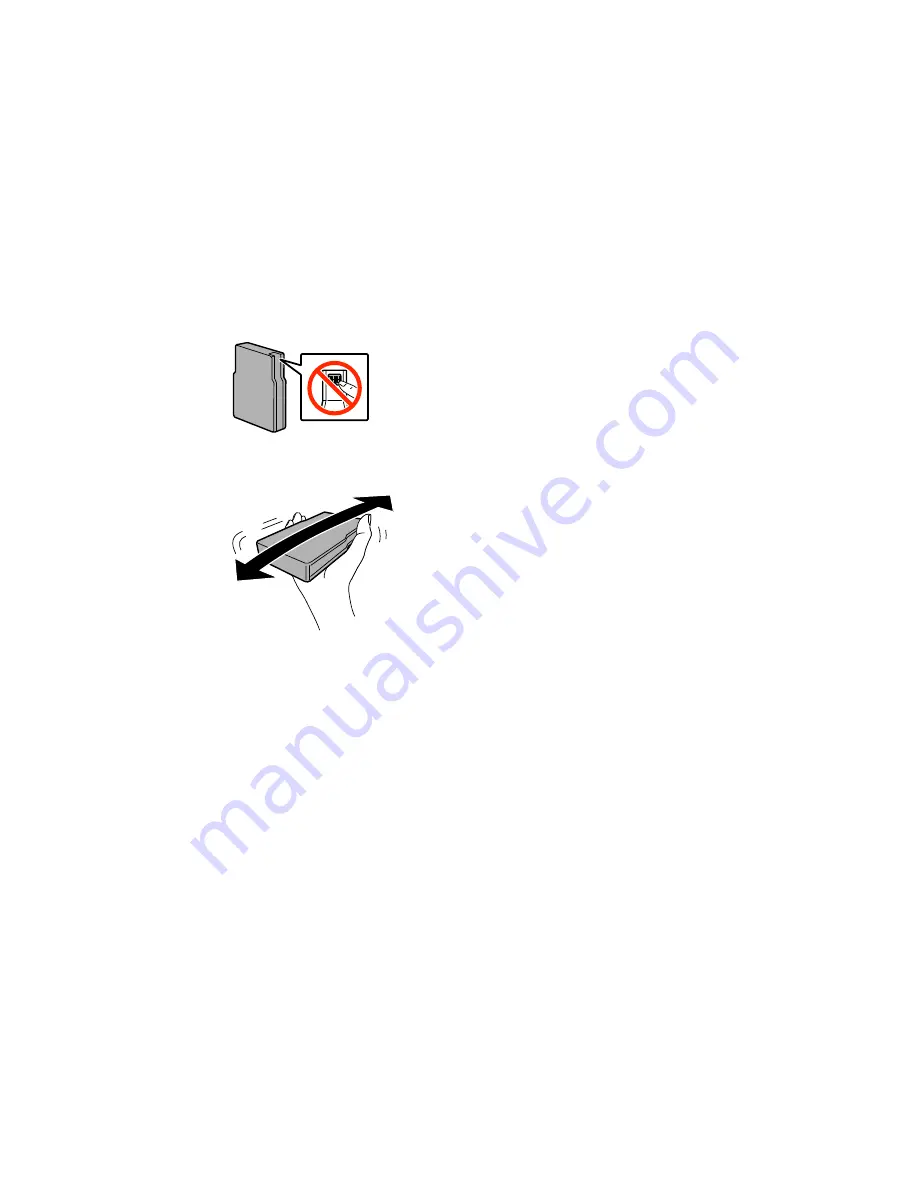
Do not touch the green chip on the cartridge. Install the new cartridge immediately after
removing the old one; if you do not, the print head may dry out and be unable to print.
7.
Gently shake the ink cartridge horizontally for about five seconds as shown.
Caution:
Do not remove any labels or seals, or ink will leak.
8.
Insert the new cartridge into the holder and push it in until it clicks into place.
9.
If the
Cartridge Check
option is displayed on the LCD screen, press the
OK
button to make sure the
cartridges are installed correctly.
Caution:
If necessary, press in the ink cartridge until it clicks into place.
10. When you are finished, close the front cover.
The product starts charging the ink and returns to its previous state when finished.
Note:
Do not turn off the printer during ink replacement.
Содержание WF-8090
Страница 1: ...WF 8090 User s Guide ...
Страница 2: ......
Страница 11: ...11 WF 8090 User s Guide Welcome to the WF 8090 User s Guide For a printable PDF copy of this guide click here ...
Страница 19: ...19 1 Edge guides 2 Paper support 3 Rear paper feed slot B1 4 Feeder guard ...
Страница 57: ...57 1 Open the feeder guard and pull up the paper support 2 Slide the edge guides outward ...
Страница 78: ...78 Note Secure the optional cassette to the cabinet as shown here ...
Страница 191: ...191 Related topics Loading Paper ...
Страница 209: ...209 3 Remove the output tray and pull out the paper cassette 4 Pull the lever to lower the cover ...
Страница 213: ...213 2 Open rear cover 1 D1 3 Carefully remove any jammed paper ...
Страница 237: ...237 Single sheets 1 0 12 inch 3 mm minimum 2 1 81 inch 46 mm minimum 3 2 01 inch 51 mm minimum Envelopes ...


