8
Copying
Copying a Photo
To print long-lasting photos with a professional finish,
choose an Epson paper specially designed for photos
(
&
1.
Make sure the EPSON STYLUS PHOTO RX is
turned on.
2.
Load several sheets of 10
×
15 cm (4
×
6 in.) or
13
×
18 cm (5
×
7 in.) photo paper.
3.
Place your original on the document table;
&
If you want to scan more than one photo at a time
(
&
4.
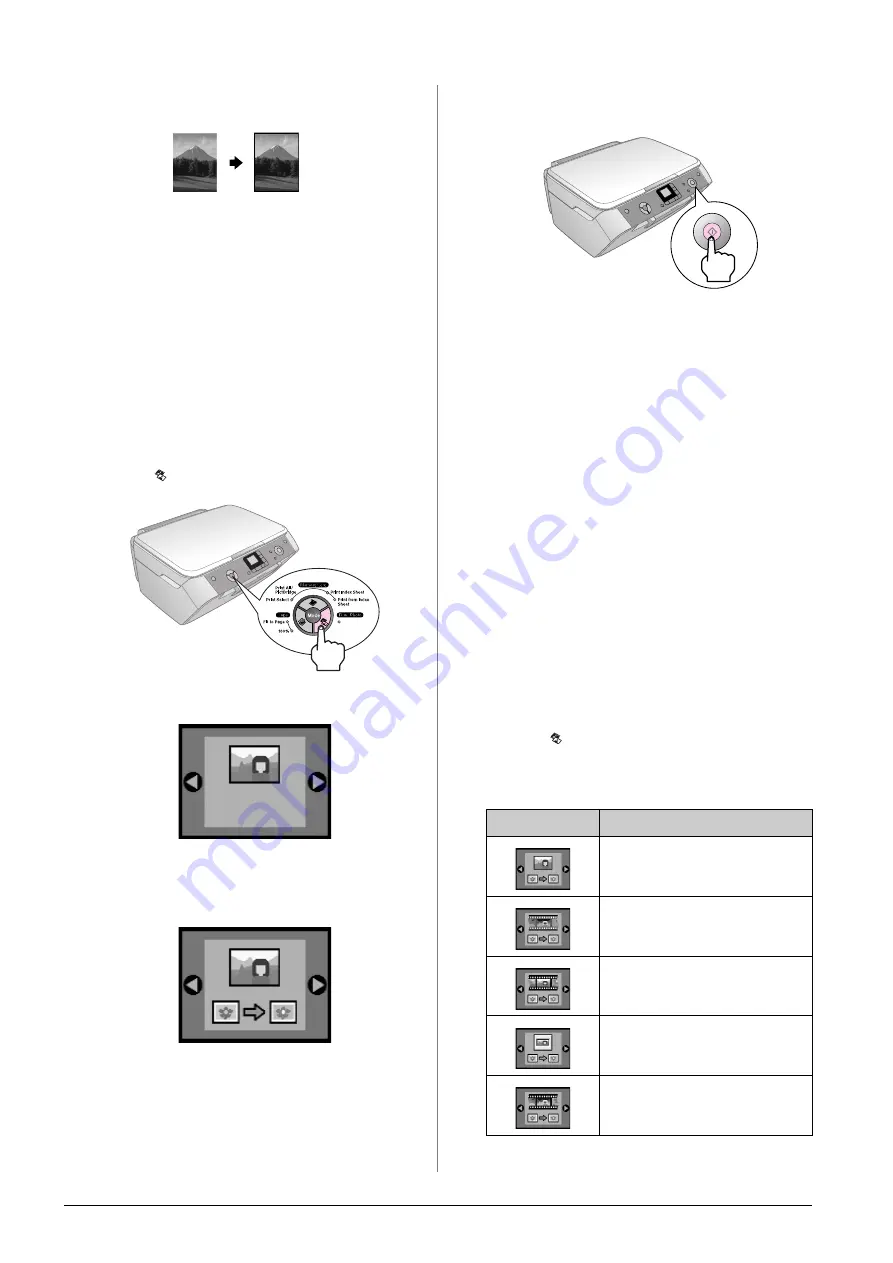
Press the
Film/Photo Mode
button.
5.
Use the
l
or
r
button to select copy photo.
When color restoration is selected, as shown
below, the photo is copied with color restoration
on; (
&
You can also use this function to restore the color
to faded slides, films, or negatives. For more
information on handling and restoring these kinds
of documents, (
&
6.
Press the
x
Start
button. The photo is scanned and
a preview is displayed on the LCD screen.
7.
Use the
u
or
d
button to set the number of copies.
8.
On the control panel, select the paper type and the
paper size that you loaded.
9.
Press the
x
Start
button again.
If you need to stop copying, press the
y
Stop/Clear
Settings
button.
Restoring Color in Faded
Documents
If you have documents such as photos, negatives,
films, or slides, that have become faded over time, you
can bring them back to life with color restoration.
1.
Load one or more sheets of suitable paper;
&
2.
Place your document on the document table
making sure that it is aligned correctly.
For photos;
&
page 6. For negatives, positives,
films, or slides;
&
3.
Press the
Film/Photo Mode
button.
4.
Use the
l
or
r
button to view the types of
documents you can restore.
Setting
Description
Copy a photograph with color
restoration.
Copy a color negative with color
restoration.
Copy a positive color film with color
restoration.
Copy a slide with color restoration.
Copy a black-and-white negative
with color restoration.
Содержание Stylus Photo RX520 Series
Страница 32: ...Printed in XXXXXXX XX XX XX XXX ...


