


4.
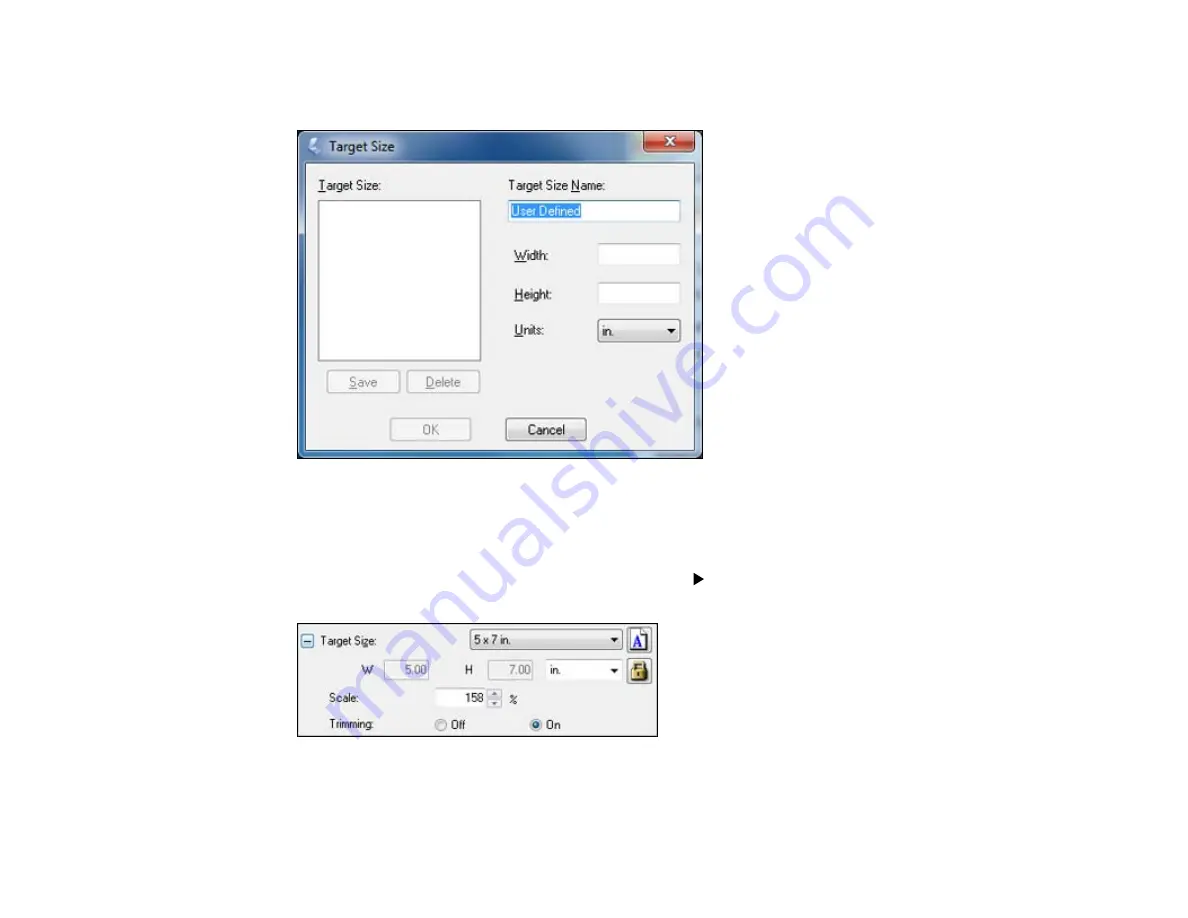
To create a scanned image size that is not available in the Target Size list, click the
Customize
option.
5.
Name the custom size, enter the size, click
Save
, and click
OK
. Then create a scan area on the
preview image.
The marquee is automatically proportioned for your custom scan size.
6.
To use additional sizing tools, click the
+
(Windows) or
(Mac OS X) icon next to the Target Size
setting and select options as desired.
•
Scale
: Reduces or enlarges your image by the percentage you enter.
•
Trimming
: Turns automatic image cropping on or off.
103
Содержание Stylus NX230
Страница 1: ...EPSON Stylus NX230 User s Guide ...
Страница 2: ......
Страница 10: ......
Страница 11: ...EPSON Stylus NX230 User s Guide Welcome to the EPSON Stylus NX230 User s Guide 11 ...
Страница 17: ...Product Parts Back 1 AC inlet 2 USB port Parent topic Product Parts Locations 17 ...
Страница 29: ...Parent topic Loading Paper 29 ...
Страница 77: ...77 ...
Страница 83: ... Normal preview Click the Auto Locate icon to create a marquee dotted line on the preview image 83 ...
Страница 87: ...3 Adjust the scan area as necessary 87 ...
Страница 94: ...94 ...
Страница 102: ...3 Adjust the scan area as necessary 102 ...
Страница 108: ...4 Select your scan settings as necessary 108 ...
Страница 125: ...125 ...
Страница 136: ...136 ...
Страница 140: ...140 ...


