Copying a Photo
13
Copying a Photo
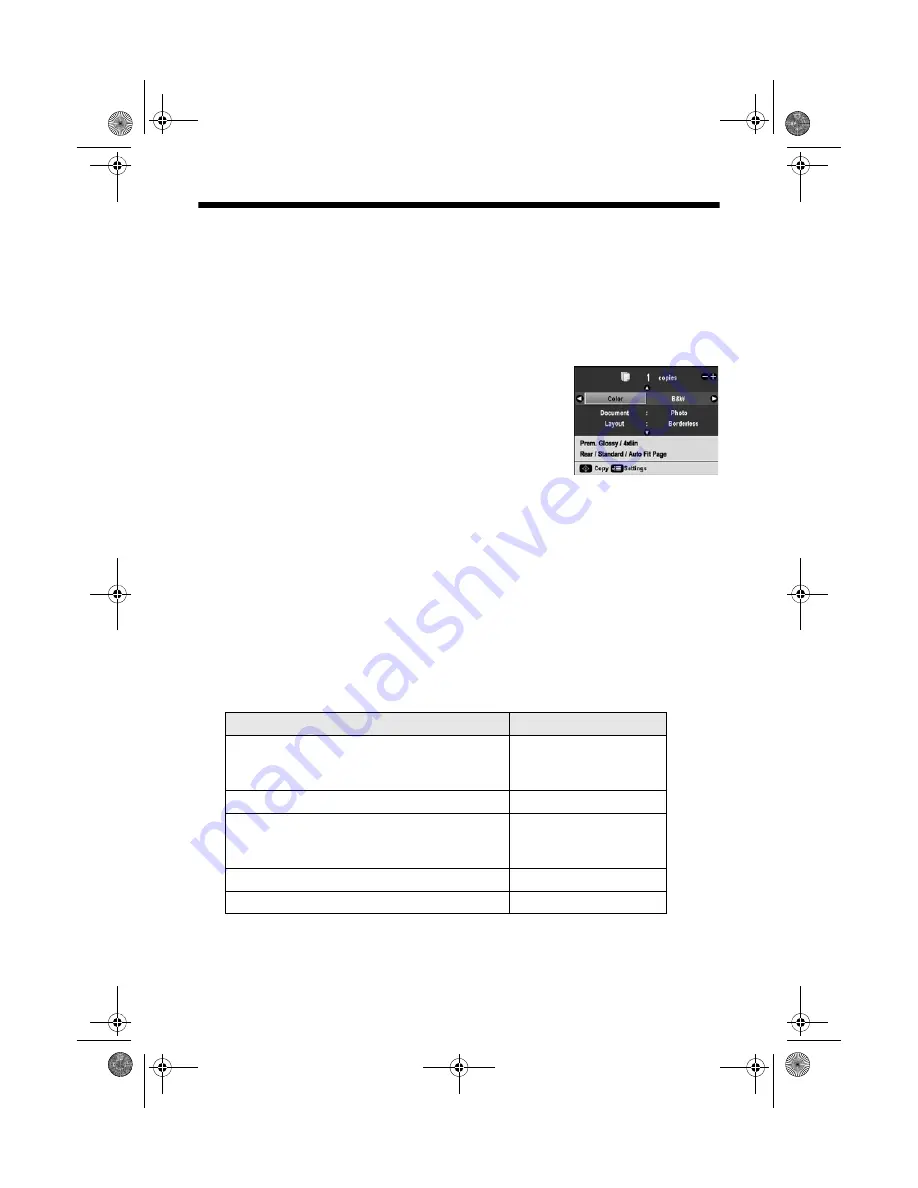
You can make copies of your photos on 4 × 6-inch, 5 × 7-inch, 8 × 10-inch,
letter-size, or A4-size photo paper using a variety of layouts.
1. Load Epson photo paper in the rear sheet feeder. See page 8 for instructions.
2. Place your photo on the glass (see page 11) and close the cover.
3. Press the
Copy
button.
4. Press
+
or
–
to select the number of copies you want.
5. Press
l
or
r
to select
Color
or
B&W
.
6. Press
d
, then press
r
to change the document type
to
Photo
.
Note:
To copy a photo on plain paper in the front paper cassette, select
Graphics
.
To copy borderless photos on 4 × 6-inch Epson Premium Photo Paper Glossy
or Semi-gloss paper loaded in the rear sheet feeder, go to step 9.
To change any of the settings, go to the next step.
7. Press
d
, then press
r
to change the layout, if necessary. See your on-screen
User’s Guide
for details.
8. To copy on a different type of paper or change any of the other settings, press
x
Menu
. Following is a list of the Paper Type settings:
Select your settings and press
OK
. For information about the various settings
available, see your on-screen
User’s Guide.
Paper Type
Paper Type setting
Plain paper
Epson Bright White Paper
Epson Presentation Paper Matte
Plain Paper
Epson Premium Presentation Paper Matte
Matte
Epson Premium Photo Paper Glossy
Epson Premium Photo Paper Semi-gloss
Epson Ultra Premium Photo Paper Luster
Prem. Glossy
Epson Ultra Premium Photo Paper Glossy
Ultra Glossy
Epson Photo Paper Glossy
Photo Paper
sprx680_qg.book Page 13 Wednesday, June 6, 2007 8:40 AM


