


55
• The document type and scan date for the file name are automatically detected. You can change
them as necessary.
• You can save the scanned image in a variety of formats. If you select Searchable PDF as the
File
type
setting, you can select the OCR (Optical Character Recognition) language.
• If you also want to save a copy of the scanned image to your computer, click the checkbox.
5.
Click
Send
.
Parent topic:
Scanning a Document in Epson ScanSmart
Printing a Scan
You can print your scanned image and save the scanned file to your computer.
Note:
Printing scanned images is available only with Epson printers.
1.
Make sure your originals are scanned and reviewed. See the link below.
2.
In the
Select Action
window, click
.
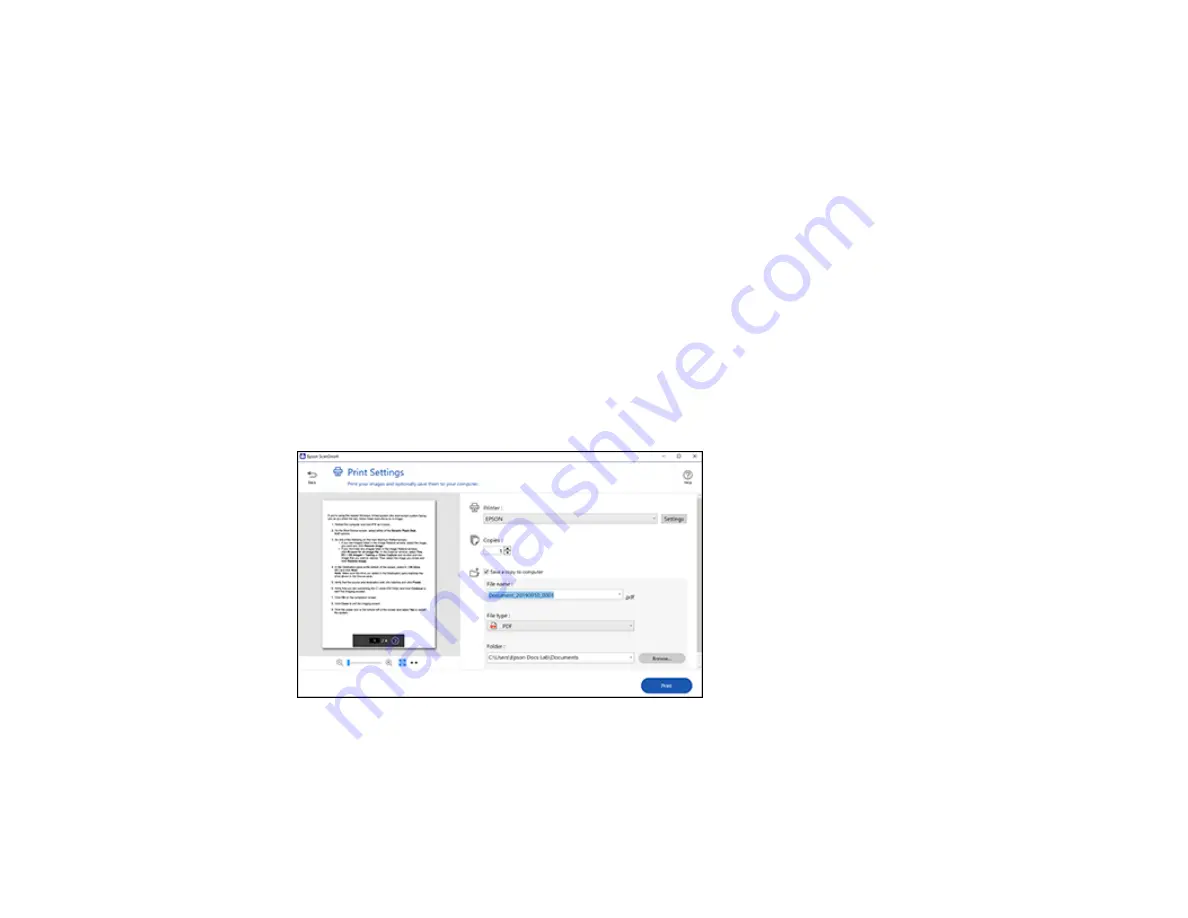
You see a screen like this:
3.
Change the settings as follows:
• Select the Epson printer and change the print settings, if necessary.
• Select the number of copies you want to print.
Содержание ES-865
Страница 1: ...ES 865 User s Guide ...
Страница 2: ......
Страница 18: ...18 8 Stopper 1 Kensington security slot 2 USB port 3 Power inlet 1 Cover open lever 2 Scanner cover ...
Страница 27: ...27 ...
Страница 38: ...38 Note Do not load plastic cards vertically 4 Slide the edge guides against the edges of the card ...
Страница 41: ...41 3 Slide the input tray edge guides all the way out ...
Страница 45: ...45 6 Load the carrier sheet in the input tray as shown until it meets resistance Folded original ...
Страница 58: ...58 1 On the main Epson ScanSmart screen click Change You see a screen like this ...
Страница 63: ...63 You see a screen like this 2 Click the Save Settings tab ...
Страница 67: ...67 You see a screen like this 2 Click the Customize Actions tab ...
Страница 70: ...70 Click the Manage Invoices Receipts trial icon on the Select Action screen ...
Страница 75: ...75 You see a screen like this 2 Click the License Management tab ...
Страница 79: ...79 You see a screen like this 5 Click Manage Invoices Receipts You see a screen like this ...
Страница 89: ...89 You see a screen like this 2 Click the Currency and Language tab ...
Страница 91: ...91 You see a screen like this 2 Click the Manage Item List tab ...
Страница 97: ...97 2 Open the flatbed scanner cover ...
Страница 113: ...113 13 Press down on the pickup roller cover latch and pull up the cover to remove it ...
Страница 117: ...117 22 Pull down on the cover open lever and open the scanner cover The scanner enters roller cleaning mode ...
Страница 121: ...121 5 Press down on the pickup roller cover latch and pull up the cover to remove it ...
Страница 127: ...127 3 Close the input tray extension and the output tray Note Make sure the output tray is securely closed ...


