12
• Language
• Regular Cleaning Alert Settings
• System Administration
Note:
If your system has an administrator, contact your administrator before enabling restricted access.
1.
Press the
home button, if necessary.
2.
Select
Settings
and press the
OK
button.
3.
Use the arrow buttons to select
System Administration
and press the
OK
button.
4.
Press the
OK
button to select
Restrict User Access
.
5.
Select
On
and press the
OK
button.
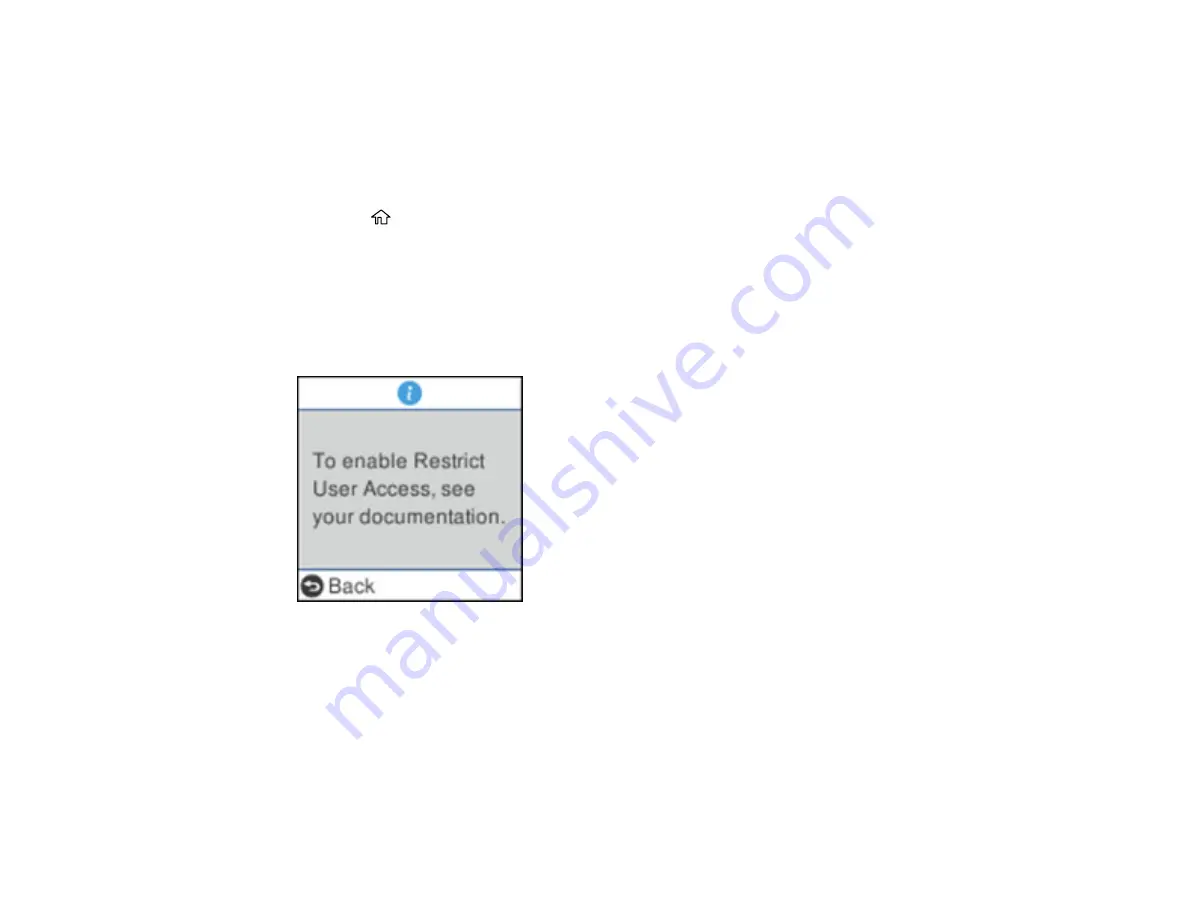
You see a screen like this:
6.
Press and hold the up and down arrow buttons simultaneously.
You return to the Settings screen.
7.
Press the
OK
button to confirm that access restriction is enabled.
To disable access restriction, select
Settings
>
System Administration
and press the
OK
button.
When you see the
Restrict User Access is enabled
screen, press and hold the up and down arrow
buttons simultaneously. Then press the
OK
button, select
Off
, and press the
OK
button again.
Parent topic:
Содержание ES-865
Страница 1: ...ES 865 User s Guide ...
Страница 2: ......
Страница 18: ...18 8 Stopper 1 Kensington security slot 2 USB port 3 Power inlet 1 Cover open lever 2 Scanner cover ...
Страница 27: ...27 ...
Страница 38: ...38 Note Do not load plastic cards vertically 4 Slide the edge guides against the edges of the card ...
Страница 41: ...41 3 Slide the input tray edge guides all the way out ...
Страница 45: ...45 6 Load the carrier sheet in the input tray as shown until it meets resistance Folded original ...
Страница 58: ...58 1 On the main Epson ScanSmart screen click Change You see a screen like this ...
Страница 63: ...63 You see a screen like this 2 Click the Save Settings tab ...
Страница 67: ...67 You see a screen like this 2 Click the Customize Actions tab ...
Страница 70: ...70 Click the Manage Invoices Receipts trial icon on the Select Action screen ...
Страница 75: ...75 You see a screen like this 2 Click the License Management tab ...
Страница 79: ...79 You see a screen like this 5 Click Manage Invoices Receipts You see a screen like this ...
Страница 89: ...89 You see a screen like this 2 Click the Currency and Language tab ...
Страница 91: ...91 You see a screen like this 2 Click the Manage Item List tab ...
Страница 97: ...97 2 Open the flatbed scanner cover ...
Страница 113: ...113 13 Press down on the pickup roller cover latch and pull up the cover to remove it ...
Страница 117: ...117 22 Pull down on the cover open lever and open the scanner cover The scanner enters roller cleaning mode ...
Страница 121: ...121 5 Press down on the pickup roller cover latch and pull up the cover to remove it ...
Страница 127: ...127 3 Close the input tray extension and the output tray Note Make sure the output tray is securely closed ...


