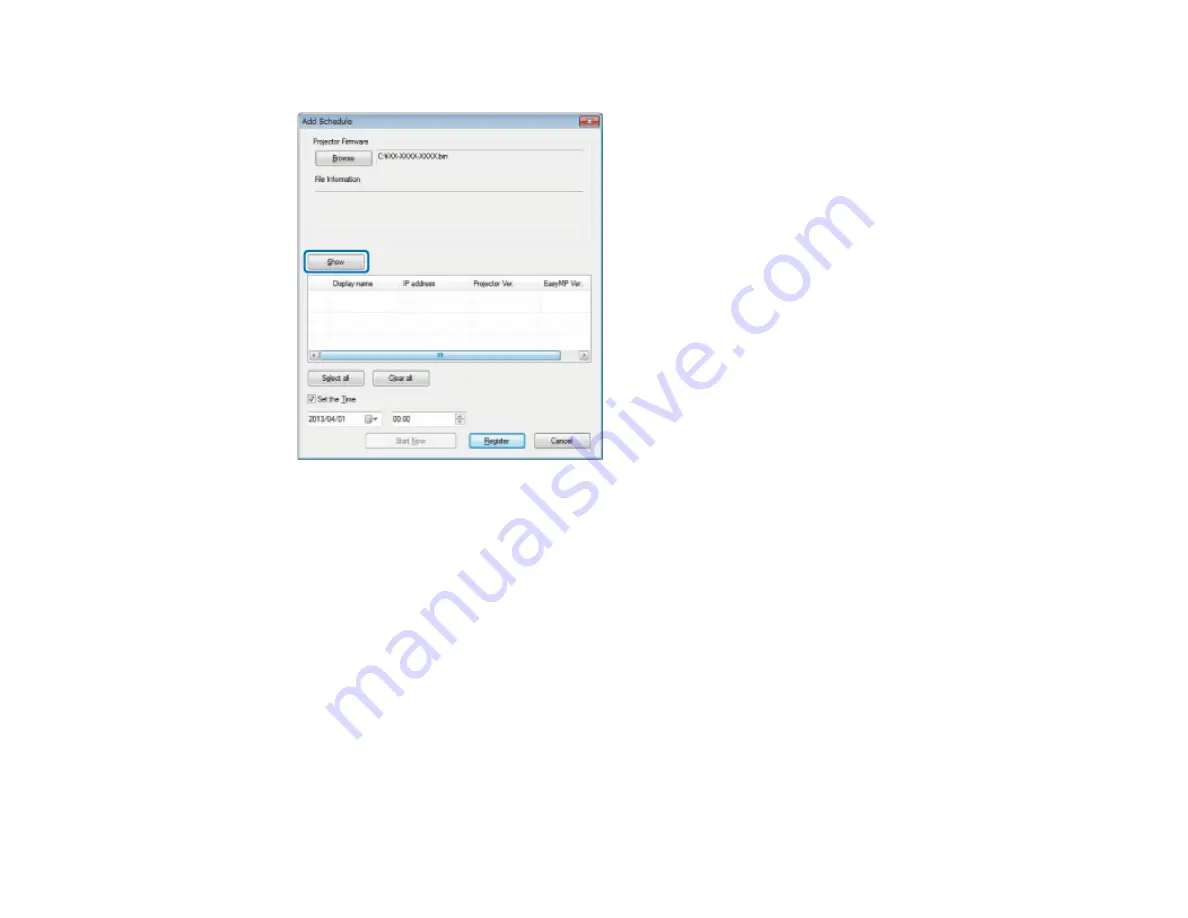
4.
Click
Show
.
The firmware information is displayed in
File Information
, and then a list of the projectors that
support the selected firmware is displayed.
5.
Do one of the following.
• Select all projectors: Click
Select all
.
• Specify the projectors you want to update: Select the projector's checkbox.
6.
Select one of the following methods to update the firmware.
• Schedule the update: Select
Set the Time
to set the date and time you want to perform the
firmware update, and then click
Register
.
• Update immediately: Clear the
Set the Time
checkbox, and then click
Start Now
to start the
firmware update immediately.
The firmware is updated at the date and time you set, and the LED indicator on the projector turns on.
When the firmware update is complete, the projector turns off and it enters standby mode. While
updating, you can check the firmware update status on the EasyMP Network Updater main screen.
18
Содержание EasyMP Network Updater
Страница 1: ...EasyMP Network Updater Operation Guide ...
Страница 2: ......


