144
The scanned image is displayed in the Easy Photo Scan window with an automatically generated
name.
Note:
You may need to close the scanning program window to display Easy Photo Scan.
5.
To edit the name of the file, select the image thumbnail at the bottom of the screen, click the
icon, and enter the new filename.
6.
To edit the scanned image, click the
Edit icon and select one of the displayed options.
Note:
See the Easy Photo Scan help for additional information on image editing options.
7.
Repeat these steps for each image you want to upload.
8.
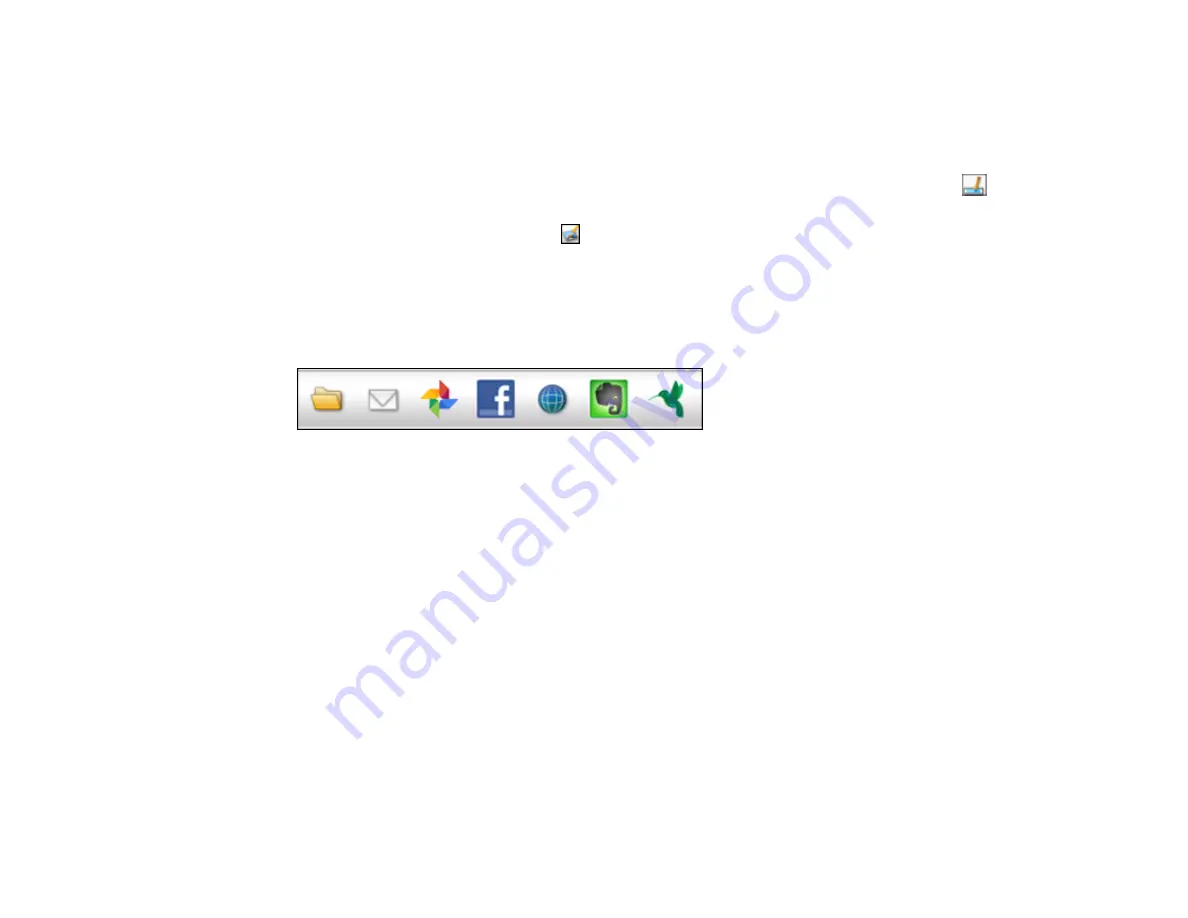
When you finish scanning, click one of the destination icons to upload the images.
Note:
You may need to click the arrow next to the icons in order to see all of them. The available
icons may vary, depending on the software version you are using.
Parent topic:
Scanning to Online Destinations Using Easy Photo Scan
Related tasks
Uploading Scanned Images to Facebook
Uploading Scanned Images to Google Photos
Uploading Scanned Images to Evernote
Uploading Scanned Images to SugarSync
Uploading Scanned Images to a Web Folder
Uploading Scanned Images to Email
Uploading Scanned Images to Facebook
You can configure a Facebook account for use with Easy Photo Scan and upload your scanned images
to it.
1.
Scan your original using Easy Photo Scan.
Содержание C11CG29501
Страница 1: ...XP 5100 User s Guide ...
Страница 2: ......
Страница 12: ......
Страница 13: ...13 XP 5100 User s Guide Welcome to the XP 5100 User s Guide For a printable PDF copy of this guide click here ...
Страница 26: ...26 Product Parts Inside 1 Document cover 2 Scanner glass 3 Control panel 4 Front cover ...
Страница 102: ...102 10 Select the Layout tab 11 Select the orientation of your document as the Orientation setting ...
Страница 133: ...133 You see an Epson Scan 2 window like this ...
Страница 135: ...135 You see this window ...
Страница 201: ...201 You see a window like this 4 Click Print ...


