


167
2.
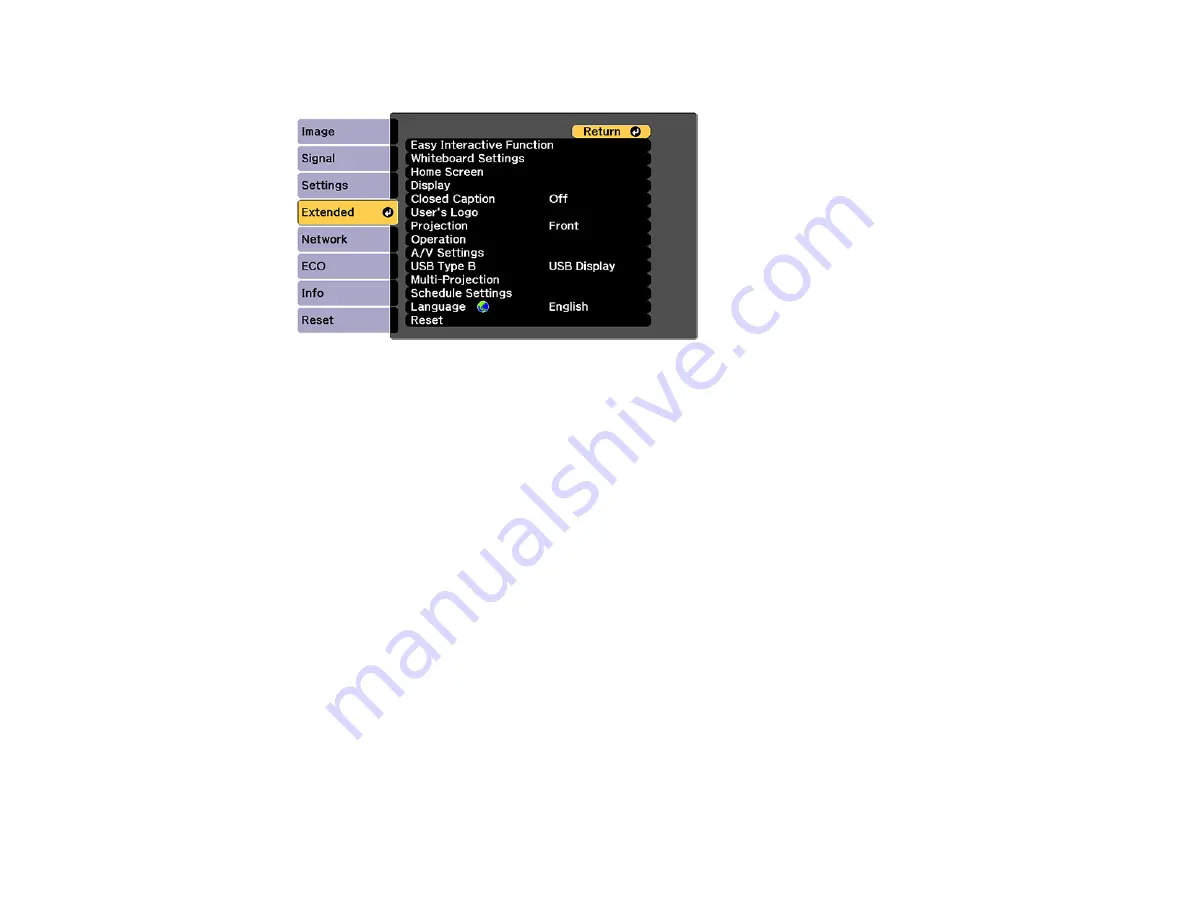
Press the
Menu
button, select the
Extended
menu, and press
Enter
.
3.
Select the
User's Logo
setting and press
Enter
.
You see a prompt asking if you want to use the displayed image as a user's logo.
4.
Select
Yes
and press
Enter
.
You see a selection box overlaying your image.
Note:
When you select
User's Logo
, adjustments such as
Keystone
,
E-Zoom
, or
Aspect
are
temporarily canceled.
5.
Use the arrow buttons on the remote control to surround the image area you want to use as the
User's Logo and press
Enter
.
You see a prompt asking if you want to select this image area.
6.
Select
Yes
and press
Enter
. (If you want to change the selected area, select
No
, press
Enter
, and
repeat the last step.)
Содержание BrightLink 697Ui
Страница 1: ...BrightLink 697Ui User s Guide ...
Страница 2: ......
Страница 31: ...31 Projector Parts Remote Control ...
Страница 72: ...72 2 Unscrew and remove the cable cover if it is attached screwdriver not included ...
Страница 178: ...178 Parent topic Copying Menu Settings Between Projectors ...
Страница 204: ...204 3 Select the Easy Interactive Function setting and press Enter 4 Set the Pen Mode setting to PC Interactive ...
Страница 254: ...254 You see the following screen 4 Select Connect to another whiteboard You see a screen like this ...
Страница 304: ...304 1 Turn off the projector and unplug the power cord 2 Slide the air filter cover latch and open the air filter cover ...
Страница 308: ...308 2 Slide the air filter cover latch and open the air filter cover ...
Страница 318: ...318 1 Twist off the tip of the pen to remove it ...
Страница 320: ...320 1 Twist off the tip of the pen to remove it 2 Remove the soft tip ...
Страница 321: ...321 3 Insert the new tip 4 Twist on the pen tip Parent topic Projector Maintenance ...
Страница 349: ...349 Related references Projector Light Status ...


