Windows 8.1
/
Windows 8:
Enter the application name in the search charm, and then select the displayed icon.
Windows 7
/
Windows Vista
/
Windows XP:
Click the start button, and then select
All Programs
or
Programs
>
EPSON
>
EPSON Scan
>
EPSON Scan
Settings
Mac OS X:
Select
Go
>
Applications
>
EPSON Software
>
EPSON Scan Settings
C
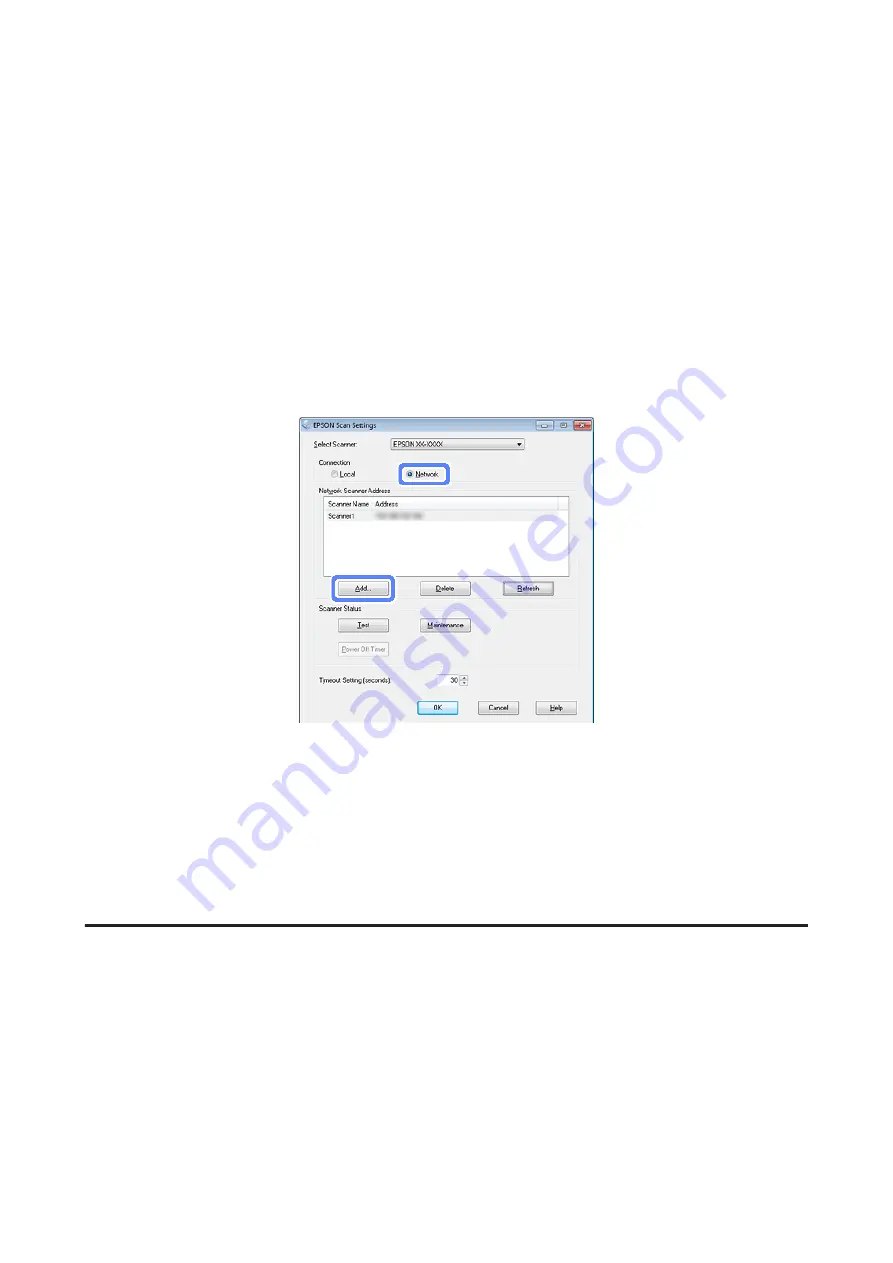
Select your scanner from the
Select Scanner
drop-down list.
D
Select
Network
, then click
Add
.
E
In the Add window, choose the Network Interface Panel’s IP address under Search for addresses, or select
Enter
address
and type in the address. Then click
OK
.
F
In the EPSON Scan Settings window, click
Test
to check the connection. If everything works properly, you see a
successful connection message appears.
G
Click
OK
to save the settings.
Configuring Epson Scan 2
A
Obtain the IP address or host name of the Network Interface Panel from your network administrator.
B
Start Epson Scan 2 Utility.
Windows 10:
Click the start button, and then select
All apps
>
EPSON
>
Epson Scan 2 Utility
Windows 8.1
/
Windows 8:
Enter the application name in the search charm, and then select the displayed icon.
Network Interface Panel User's Guide
Scanning an Image
17


