9. Print the calibration chart on your color printer. If you have
more than one printer, print the chart on each one.
10. Exit PhotoDeluxe.
Creating printer calibration profiles
Follow these steps to create a calibration profile for each printer:
1. Start EPSON Scan! II, if necessary.
2. Place the printed calibration chart face down on the glass
surface of the scanner.
3.
Choose
Create Calibration Profile
from the Calibrate menu.
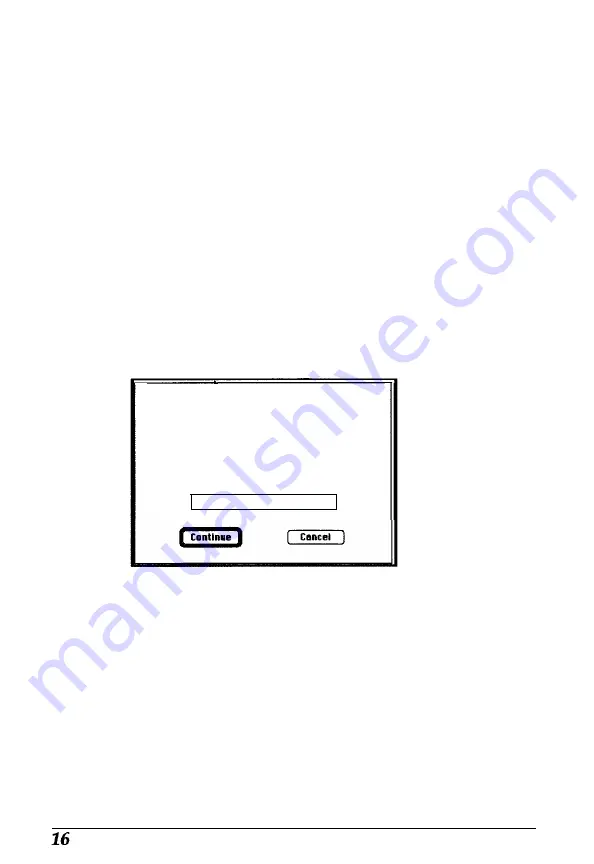
You see the following screen:
Create Calibration Profile...
Place the Calibration Chart you printed In the
scanner. Make sure it is aligned properly. Enter a
file name for the file.
lifter you click ‘Continue’, the EPSON TWAIN
dialog appears. Make sure it is set for
Calibration. Finally, click on the ‘Scan’ button.
Filename:
Your printer
4.
In the
Filename
field, type the filename of the calibration
file you want to create, such as COLOR1 PRINTER.
5.
Choose
Continue.
You see the EPSON TWAIN advanced
screen. (If you
see
the easy screen, select
Advanced.)
6.
If necessary, select
Color Photo
from the Image Type
pull-down menu.


