www.epax3d.com
Slicer Operations
There are many useful operations in the ChiTuBox slicer. If you need additional assistance,
remember that our Facebook group is a great resource. You can also email
EPAX directly and we will be glad to help. Here is more information about
the options in your slicer.
1.
Supports
Many complex designs/models will need additional supports while
printing. (All supports will need to connect with the foundation or stable part
of the print for success. You can always remove them from your final product.)
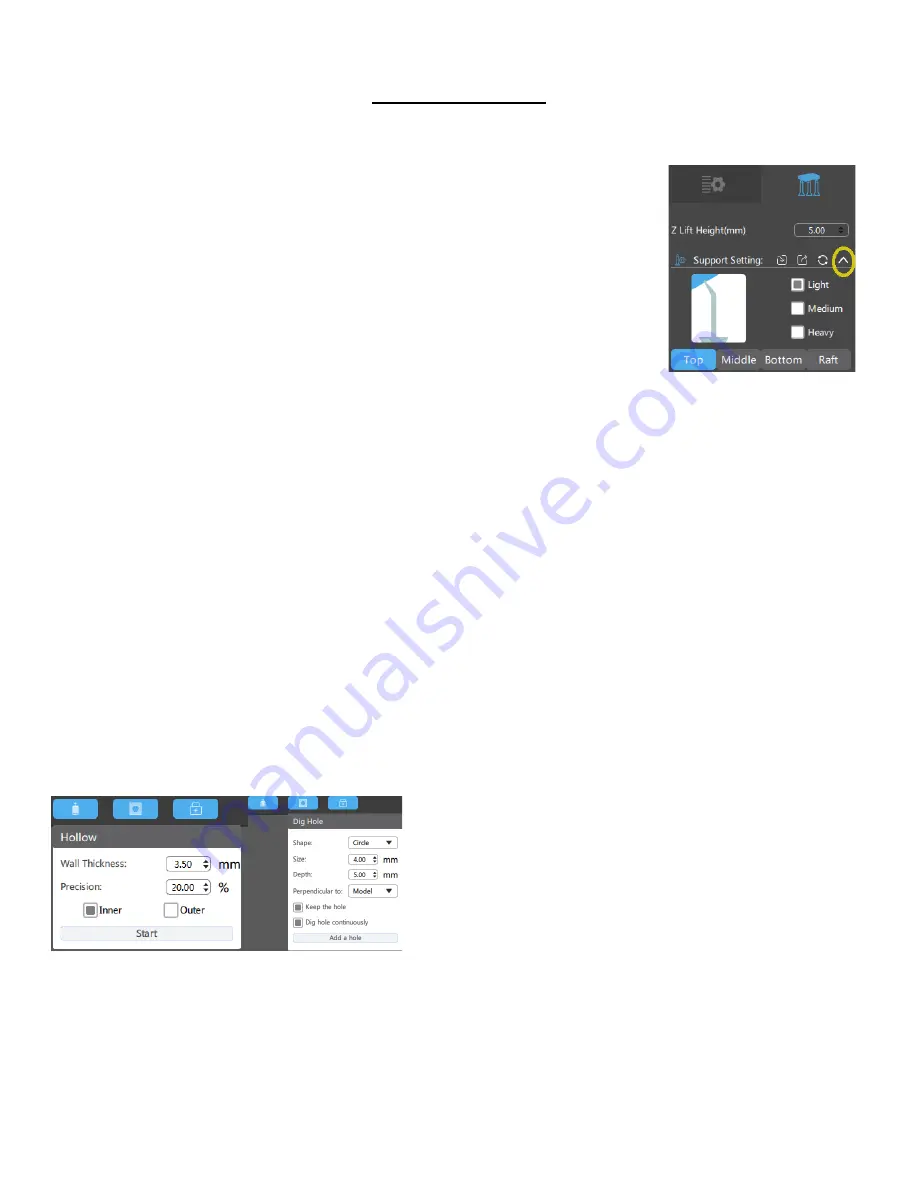
The Supports menu is located on the top right beside the Settings icon. The types of support that can
be configured are Light, Medium, and Heavy. Each choice has default settings that can be adjusted via
the top, middle, bottom, and raft areas. Learning how to use supports properly stems from experience.
●
Light: Small Contact area. Best for small prints and in detailed areas.
●
Medium: Larger contact area, and stronger than light supports.
●
Heavy: Largest contact area and are the strongest support settings.
●
Raft: Base the support sits on. Best used for prints where no part of it is touching the build
platform i.e. the print is suspended. Can be edited for stronger adhesion to the build platform.
2.
Hollowing
If you would like to save on resin, or your printing a very
large and heavy piece, you may want to
consider hollowing the print. When using the hollowing
feature, make sure to create vent holes near the bottom of
the print (closest to the build plate) and drainage holes
near the top of the print (closest to vat). Ventilation holes are necessary to avoid a vacuum effect
causing failed prints or torn nFEP film. Drainage holes are necessary to drain out liquid resin that could
be present in the print. Liquid resin inside will eventually cause damage to the outer areas of the print.
11


