background image

25

3. Language Setting

Press [Language] icon to select Chinese or English operation system, press Exit key

to exit.
4. Panel key light selection

Press [

] to switch between two light colors on the panel for users to select.

Press “Back” to exit.
5. Time Setting

You can press Time[-] or [+] directly to adjust time, then press Exit key to exit.

6. Radio RDS Setting

You can select close or open radio RDS function here, then press Exit key to exit.

7. Radio Setting

You can select the band frequency of different countries and regions here, then press

Exit key to exit.
Tips

When you select a certain country area, this machine time will vary, you need to

reset the time.
8. Touch Screen Calibration: Please refer to Page 6 Touch Screen Calibration.
9. Steering Wheel Button Setting: Please refer to Page 28 Steering Wheel Button
Setting.

:◆

V. Touch Screen Calibration

Enter Touch Screen Calibration

Method 1: Press [

] icon in the main interface to enter the system setting

interface, touch [Calibration] icon directly to enter Touch Screen Calibration interface,
you can use a small nib to press the central point ”+” displayed on the screen and move
it to the last central point ”+” to calibrate the touch screen. It will be automatically saved
and exit after the touch screen calibration.

Method 2: When a disc is being played, you can enter the touch screen calibration

interface by continuously pressing the following four keys, [

], [ZOOM], [

] and [

],

on the remote controller. You can use a small pen nib to follow the “+” on the display
screen and calibrate the touch screen by adjusting the center position of the cross.
After calibration, the touch screen will be saved and the interface will close

Note: After entrance, you can press [SRC] to quit the Interface of touch screen
calibration.

6

Tip:

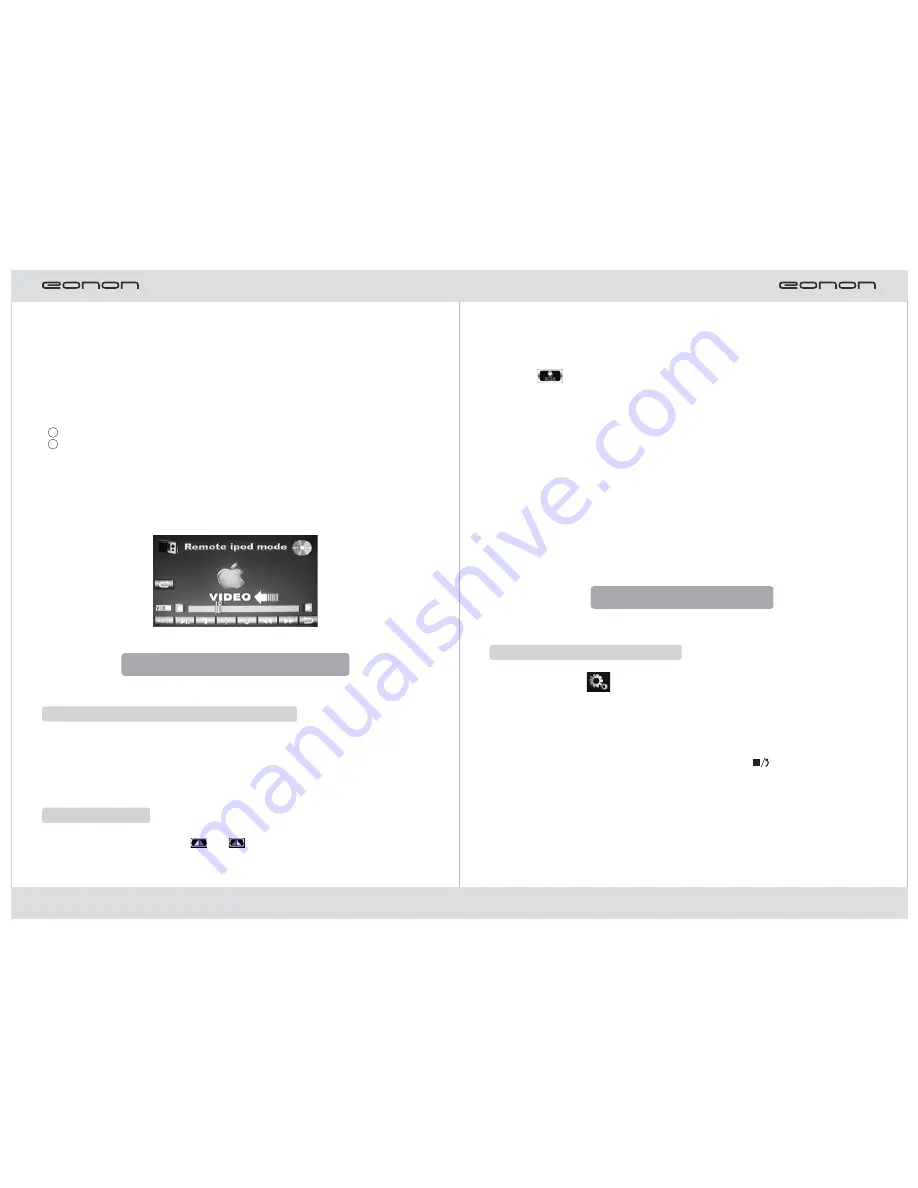
Some iPod can't be connected, you need to add

protocol converter.

Back to the main Interface
Volume-/ SET key( please refer to Page 5 function menu)
Play mode key
Stop/ Play
Confirm
Cursor up to select

Cursor down to select
Fast forward

Fast backward

Back to last

Operation
Key

12

2. Press icon[Mode] to switch between audio and video.

11

XVI. Backing Rearview Function

Rearview Mirror (Backing Rearview Mirror)

1) If your vehicle is equipped with a backing camera, please connect the backing

control cable “BACK” of this device to the camera control terminals and connect the
video input cable to the video output end of the camera.

2) In vehicle backing, the device will automatically switch to the rearview mirror mode

with picture indication.

Rearview Mirror

Before backing, please select[

] or [

] left/ right image icon in the system

setting, you can let the image in the left or right image state while backing. (Please
refer to Point 1 Rear View Mirror Function in Page 5 System Setting. )

Содержание D2208

Страница 1: ...www eonon com User Manual Please read this manual before using and save this manual for future reference Model D2208 ...

Страница 2: ...ledgements Warning I Precautions II Functions and Features Display Screen Disc Play USB SD Card Player Radio Tuner TV Tuner AUX Input Output and Other Satellite Navigation Bluetooth iPod Function III Basic Operations Startup Shutdown Play Source Selection Mute Control IV Operation system setting V Touch Screen Calibration VI Keying Operation Panel Key Operation Remote Controller Operation VII Radi...

Страница 3: ...unctions Entry into iPod play iPod Screen Operation Interface XVI Backing Rear View Function Rear View Mirror Image Function XVII Steering Wheel Control Button Operation XVIII Remote Control Operation XIX Troubleshooting XX Connector Diagram Precautions Connector Diagram XXI Packing List 22 23 23 24 24 24 24 24 24 25 Rear View Mirror Backing Rear View Mirror XXI Packing List Name remote controller...

Страница 4: ... soft cloth in case of dust to prevent from affecting play effect or slow disc entrance exit or no disc response If such problems occur you need professionals to help clean which is obviously inconvenient 5 Play the disc for too long or with a large volume will shorten the service life of this product To better protect the product please use together with a radio and with moderate volume level if ...

Страница 5: ... metal parts of the unit so as to avoid short circuit If ACC position is unavailable to auto ignition system please connect the ignition lead to the ON OFF power supply with ignition switch key After power on the external amplifier control signals will be output through AMP CONT lead If external amplifier is connected please do not connect AMP CONT lead to amplifier power port to avoid electric le...

Страница 6: ...wn Maloperation of micro processor caused by other factors Wrong connection of positive wire BATT of ignition wire ACC Reconnect it The remote control fails to work The battery power is exhausted Big radio noise or no program available The antenna is not installed in a correct position or the cable of the antenna is of poor contact The disc can not be put in There is already one disc in the unit T...

Страница 7: ...Source selection can also be conducted by touching the screen The unit has bluetooth function This unit supports external iPod player Satellite Navigation Bluetooth Ipod Function 4 2 Remove battery XVIII Remote Control Operation 1 Remote Control Operation Remote Control Operation Press Pull Remove the battery from the back of the remote control as shown below 3 Insert battery Place the anode and c...

Страница 8: ...etting interface you can touch it directly to operate the setting and press Exit key to exit 1 Rear View Mirror Image Function Press or image icon to adjust the left right state of image while backing press Exit key to exit Tips this image function only takes effect in backing state 2 Button Buzzer Voice Press Buzzer icon you can close or open the button voice press Exit key to exit 1 2 3 5 6 7 8 ...

Страница 9: ...2 When a disc is being played you can enter the touch screen calibration interface by continuously pressing the following four keys ZOOM and on the remote controller You can use a small pen nib to follow the on the display screen and calibrate the touch screen by adjusting the center position of the cross After calibration the touch screen will be saved and the interface will close Note After entr...

Страница 10: ...his key to select different play sources In shutdown state press to start the device In startup state hold down to shut down the device 5 BAND In reception of radio you can switch AM FM band In DVD you can switch DVD system In TV you can switch TV system 6 RESET In case of system failure or system halted press RESET the system will restore to factory default setting 7 GPS Press this key to enter G...

Страница 11: ...ress this key to realize programmed play 13 Local Remote Switch Random Play In radio state press this key to realize local and remote range switch In DVD USB or SD card play press this key to activate or deactivate random display function 14 Numerical Keys Press directly to input numbers 15 GOTO Skip Play In disc SD card or USB play press this key for skip play through time or chapter selection 16...

Страница 12: ...y to switch angle play This key is invalid without the support of the program source 11 25 Auto Browse Memory Replay AMS RPT In radio state press this key to browse memorized channels hold down it for automatic scanning In the state of TV press this key to scan automatically In disc SD card or USB play press to realize the following cycle repeat single repeat catalog repeat the whole disc cancel r...

Страница 13: ...ection English AF frequency replacement table 8 Volume 9 Band selection 10 Tone adjustment 12 Back the main interface 13 CD indicator 14 Bluetooth indicator 15 Stereo indicator 16 Shortly press to make fine tuning backward long press to make semi automatic station searching backward 17 Time display 18 Shortly press to make fine tuning forward long press to make semi automatic station searching for...

Страница 14: ...long P1 P6 numerical icons on the display screen to save the searched channel Auto Search In radio state press the AMS RPT key on the remote controller or press the Scan icon on the touch screen to browse frequency points of preset radio stations P1 P6 In radio state hold down the AMS RPT key on the remote controller or touch for long the Scan icon on the touch screen to automatically search radio...

Страница 15: ...cy display Channel display 4 3 8 7 9 10 5 2 14 15 12 13 1 11 6 CH 08 PAL I 144 25MH 30 1 7 8 9 5 4 3 2 10 6 5 19 12 Touch screen Operation of SD card and USB Play Program Display Window Display Played Program Display Played Folder Folder Window Music Mp3 Pictures In SD card or USB play the touch screen operation and other functional operation are the same as DVD functional operation Menus of disc ...

Страница 16: ...rch process press once the touch screen or the SRC key to stop automatic search After automatic search the preset TV channels will be covered IX Disc Play Enter Disc Play Repeatedly press the SRC key on the panel or on the remote controller to enter DVD Play Alternatively directly touch the icon on the screen to enter DVD Play 18 The picture menu is first read out in play of discs containing pictu...

Страница 17: ...9 __ __ 13 __ __ 0 2 0 9 0 1 T G T G T G Play Clear Digital Program Locate Play You can directly press the numerical keys on the remote controller to select programs for play In DVD disc play press the SUB T key on the remote controller to realize multi subtitle switch play Attention The function requires the support of DVD discs Multi angle Play In DVD disc play press the key on the remote contro...

Страница 18: ...n in disc play the device will memorize the current play point Next time the disc will be played from the memorized point Pause Play Press the key on the panel or on the remote controller or touch the icon on the display screen for playing or pausing Pre stop Stop Press once the key on the remote controller or touch once the icon on the display screen for pre stop Press Play key to continue play f...

Отзывы: