Call 1300 369 273
www.enware.com.au
Enware Australia Pty Limited
9 Endeavour Rd Caringbah NSW 2229 Australia
Ph: +61 2 8556 4000 info
@
enware.com.au
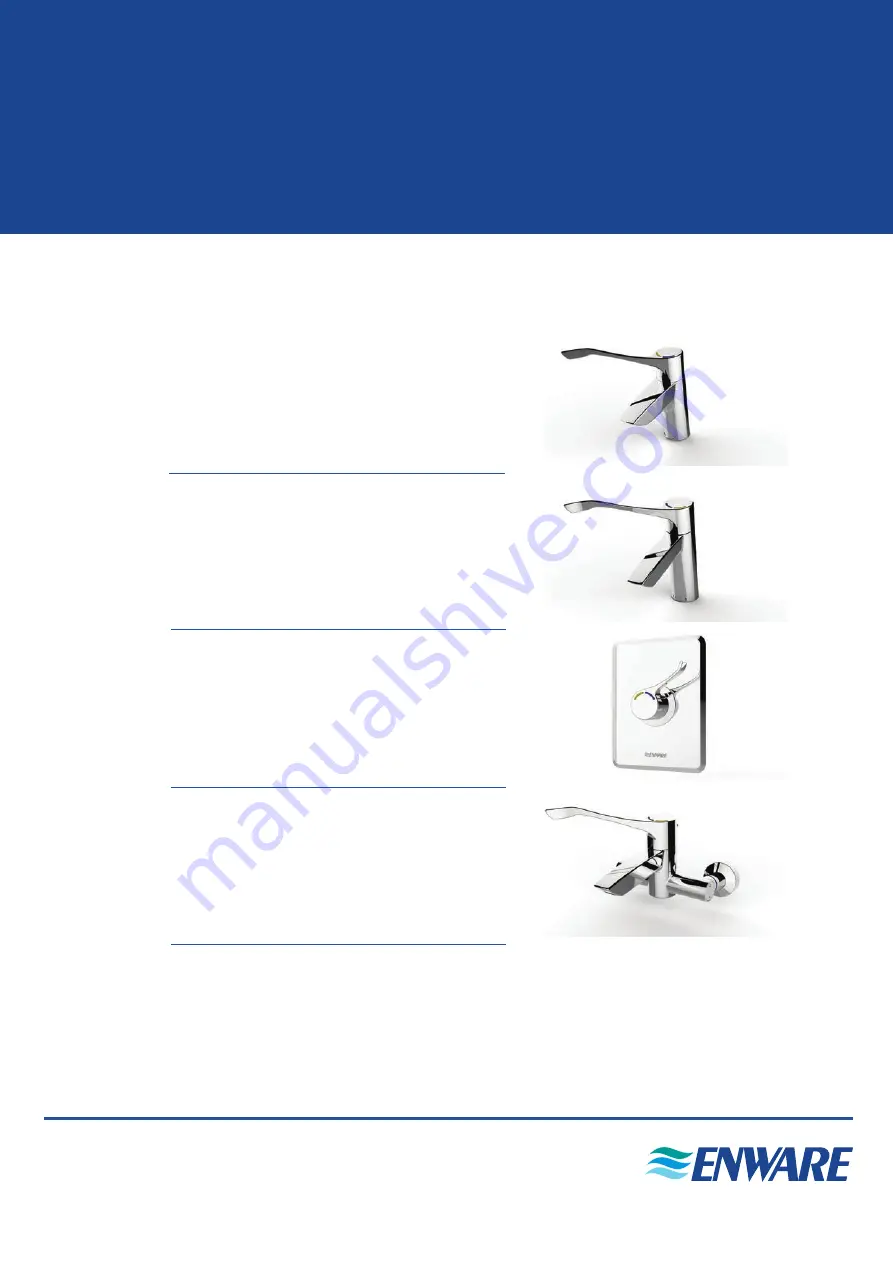
AQUABLEND SQX THERMOSTATIC MIXERS
I00094_Oct 19
Installation Instructions
ATM606 Models
ATM607 Models
ATM6082L
ATM610X / ATM611 Models


