


2
First Setup
Congratulation for purchasing this monitor of high performance!
This monitor comes with the following accessories :
Power cable.
VGA cable (15 pin)
Audio cable.
USB 2.0 cable (A-B type)
Microphone cable.
Webcam CD-ROM.
User guide.
Quick Start Guide.
Warranty Documents.
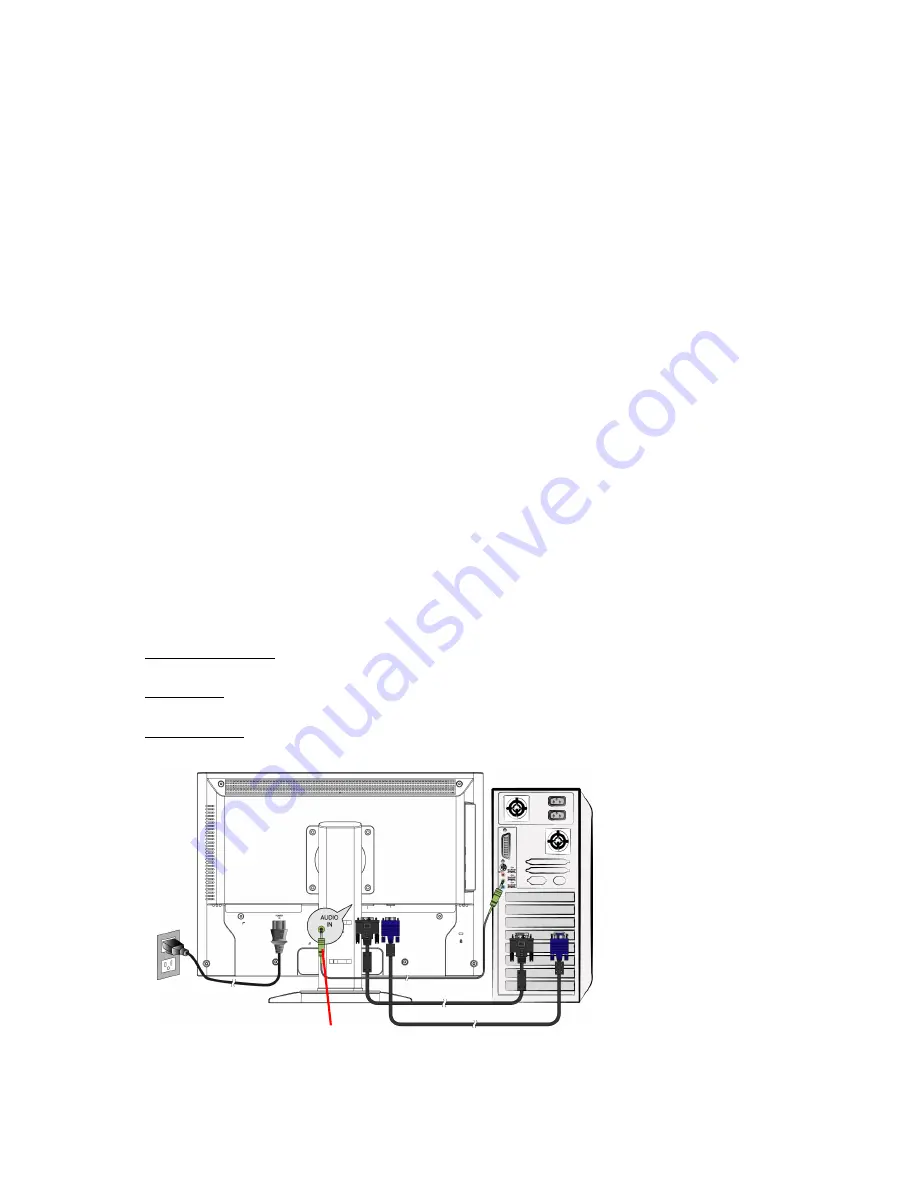
Quick Installation
1. Connect video cable (D-Sub cable)
Make sure both monitor and computer are powered OFF. Connect the video cable
( D-Sub cable) to the computer, then to the monitor.
2. Connect DVI cable
*Optional
Connect the DVI cable from DVI output of computer to the DVI input of the monitor.
3. Connect power cord
Connect the power cord to a properly grounded AC outlet, then to the monitor.
4. Connect Audio cable
Connect the Audio cable from Audio output of computer to the Audio input of the
monitor.
5. Power-ON computer and monitor
Power-ON the computer, then Power-ON the monitor.
6. Windows users: Setting the Timing Mode (Resolution and Refresh Rate)
Example: 1680 x 1050 @ 60 Hz
Resolution Right-click on the Windows desktop > Properties > Settings > “Desktop
Area”. Set the resolution.
Refresh Rate (vertical frequency) See your graphic card’s user guide for instructions.
Example:
Power cable
VGA cable
Audio cable
DVI cable
PC


