D4K Pro® User Manual
D4K_UserManual_v1.3_EN.docx, 2021-02-12
Page 50 of 52
Annex: Quick Start Guide
Prerequisite
•
Your STL file has been exported from your CAD program.
Step-by-step:
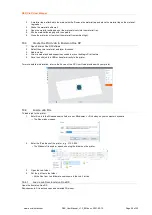
1. Open the *.stl file in
Envision One RP®
. See the
Envision One RP
®
User Guide
provided with the printer for details.
2. Use automatic placement to place parts.
3. Generate supports.
4. Generate job in
Envision One RP®
and save it in to the folder.
5. Make sure that the printer is on and plugged into the network.
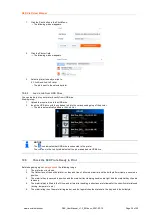
6. Locate the printer in the local network.
7. Copy job to printer.
8. Install the build platform in the printer. Refer to section
9. Insert the material tray to the printer. Refer to section
Install the Tilting Material Tray
10. Fill the material tray with photopolymer.
11. Close the printer door.
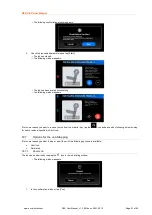
12. Load job file. Check
section for details.
13. Start the job. Check
section for details.


