D4K Pro® User Manual
D4K_UserManual_v1.3_EN.docx, 2021-02-12
Page 19 of 52
7.1.3
Connect the Parts Washing Apparatus
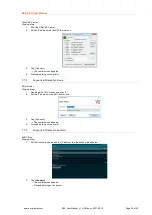
The PWA 2000 is the recommended parts washing apparatus for the D4K Pro printer. To set up the PCA 2000, check the
corresponding
Technical Guide
provided with your PWA 2000 if ordered.
7.1.4
Connect the Parts Curing Apparatus
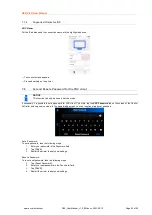
The PCA 2000 is the recommended parts curing apparatus for the D4K Pro printer. To set up the PCA 2000, check the
corresponding
Technical Guide
provided with your PCA 2000 if ordered.
7.2
Install the Build Platform
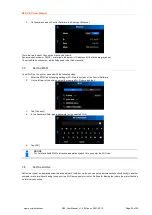
To attach the build platform, proceed as follows:
1. Open the protection door.
2. Slide the build platform onto the receptor held on the Z slide.
3. Tighten down the build platform clamp to secure the build platform.
4. Check that the build platform is secured in position.
IMPORTANT
Make sure the build platform is tightened down securely before building. Failure to do so will cause the build
platform to be uneven and can cause build failures.
7.3
Install the Tilting Material tray
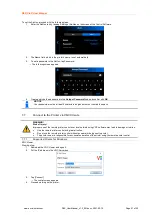
To insert the material tray:
1. Open the printer door.
2. Release the front and back tilt tray clips.
3. Note the tilt tray is labeled “front”: this label must be towards you when
the tilt tray is in the printer.
4. Note the glass plate, ensure all corners are completely flat and in
position.
5. Lower the tilt tray into position and secure with all four clips.
IMPORTANT
Pushing the clamping handles down is very important. If they are not locked properly, the material will splash
inside the printer!
Double check if the clamping handles are closed tightly before starting a build process!
7.4
Set the Network
To connect the printer to your network, proceed as follows:
1. Plug the Ethernet cable into the network connector located on the back of the printer.
2. Connect the Ethernet cable to your network.
Figure 8: Material tray inside view
Figure 7: D4K Pro build platform

