


D4K Pro® User Manual
D4K_UserManual_v1.3_EN.docx, 2021-02-12
Page 39 of 52
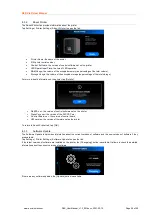
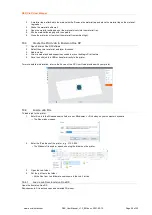
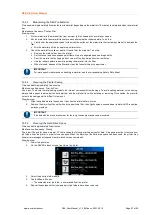
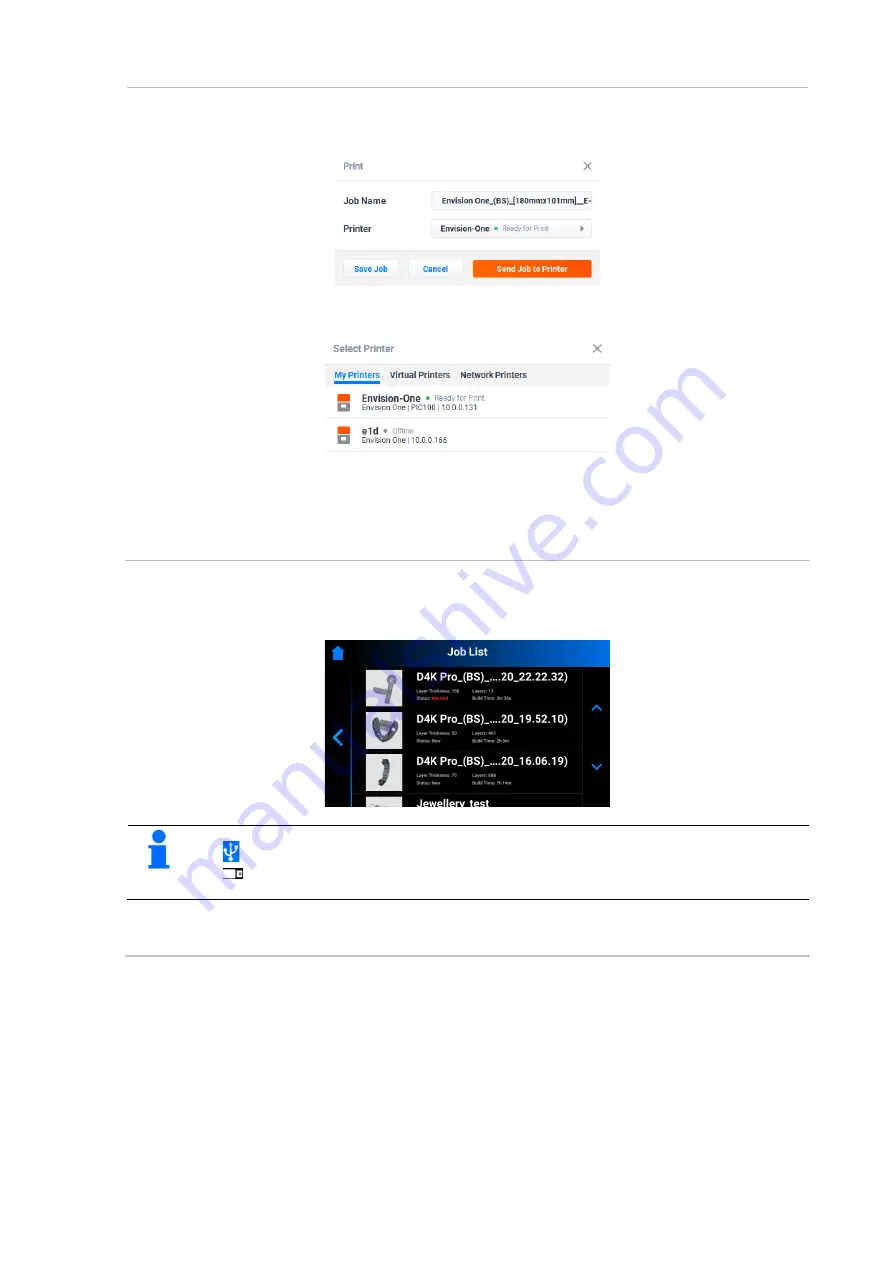
1. Click the
button in the
Print Menu
.
→ The following window appears:
2. Click the
Printer
field.
→ The following win
dow appears:
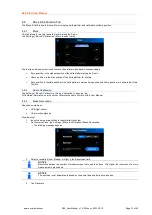
3. Select a printer to send your job to.
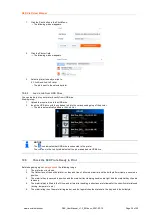
5. Click
Send Job to Printer
.
→ The job is sent to the selected printer.
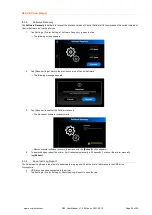
10.4.2
Load a Job from USB Drive
You can load a job to your printer directly from USB drive.
Step-by-step:
1. Upload the required job to the USB drive.
2. Insert the USB drive with the uploaded job into the corresponding plug of the printer.
→ The job
is automatically added to the
Job List
.
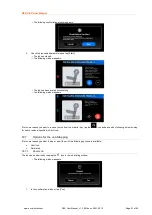
NOTICE
The icon indicates that USB drive is connected to the printer.
The
icon in the Job list indicates that the job was added via USB drive.
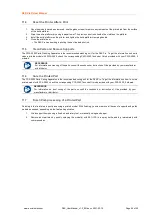
10.5
Check the D4K Pro Is Ready to Print
Before beginning a print,
always check
the following things:
1. The printer door is closed.
2. The flat surface of the build platform is clean and free of all cured material, and the build platform clamp is secured in
position.
3. The material tray is secured in position and the material tray clamping handles are tight and the material tray clips are
fastened.
4. The material tray is filled to the fill line, and all material handling instructions are followed for the specific material used
(mixing, temperature, etc.)
5. The material tag is on the material tag reader, and the tag matches the material in the tray and in the buildstyle.