PrimeLock
®
Fitting Handheld
Insertion Tool
Insert installation instructions for
1
⁄
4
",
3
⁄
8
",
1
⁄
2
",
3
⁄
4
", 1", 1
1
⁄
4
", 1
1
⁄
2
", and 40 mm sizes
CAUTION: Dirty and scratched mandrels can
damage and contaminate the fitting. Likewise,
contamination on the clamp surface may cause
tube slippage during installation. Clean mandrels
and clamps frequently to prevent damage and
assure proper installation.
• Clean rubber-lined clamps with IPA wipe.
• Soak metal clamps in IPA for a minimum of 12
hours, and scrub clean with a stiff, nylon brush.
• Clean mandrels with IPA wipe and inspect
regularly for nicks and scratches; replace if
nicked or scratched.
INSTRUCTIONS
—
For 3⁄8" to 1 1⁄2" PrimeLock
®
Fittings
NOTE: Verify the mandrel is fully retracted by rotating
the handle counterclockwise until it stops.
Verify the correct size mandrel and clamp inserts are
installed for the desired tube size. Refer to PrimeLock
Accessories on www.entegris.com.
NOTE: The mandrel is removed by pulling the retaining
pin and sliding it off the tool.
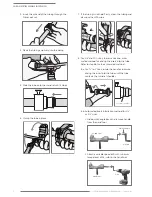
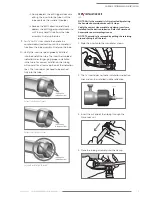
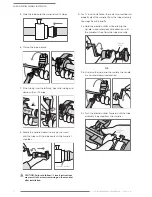
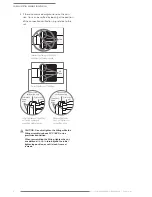
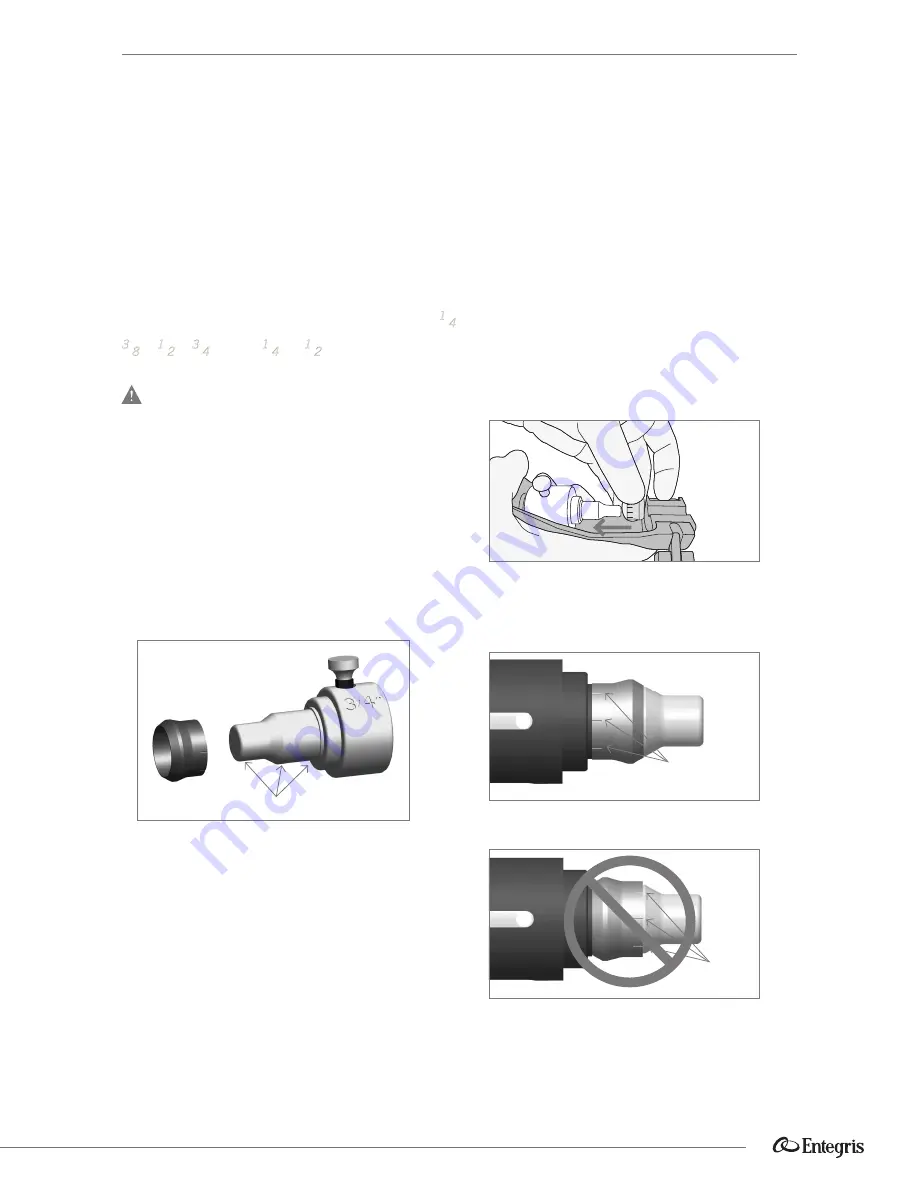
1. Slide the insert onto the mandrel as shown.
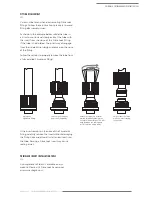
2. Verify the insert has been properly placed onto
the mandrel. The installation indication lines on the
insert are closest to the shoulder of the mandrel.
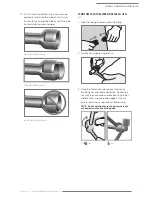
Must be free of nicks and scratches
Correct installation of insert.
Installation
indication lines
Incorrect installation of insert.
Installation
indication lines
P/N 01-1040855 | REV. E 02/18 | INSTRUCTION SHEET


