


Quick Installation Guide
EnGenius Europe | Veldzigt 28, 3454 PW De Meern,
Netherlands | 0900-WIFIABC | www.wifiabc.com
Disclaimer: Information may be subject to changes without prior notification.
Follow us
https://www.linkedin.com/company/engeniuseurope
https://plus.google.com/+EngeniusEuropeBVDeMeern
https://www.youtube.com/user/engeniuseuropebv
https://twitter.com/engeniuseu
EWS320AP
Stand-alone access point Installation
Connecting the access point
Step 1: Connect one end of the Ethernet cable into the LAN port of the access
point and the other end to the Ethernet port on the computer.
Step 2: Connect the power adapter to the DC-IN port of the access point and
plug the other end in to an electrical outlet.
Note: The access point supports both IEEE802.3at PoE (Power-over-Ethernet) or
the included power adapter. You may use either one as the power source.
DO NOT use both at the same time.
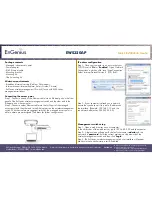
IP address configuration
Step 1: Once your computer is on, ensure that your TCP/IP is set to ‘
On
’ or
‘
Enabled
’. Open ‘Network Connections’ and then click ‘Local Area
Connection’. Select ‘Internet Protocol Version’ (TCP/IPv4).
Step 2: If your computer is already on a network, ensure that you have set it
to a static IP address on the interface. (Example 192.168.1.10 and the subnet
mask-address as 255.255.255.0
)
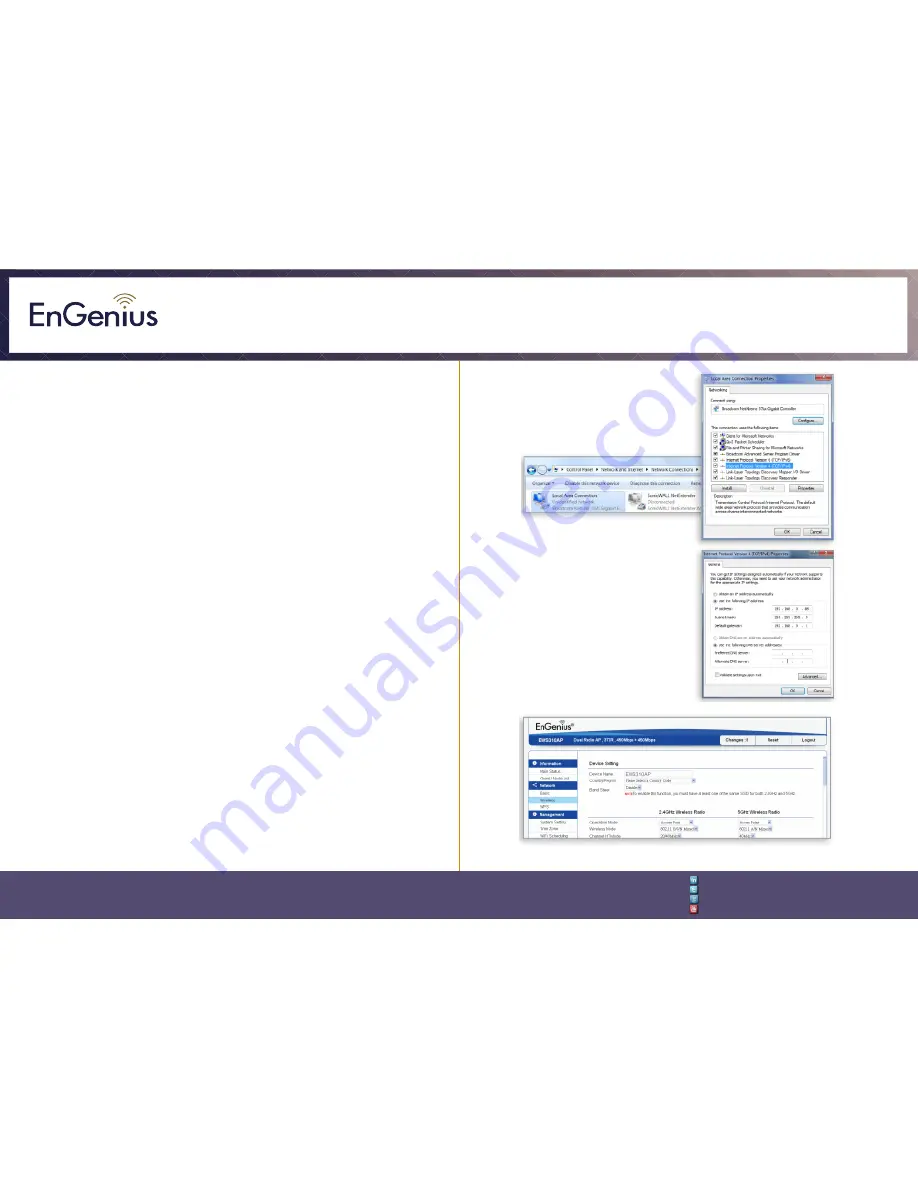
Access point setup
Step 1: Open a web browser on your computer. In the address bar of the web
browser, typ in 192.168.1.1 and choose enter.
Step 2: A login screen will appear. By default, the username of the access point
is
admin
and the password is
admin
. Enter the current username and
password of the access point and then click ‘
Login
’.
Step 3: The EnGenius access point user interface will appear. This device can
operate in the following modes: Access point, WDS AP and WDS bridge.
Switch modes by selecting the operation mode under ‘Network’, ‘Wireless’ tab.