15
1.
Ensure that the computer in use has an Ethernet
Controller port (RJ-45 Ethernet Port). For more
information, verify with your computer’s user manual.
2.
Connect one end of the Category 5e Ethernet cable into
the RJ-45 port of the EAP900H and the other end to
the RJ-45 port of the computer. Ensure that the cable
is securely connected to both the EAP900H and the
computer.
3.
Connect the Power Adapter DC connector to the DC-
IN port of the EAP900H and the Power Adapter to an
available electrical outlet. Once both connections are
secure, verify the following:
a) Ensure that the
POWER
light is on (it will be
orange
).
b) Ensure that the 2.4 GHz/5 GHz WLAN light is on (it will
be
blue
for 2.4G, and
green
for 5G).
c) Ensure that the LAN (Computer/EAP900H Connection)
light is on (it will be
blue
).
d) Once all three lights are on, proceed to set up the
Access Point using the computer.
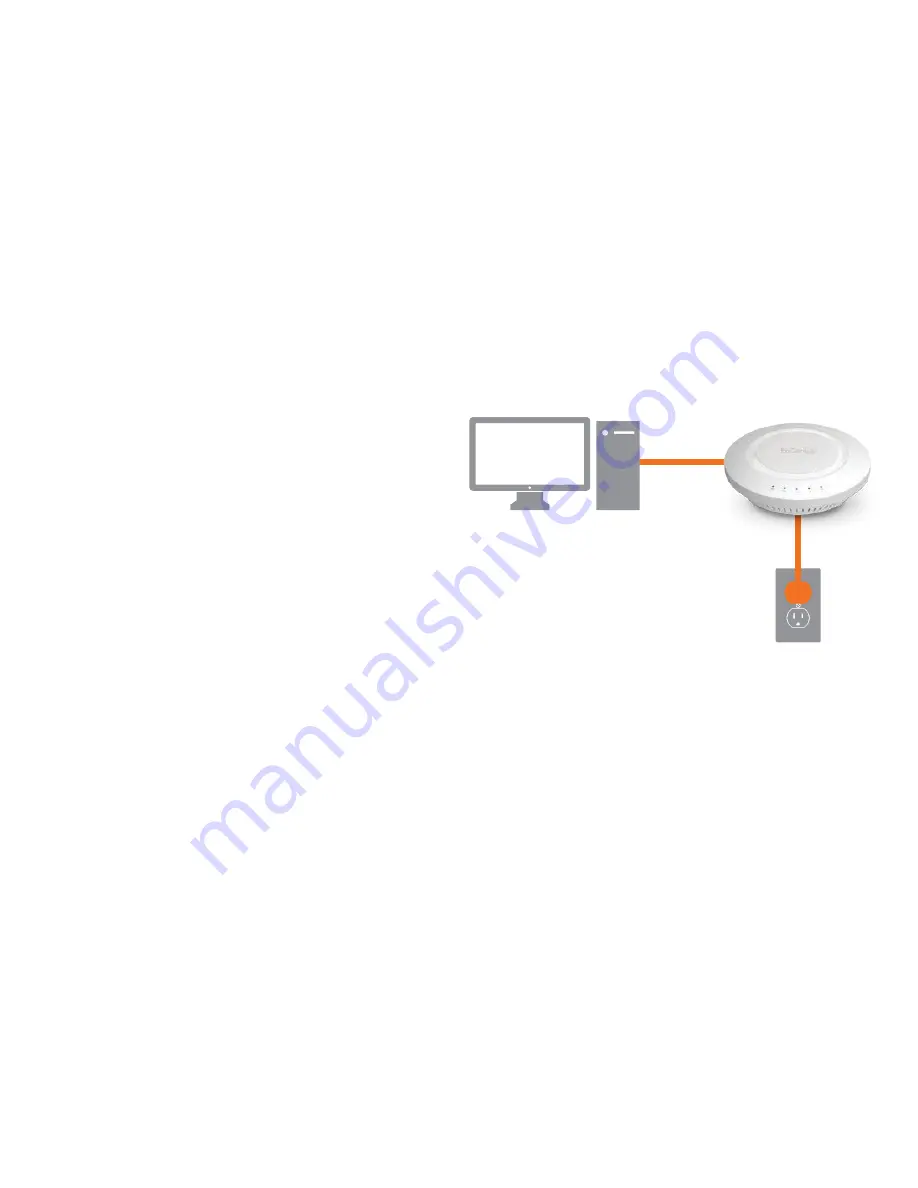
This diagram depicts the hardware configuration.
Hardware Installation
Ethernet
PC
Power
Outlet
AC/DC
Cable
Содержание EAP900H
Страница 4: ...4 Chapter 1 Product Overview ...
Страница 10: ...10 Chapter 2 Before You Begin ...
Страница 18: ...18 Chapter 3 Configuring Your Access Point ...
Страница 20: ...20 Chapter 4 Building a Wireless Network ...
Страница 24: ...24 Chapter 5 Overview ...
Страница 27: ...27 Chapter 6 Network ...
Страница 31: ...31 Chapter 7 2 4GHz 5GHz Wireless ...
Страница 44: ...44 Chapter 8 Management ...
Страница 58: ...58 Appendix ...


