49
▽
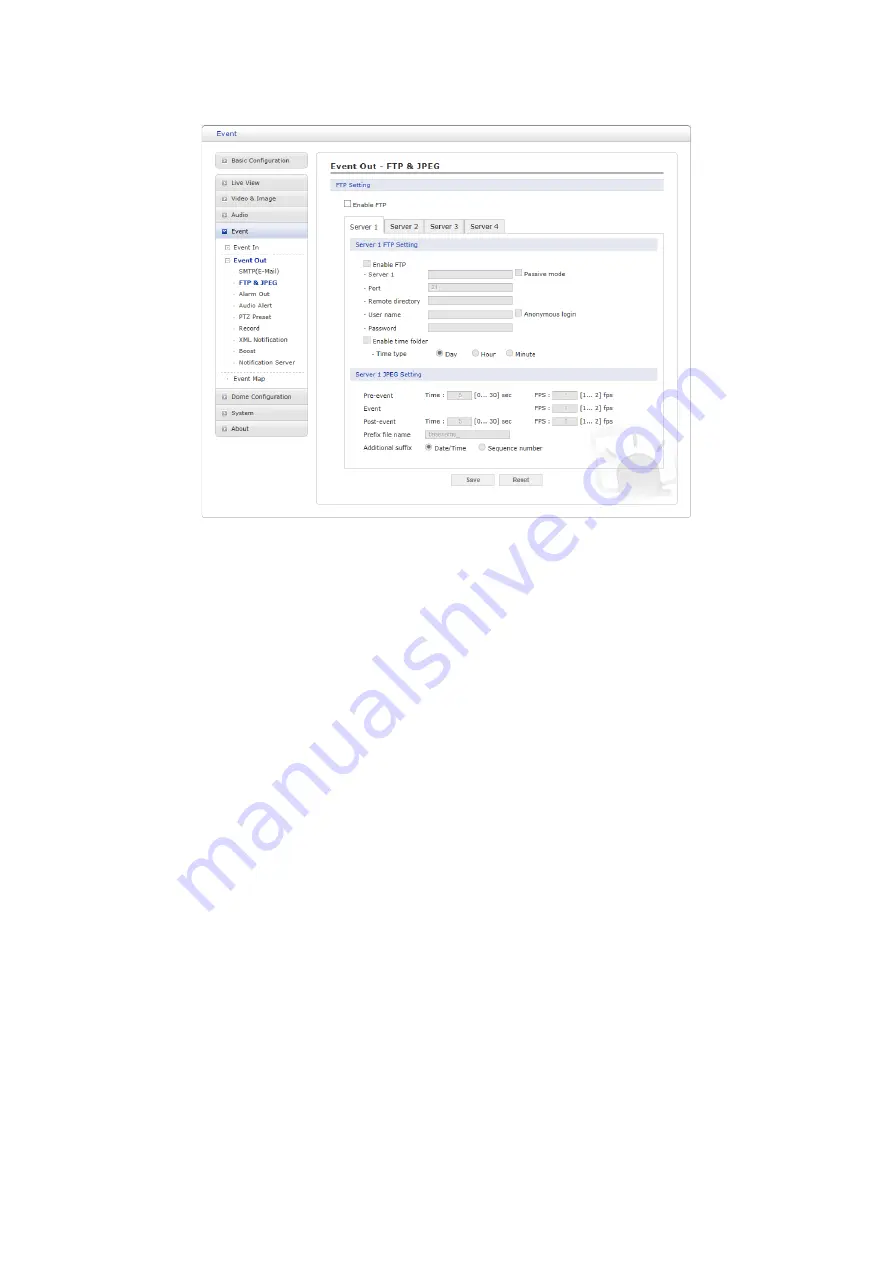
FTP & JPEG
When the network camera detects an event, it can record and save images to an FTP server.
Images can be sent as e-mail attachments. Check the “Enable FTP” box to enable the service.
This camera can support multiple FTP servers and user can configure each server settings
separately.
• FTP Setting:
– Server:
Enter the server’s IP address or host name. Note that a DNS server must be
specified in the TCP/IP network settings if using a host name.
– Passive mode:
Under normal circumstances the network camera simply requests the target
FTP server to open the data connection. Checking this box issues a PASV command to the
FTP server and establishes a passive FTP connection, whereby the network camera
actively initiates both the FTP control and data connections to the target server. This is
normally desirable if there is a firewall between the camera and the target FTP server.
– Port:
Enter the port number used by the FTP server.
– Remote directory:
Specify the path to the directory where the uploaded images will be
stored. If this directory does not already exist on the FTP server, there will be an error
message when uploading.
– User name/Password:
Provide your log-in information.
* Anonymous login:
Check the box if you want to use anonymous login method and the
server supports it.
– Enable time folder:
To create the folder in the FTP Server.
* Time type:
Create the folder by daily, hourly and every minute.
NOTE:
Required authority for creating the folder.
• JPEG Setting:
– Pre-event:
A pre-event buffer contains images from the time immediately preceding the
event trigger. These are stored internally in the server. This buffer can be very useful when
checking to see what happened to cause the event trigger. Check the box to enable the pre-
trigger buffer, enter the desired total length in seconds, minutes or hours, and specify the
required image frequency.


