2-Pack Analyzer System
3
–
2
4900002256 rev. B 4-13-21
Inspecting the Analyzer
After the crate has been removed, place the unit on a flat surface. Carefully
inspect all enclosures for dents, dings, or general damage. Inspect the supply
and return connections for damage, such as bent tubing. Report any damage
to the carrier.
Each analyzer is custom configured with various accessories and options.
Contact Service if there is any discrepancy with the order, refer to
Ensure all equipment used for lifting/moving the analyzer is rated
for the weight load.
Avoid jolting the instrument by dropping it or banging it against a
hard surface which may disturb the optical alignment.
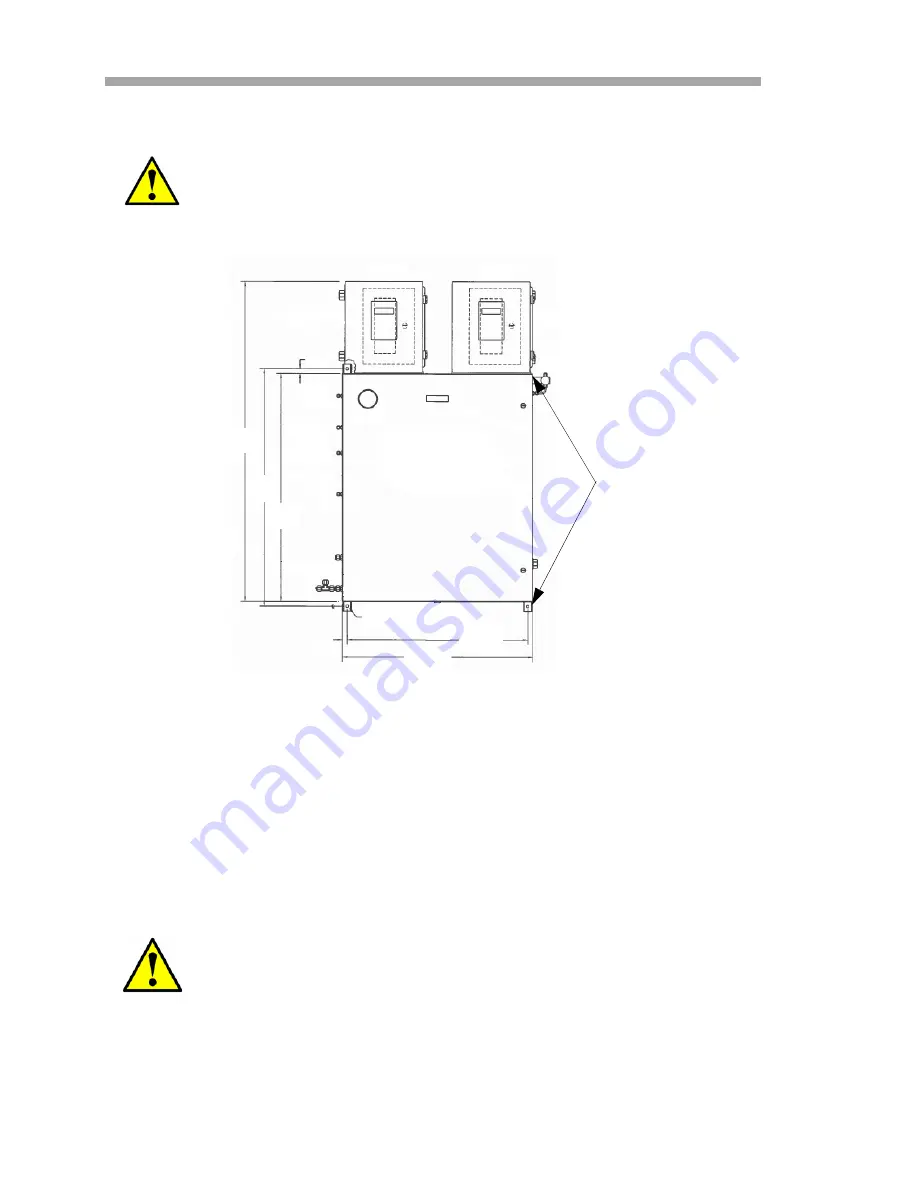
Figure 3–1
Lifting points and mounting
dimensions
19mm
3/4
”
1283mm
50-1/2
”
953mm
37-1/2
”
914mm
36
”
19mm
3/4
”
724mm
28-1/2
”
762mm
30
”
10mm [0.41”] Dia. Through
(Type 4 PLCS)
MOUNTING EARS
(BOTH SIDES)
Содержание SS1000
Страница 2: ......
Страница 4: ......
Страница 8: ...2 Pack Analyzer System iv 4900002256 rev B 4 13 21 THIS PAGE INTENTIONALLY LEFT BLANK ...
Страница 12: ...2 Pack Analyzer System viii 4900002256 rev B 4 13 21 THIS PAGE INTENTIONALLY LEFT BLANK ...
Страница 66: ...2 Pack Analyzer System 4 12 4900002256 rev B 4 13 21 THIS PAGE INTENTIONALLY LEFT BLANK ...
Страница 84: ...2 Pack Analyzer System A 18 4900002256 rev B 4 13 21 THIS PAGE INTENTIONALLY LEFT BLANK ...
Страница 120: ...2 Pack Analyzer System Index 4 4900002256 rev B 4 13 21 This page intentionally left blank ...
Страница 121: ...www spectrasensors com contact 4900002256 Rev B ...


