background image

encor

e n

!

etworks

TM

Broadband Access Network Device for Intelligent Termination (BANDIT), Encore Legacy-to-IP Operating 
System (ELIOS), and IP Banking Router 10 (IBR-10) are trademarks of Encore Networks, Inc. All other 
trademarks are the properties of their respective owners. 
See the 

VPN and Legacy-to-IP Products Customization and Maintenance Guide

 for Limitation of Liability. 

IBR-10™ Installation Guide

for ELIOS™ Software Version 0500

his guide presents procedures for a standard installation of the IBR-10™.

Note:  

The screens shown in this document are examples; the choices shown on your IBR-10’s menus 

depend on the features in the chassis and on the software version installed in the device. (For figures, 
tables, and configurations not addressed in this 

Quick Installation Guide

, see the 

VPN and Legacy-to-IP 

Products Customization and Maintenance Guide

 or the 

VPN and Legacy-to-IP Products Hardware Reference 

Guide

.) 

Gather all required information. 

Before you start these procedures, make sure you have all the information 

required to set up the IBR-10 for use in your network—for example, the device’s IP address, the device’s 
configuration, and network and routing functions that the device will perform. Use the site planning 
worksheets in the 

VPN and Legacy-to-IP Products Customization and Maintenance Guide

 as checklists for this 

information. 

If you have questions or concerns after you have followed these procedures, contact Encore Networks, Inc., 
at 

[email protected]

, 703-318-4350 (voice), or 703-318-4371 (fax). 

A Setting Up the Hardware 

1

Unpack the chassis and components from the shipping box. Make sure you have all the parts: 
the chassis (

Figure 1

), an autosensing external power supply, an RJ-45 Supervisory cable, an adapter for 

the Supervisory cable (described in the 

Note

 in 

Step 7

), a paper copy of this 

Quick Installation Guide

, a 

CD containing customer documentation for the VPN and Legacy-to-IP products, and any additional 
accessories that you ordered. 

Note:  

Shipments within North America include a power cable. For shipments outside North America, 

contact your distributor for a cable that meets local requirements to connect the BANDIT’s power 
supply to a power outlet. 

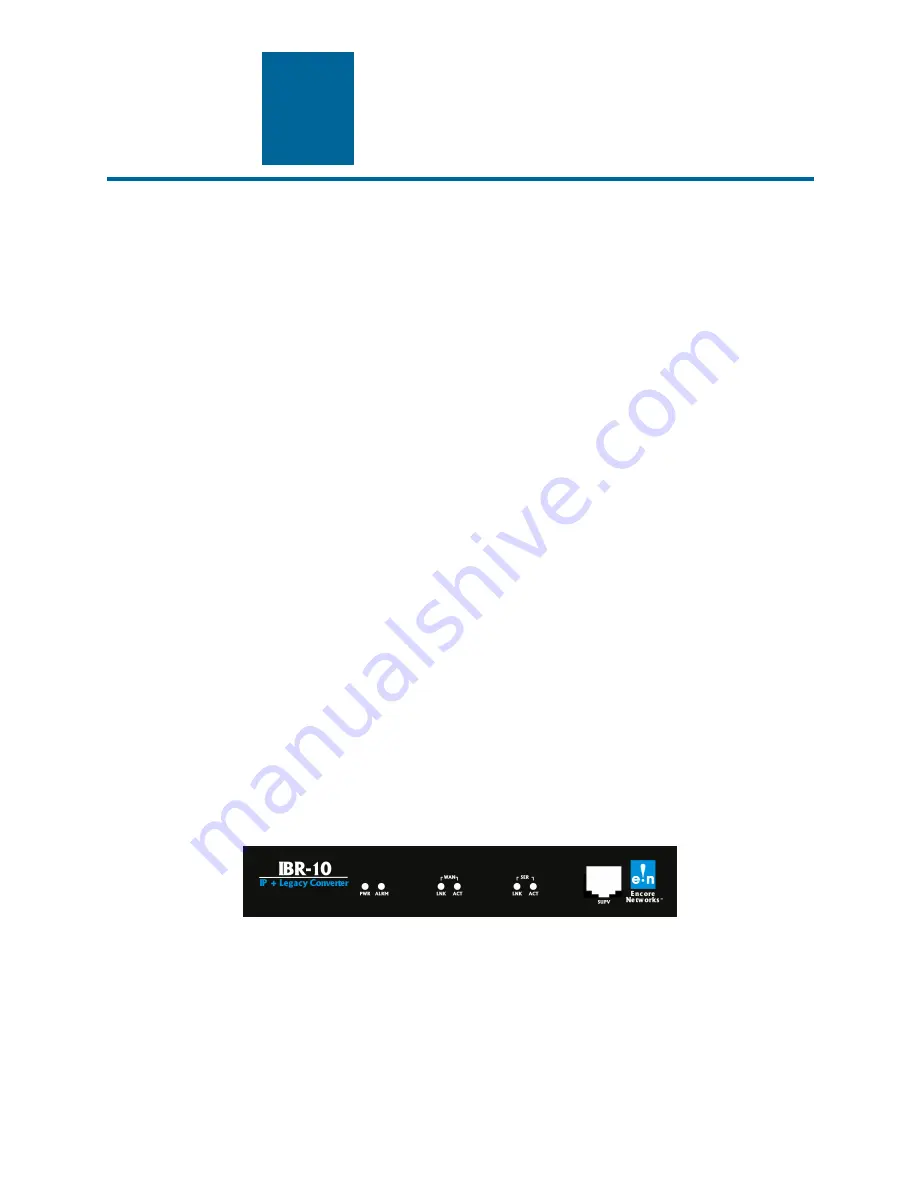
Figure 1. IBR-10 Chassis, Front 

2

Place the IBR-10 chassis on a tabletop or shelf. 

3

Connect an earth ground wire to the chassis, as follows: Attach a (minimum) 12 AWG wire to the earth 
ground screw to the right of the safety ground symbol, on the extreme right rear of the chassis 
(

Figure 2

). Use a ring terminal, such as an AMP (part number 36160), for this connection. 

T

Revision A, May 2004

Document Part Number 15736.0001

Copyright 2004 Encore Networks, Inc.

All rights reserved.

Содержание IBR-10

Страница 1: ...orksheets in the VPN and Legacy to IP Products Customization and Maintenance Guide as checklists for this information If you have questions or concerns after you have followed these procedures contact...

Страница 2: ...to a PC This adapter is shipped with the unit The following alternate adapters are also available Contact Encore Networks Inc if you need either of these adapters An RJ 45 to DB 25 adapter for connec...

Страница 3: ...E Saving Writing the Device s Configuration 1 On the Main Menu do one of the following a For a basic configuration of the IBR 10 for your network select QuickStart Config Builders The Startup Config...

Страница 4: ...Startup Configuration The menu provides several templates for configurations that your network may use You can select a template also known as a startup scenario change the scenario s IP addresses an...

Страница 5: ...the item has been configured the scenario s menu is displayed again IBR 10 Startup Configuration Scenarios 1 Bisync ATM to Ethernet WAN IP 2 Ethernet WAN to Async Poll Select 3 Ethernet WAN to Sync P...

Страница 6: ...are not yet in use Return to Step 4 6 To load the new configuration enter y The configuration is loaded into the IBR 10 If you selected Reset Load Write and Reset the configuration is also saved This...

Страница 7: ...e Advanced Configurations menu select Data Configuration The Logical Port Protocol menu is displayed Table 2 lists the Line IDs for the ports Table 2 Port Identifiers Line ID Physical Hardware Port De...

Страница 8: ...ings only for the WAN and LAN ports Section D 3 3 Dial Backup Settings D 3 1 Protocols To change the protocol that a port uses or to modify attributes of a port s protocol do the following on the Logi...

Страница 9: ...ble DHCP on a port do the following on the port s Logical Port Attribute menu see Section D 3 Ports Note The WAN and LAN ports use different settings Typically a BANDIT device is a DHCP client on the...

Страница 10: ...il you return to the Main Menu 6 Save the configuration and reset the device See Section E Saving Writing the Device s Configuration and Section F Restarting Resetting the Device D 3 3 Dial Backup Set...

Страница 11: ...he VPN feature to its capacity you must configure the device s IP Quality of Service Do the following 1 On the IP Routing Configuration menu select IP Quality of Service 2 On the IP Priority menu sele...

Страница 12: ...R 10 do the following to configure the device s built in SNMP agent 1 On the Main Menu select System Administration 2 When the system asks for your password enter the default password encore and press...

Страница 13: ...s of screen instructions do not type anything until you see the banner BANDIT ENCORE NETWORKS INC Then press Enter The Main Menu is displayed G Exiting a Session After the software has been configured...

Страница 14: ...14 IBR 10 Installation Guide...

Отзывы: