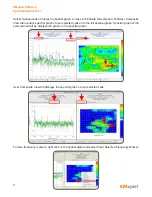
43
Spectral Scan Probes Tab
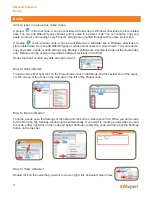
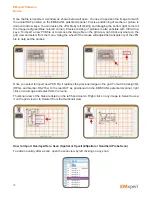
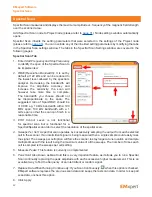
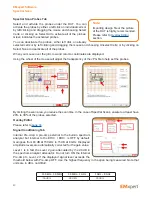
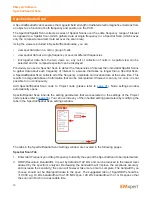
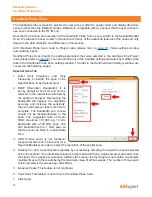
Select and activate the probes under the DUT. You can
activate the probes by either a left click on individual cells or
by left clicking and dragging the mouse and choosing Select
Cells; or clicking on Select All to activate all of the probes.
Green indicates the activated probes.
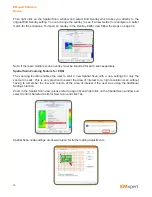
You can deactivate the probes; either left click on already
selected cells or by left clicking and dragging the mouse and choosing Unselect Cells; or by clicking on
Select None to deactivate all of the probes.
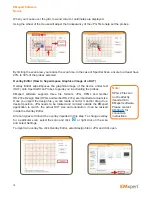
When you mouse over the grid, row and column coordinates are displayed.
Using the wheel of the mouse will adjust the transparency of the JPG file to help set the probes.
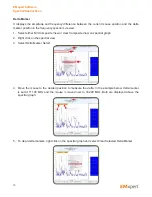
By limiting the scan area, you reduce the scan time. In the case of Spectral Scans, ensure to at least have
20% to 30% of the probes selected.
Overlay Editor
Please refer to
page 34
.
Signal Conditioning Tab
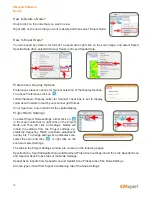
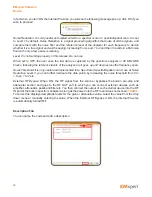
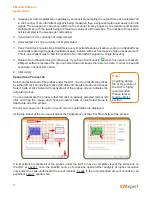
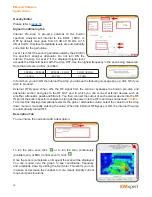
Internal Pre-Amp:
A pre-amp external to the built-in spectrum
analyzer but internal to the ERX+ l EHX+ is OFF by default.
Gain goes from 40 dB at 150 kHz to 15 dB at 8 GHz. Displayed
amplitude levels are automatically corrected for the gain value.
Level 1 is in fact the Level 2 gain attenuated by the 20 dB in
the spectrum analyzer attenuator. Do not turn ON the Internal
Pre-Amp to Level 2 if the displayed signal level exceeds the
threshold below with Pre-Amp OFF. Use the highest frequency in the span being measured. Note that
units are in dBm, not dBuV.
150 kHz – 50 MHz
50 MHz – 1 GHz
1 GHz – 8 GHz
-56 dBm
-48 dBm
-39 dBm
EMxpert Software
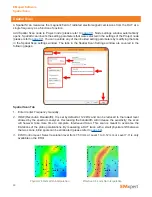
Spectral Scan
Note:
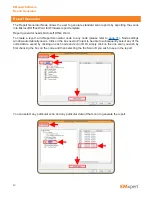
Importing design file or the picture
of the DUT is highly recommended.
Please refer to
Overlay Editor
section.
Содержание EMxpert EHX+
Страница 1: ...EMxpert ERX EHX User Manual v5 0 8 10 1 8 0 9 ...
Страница 84: ...84 Notes EMxpert Software Notes ...


