


24
Loading New Firmware
A new firmware version can be loaded to correct issues that are reported in the firmware
release notes. The firmware for the Satlook HD is identified as “smHD60-EU.hex” with
the number “60” being the version number. Newer firmware designed to be common
with the Satlook G2 is identified as smG2HD106-EU.hex This firmware can be used on
either the G2 or the HD. Do not load any firmware without these types of name, it will
be for a different instrument and will not work on the Satlook G2 or HD. Use the Version
screen in the Setup Menu to determine the current software version.
In order to load firmware, you must have a PC which supports an RS232 connection. The
firmware loading must be performed with the external charger connected. The RS232
cable to be used is supplied as part of the kit with the Satlook G2 / HD. Some laptops do
not have an RS232 connection, but a USB to RS232 adapter can be purchased at low cost.
Connect the Rs232 cable from the computer to the instrument. Run the firmware
download file “FDL.exe”.
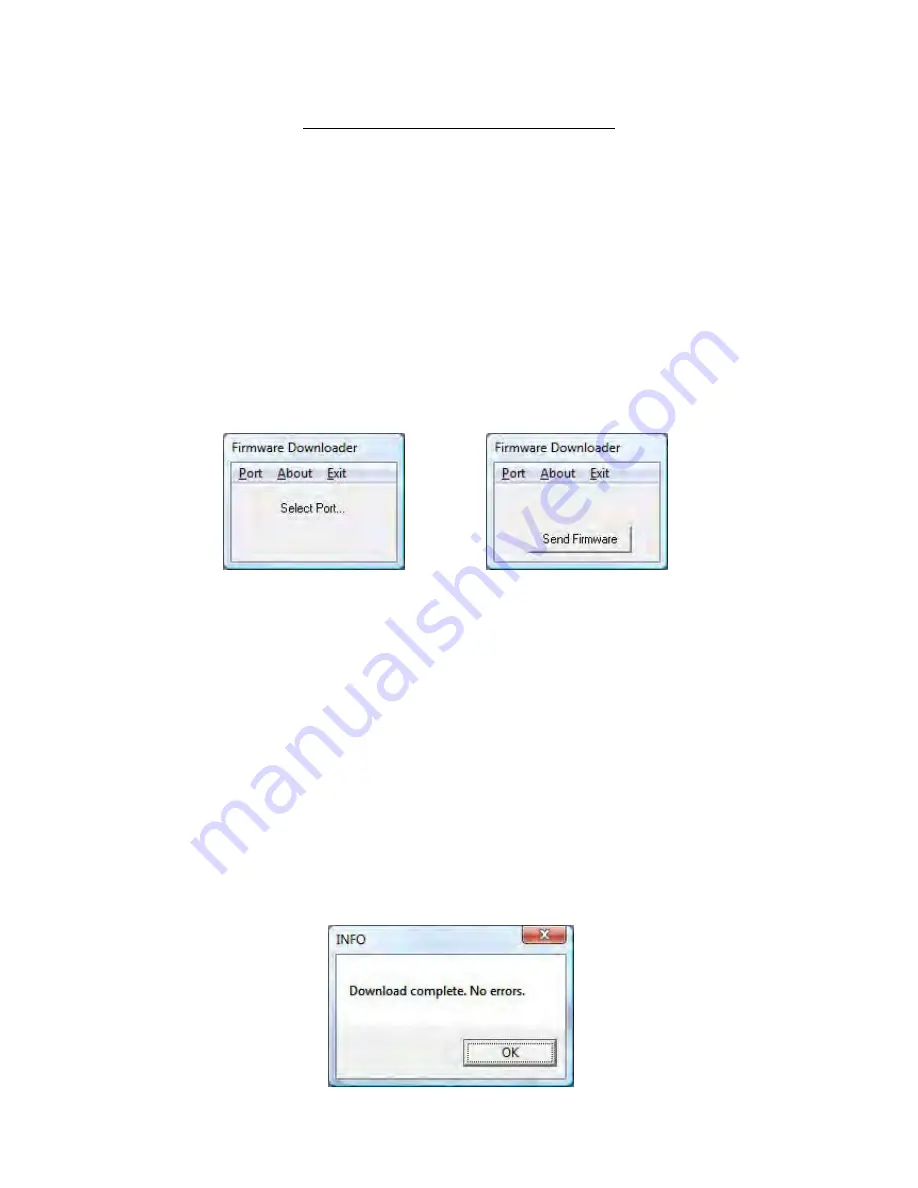
Select the RS232 port on the computer. Normally, the port is COM1 but some USB to
RS232 will use some other port. If desirable, this USB to RS232 conversion device can be
made to always use COM1 by clicking Control Panel / Device Manager / Ports and in the
Advanced settings for the adapter set to COM1.
Select “Send Firmware” and the display with be “Searching”. Connect the Satlook G2 /
HD to the external charger and the display will change to “Found”. To verify this, check
the Blue LEDs to see if they are not changing. If they are in cycling pattern displaying the
“charging pattern” then the process must be restarted. An alternative method of starting
the firmware loading process is to have the Satlook G2 / HD connected to the external
charger and charging when starting the firmware load. When the “Searching” message is
displayed, momentarily press the Power On button for less than a second. It is only
during power up under external charge that the unit will check for an RS232 connection
for firmware loading. Now choose the firmware file. Normally, the firmware will be in
the same direction as “FDL.exe” but if not, you can navigate to the correct directory and
select the firmware file. Once the file is selected, the firmware loading will take about 10
minutes and then the Firmware Downloader program will display “Download Complete”
and the Satlook G2 / HD will revert to the “charging pattern” shown by the blue LEDs in a
cycling pattern.


